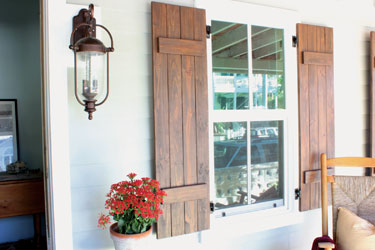
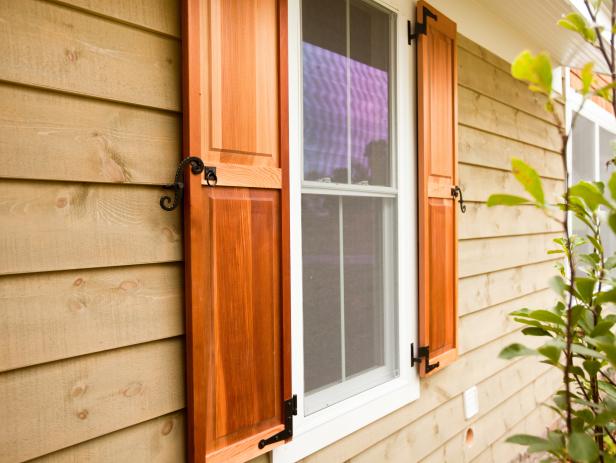
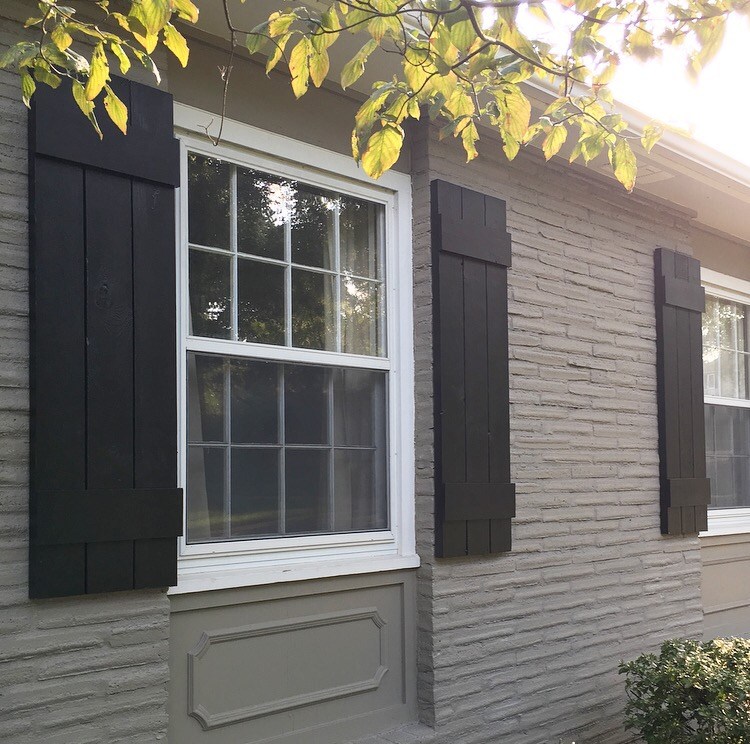
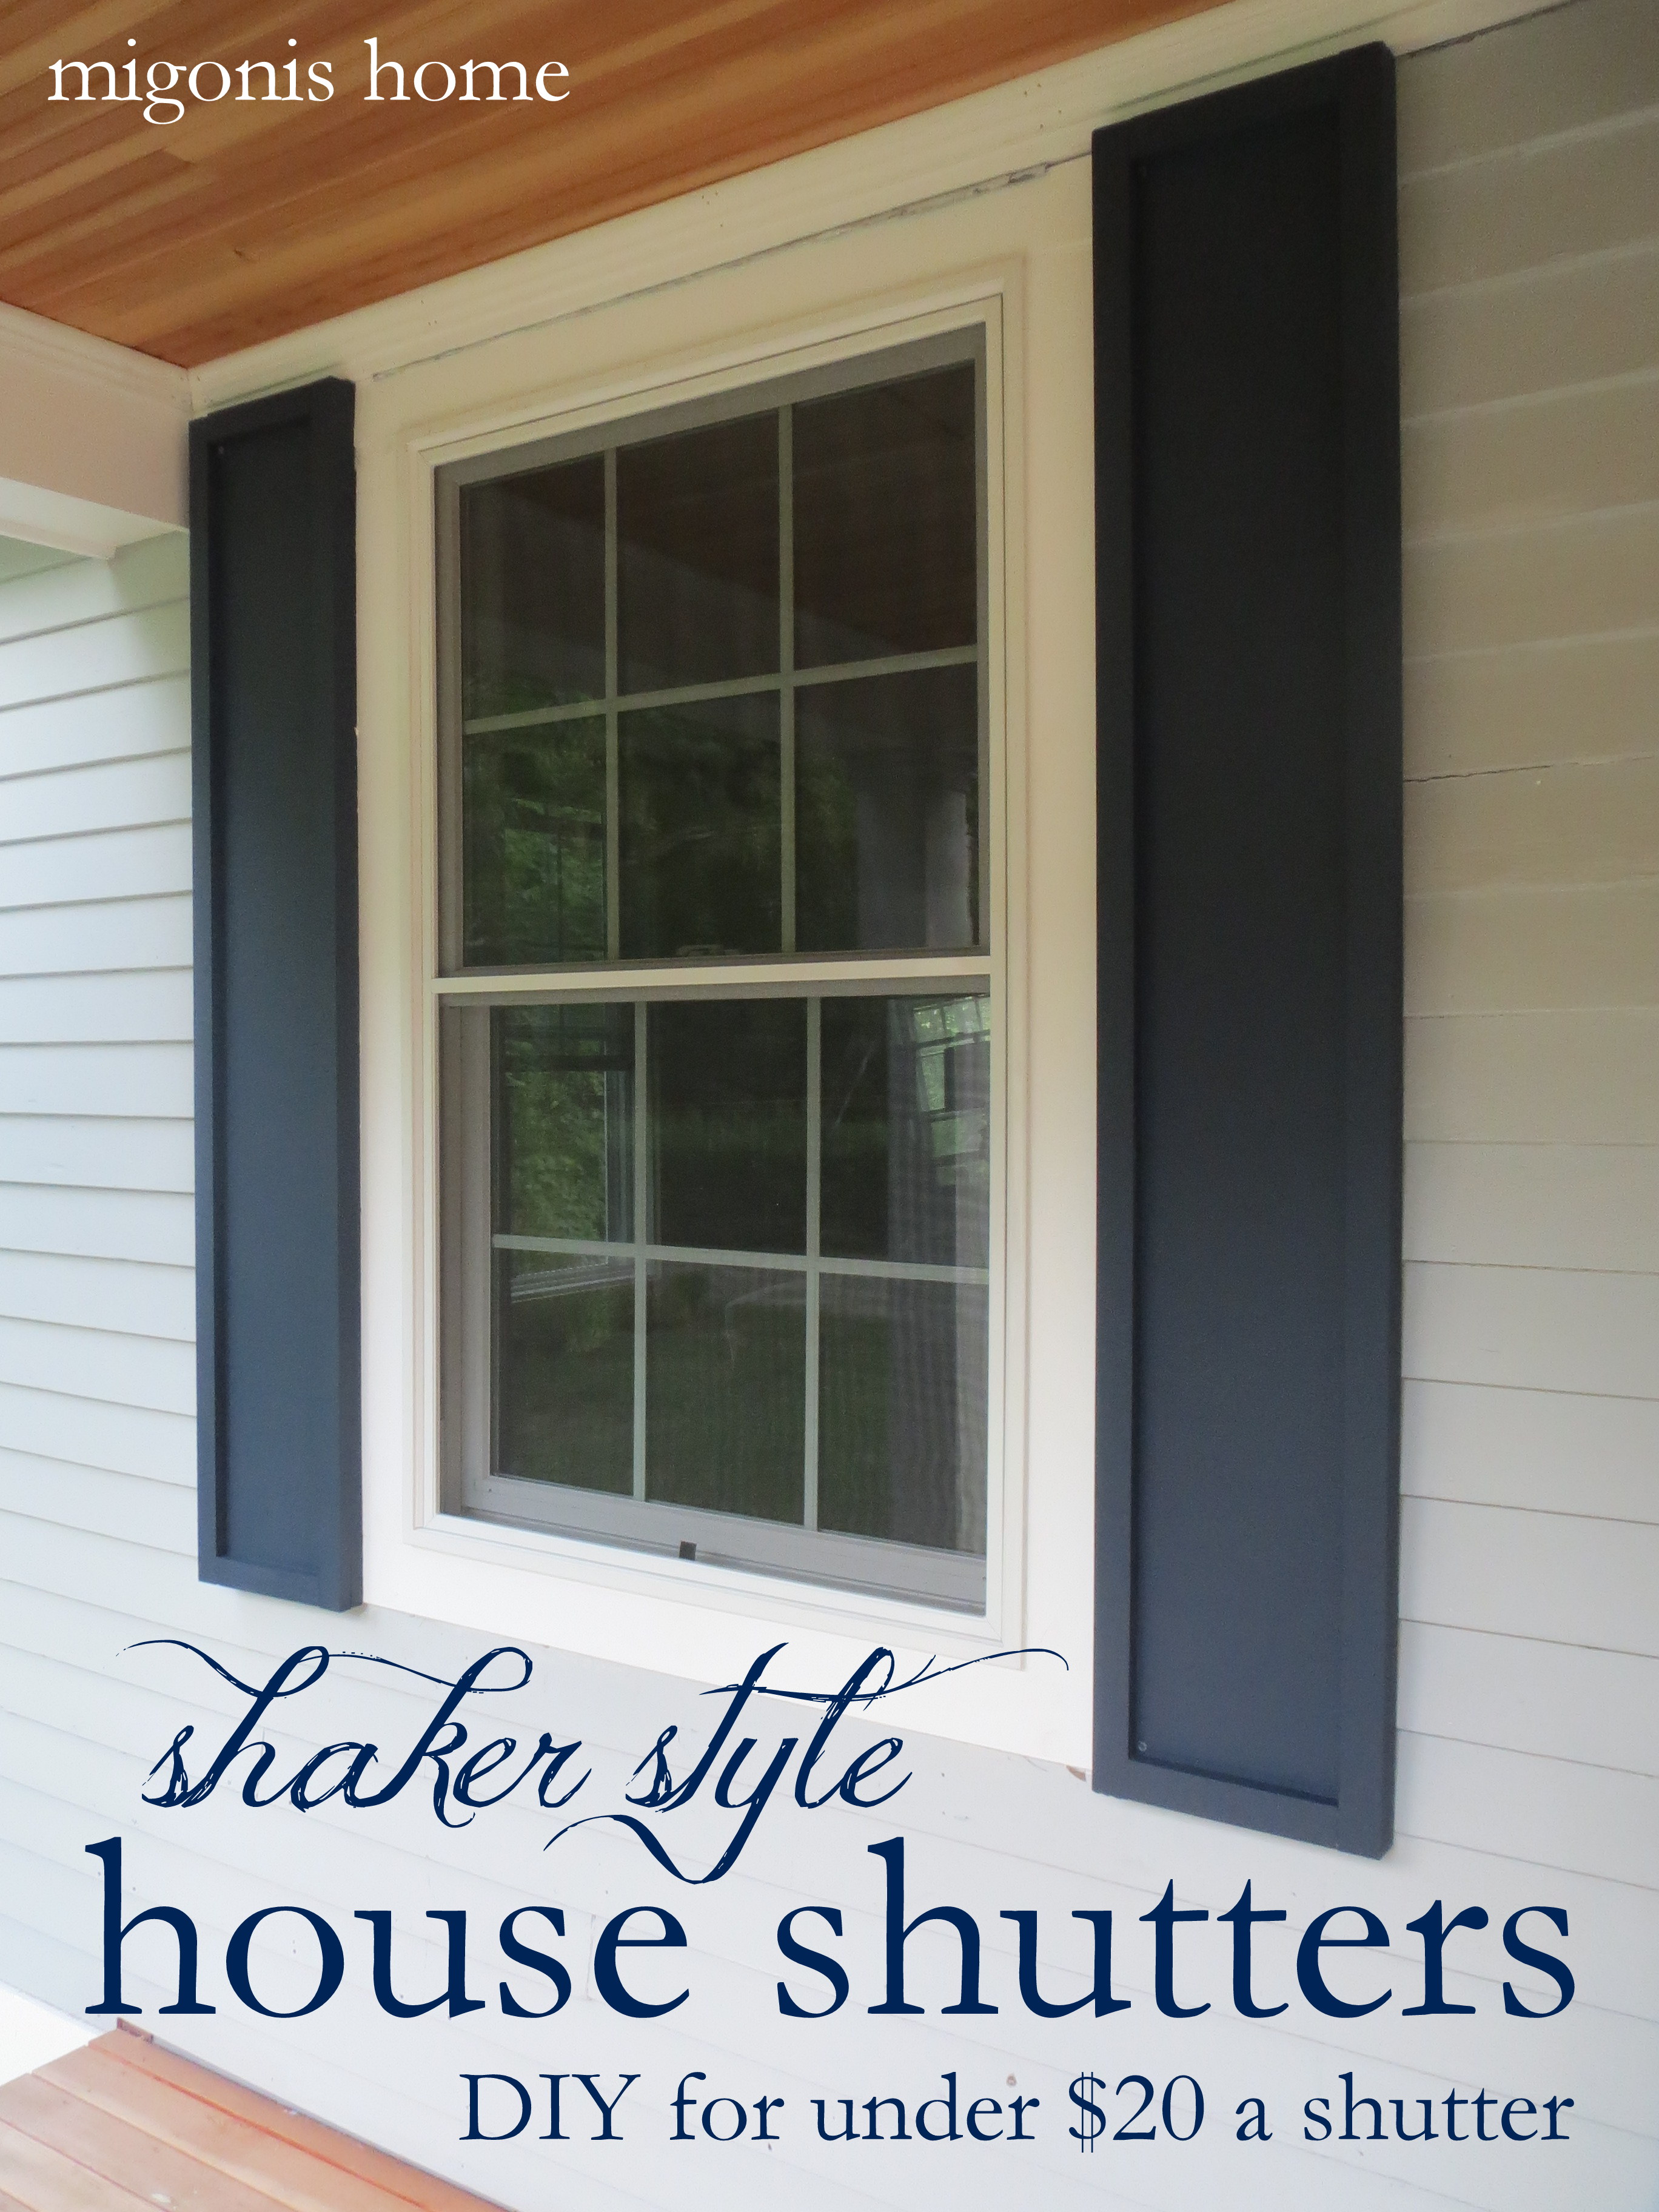
To make your house look beautiful, it is essential to pay attention to the interior as well as the exterior of your house. The shutters installed to play a major role in making your property look stylish as well as trendy. A wide range of shutters available in the market, however, DIY shutters are leading the range. These shutters provide a fashionable alternative to curtains and blinds. The wide variety of color shades gives a fabulous look to the interior as well as the exterior of your house.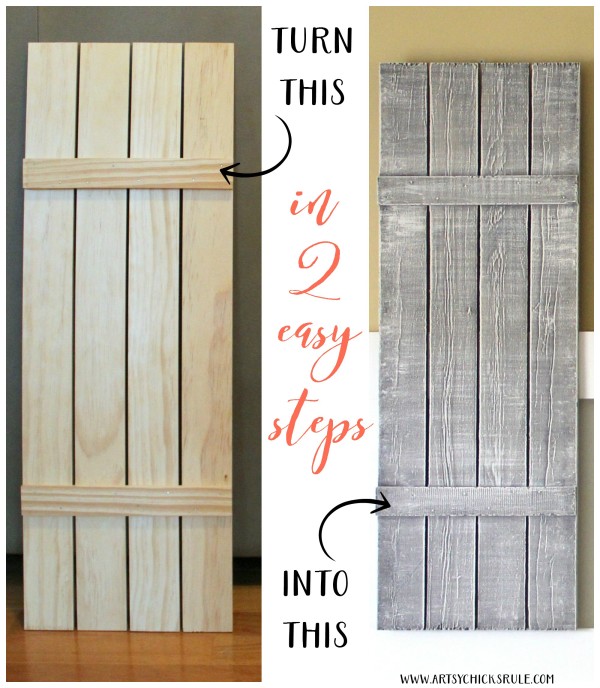
If you are planning to install DIY shutters at your home, you need to proceed step by step. The first step is to choose the right kind of shutter. Wooden shutters are used mostly, however they are being made in a variety of composite materials and plastics as well. Wooden shutters require more regular maintenance than other materials such as aluminum and vinyl. Select the shutter which gives the style you are aiming for.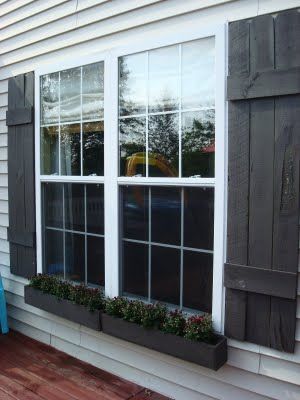
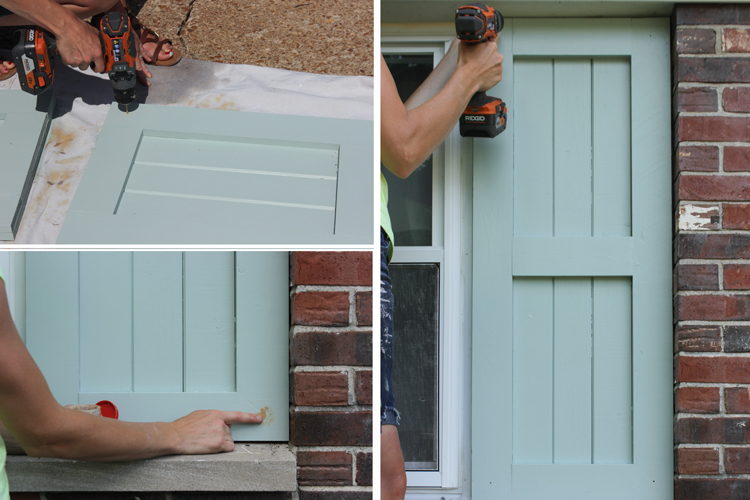
The frame of shutter also needs to be taken into consideration. The frame should be fixed in a way that there is no obstruction when door or window will open or close. Drill pilot holes and then screw through the shutter frame and into the window frame at the top, bottom and center of each piece. Once the frame is fixed, it’s time to hang shutters. To position the shutters, follow specific instruction give with DIY shutters. As per the window space, you can choose full height shutters, café style or tier or tier style. Solid DIY shutters are traditional and secure. They are either completely covered or partially solid.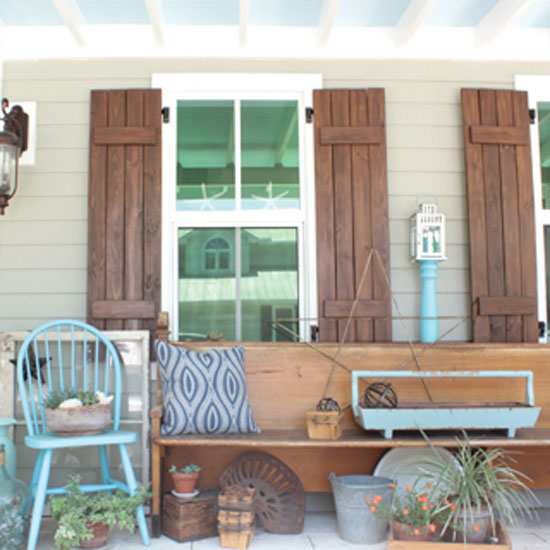
We also provide the correct fitting and measuring guides that will help you to install our DIY Wooden Plantation Shutters easily. We use mortise and tenon joints so that the shutter remains long lasting and stable.
 TopsDecor.com Home Decor Ideas
