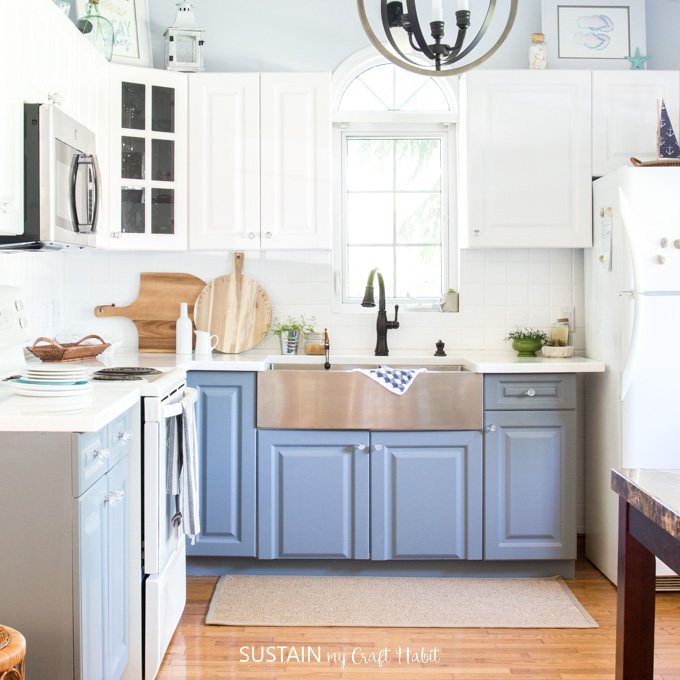
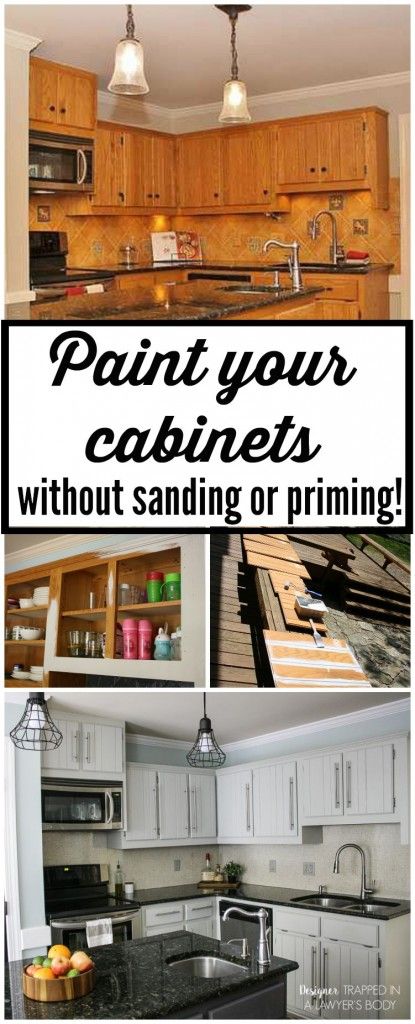
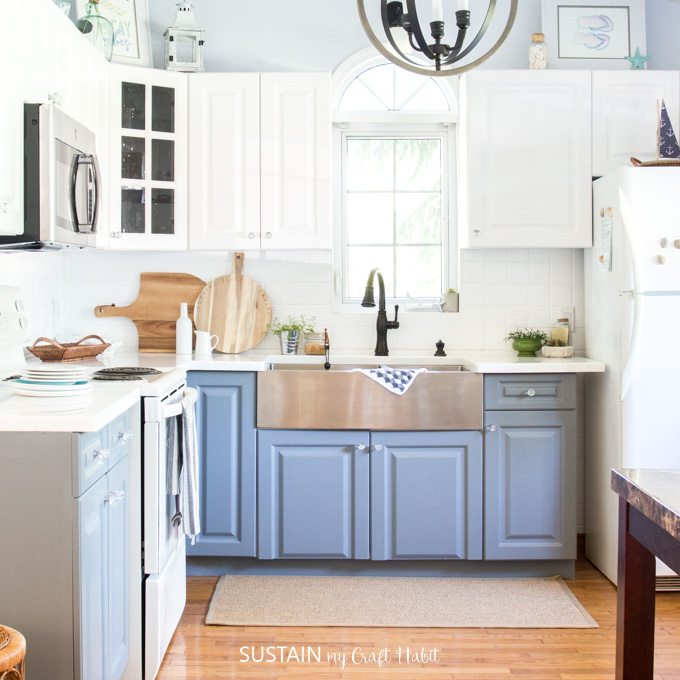
One of the most important things you may need to do when renovating your kitchen is painting your kitchen cabinets. However, this task can be lengthy. It will take time and patience, and you can expect to mess it up.
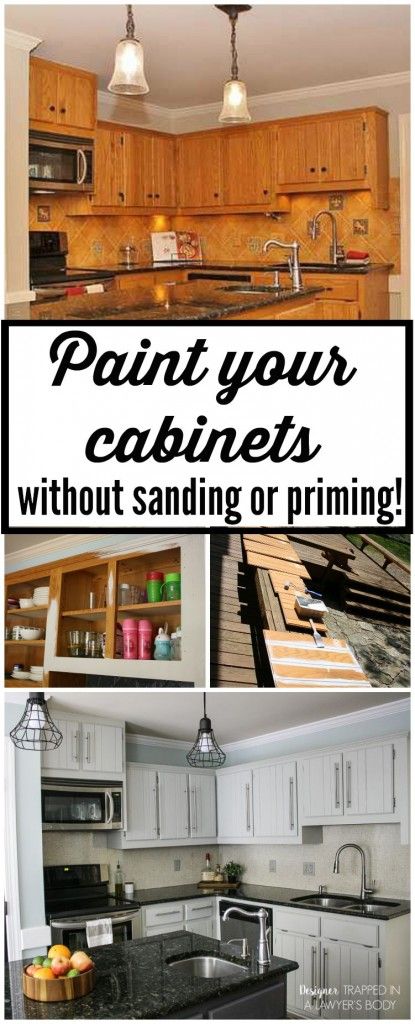
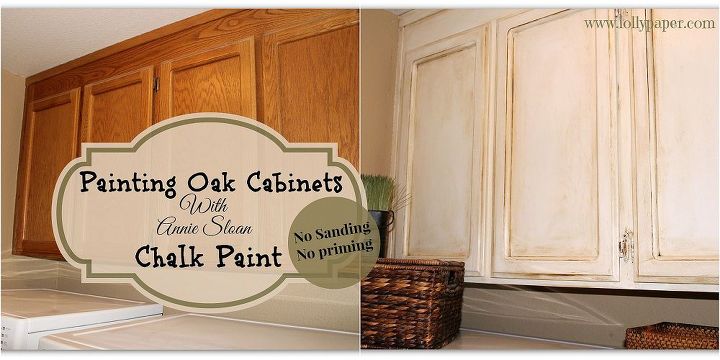
If you want to paint a kitchen cabinet or other wooden element in your kitchen, you probably know that you may need to sand it first. However, this is not always the case – you can paint cabinets without sanding. In this article we will show you how to paint kitchen cabinets without sanding.
Grinding can be a messy process. Nobody wants to be covered in sanding dust; Not only is it irritable to your respiratory system, it also contains carcinogenic elements. Painting your closets doesn’t have to be that lengthy and complicated.
Let’s take a look at how kitchen cabinets are painted without sanding.
Before you start
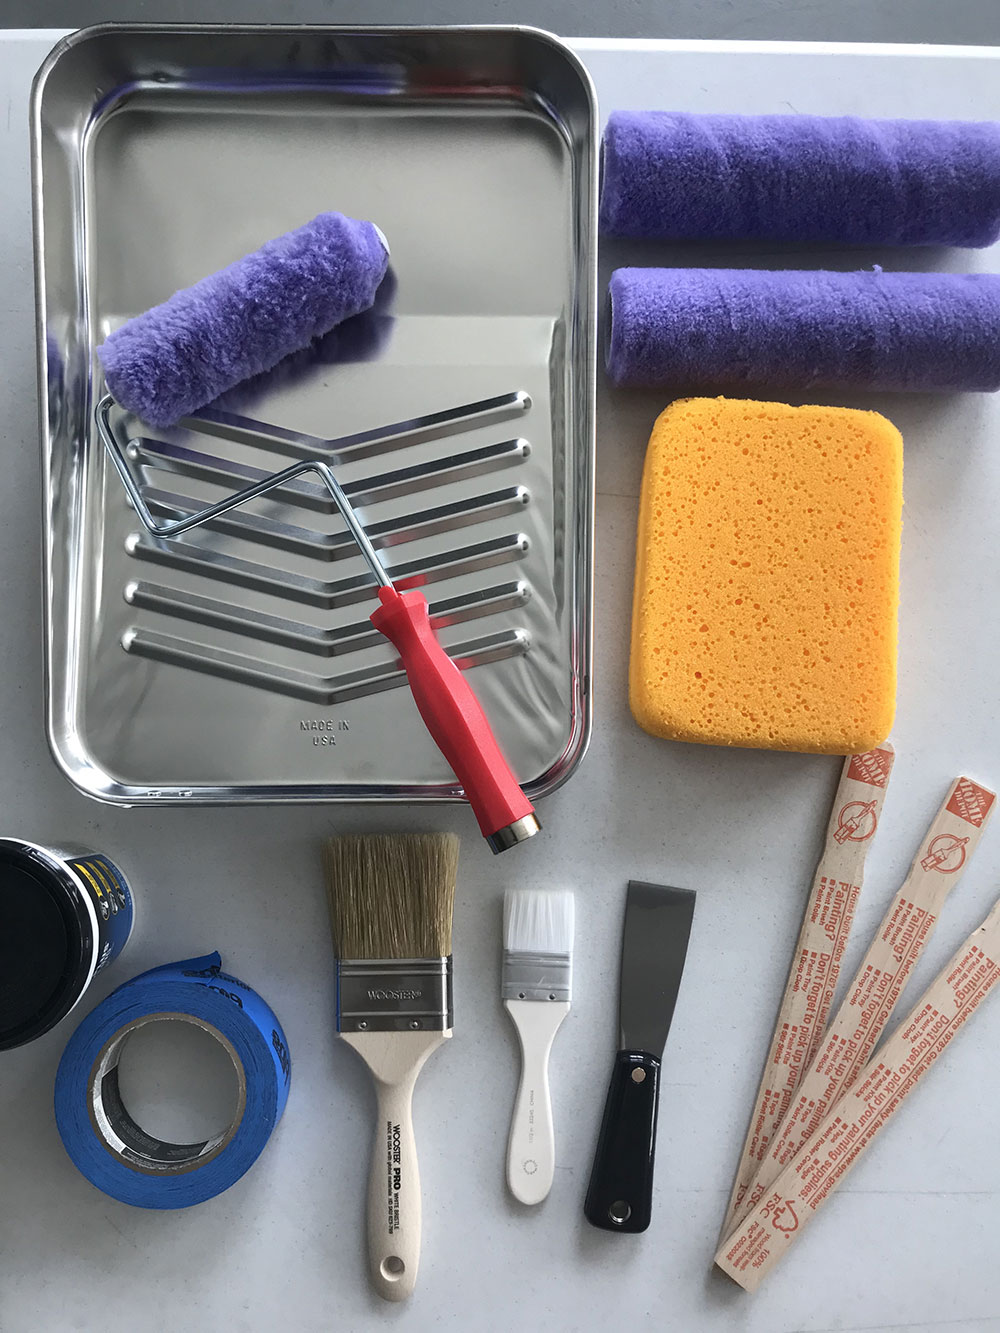
Before you start, there are a few things you need to do:
- Grease cleaner
- Scrub sponge
- Washcloth
- Liquid deglosser
- screwdriver
- Paint brush
- Silver spray paint
- Paint roller
- White closet
- enamel
- Painter’s tape
- Thumbtacks
Make sure you have all the materials before you start. Now let’s look at how kitchen cabinets are painted without sanding.
Step 1: clean the cabinets
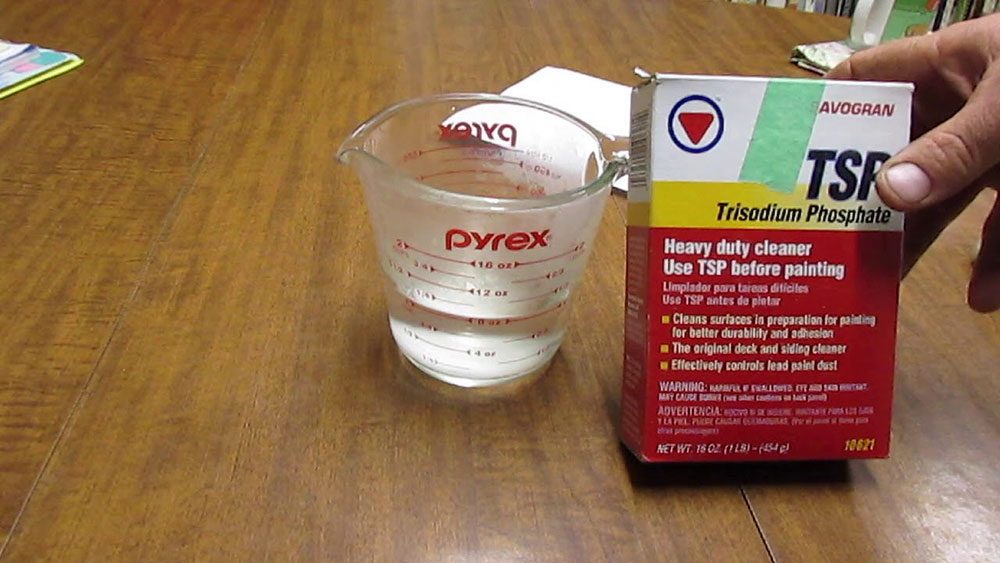
The first thing you want to do is to clean your closet thoroughly. Start with a cloth and remove dirt, dust, and grime. To do this, you need a grease cleaner that will help you remove the grease more easily. A good solution for this is trisodium phosphate (TSP), a cheap and effective cleaning chemical.
Grease, dirt and dust on the housing make it difficult for the paint to adhere to the housing. Look at both the outside and the inside – you should make sure that there is absolutely no such residue on your closet before you start painting. Don’t forget to focus on the corners where the dirt finds its way.
Step 2: protect your countertops
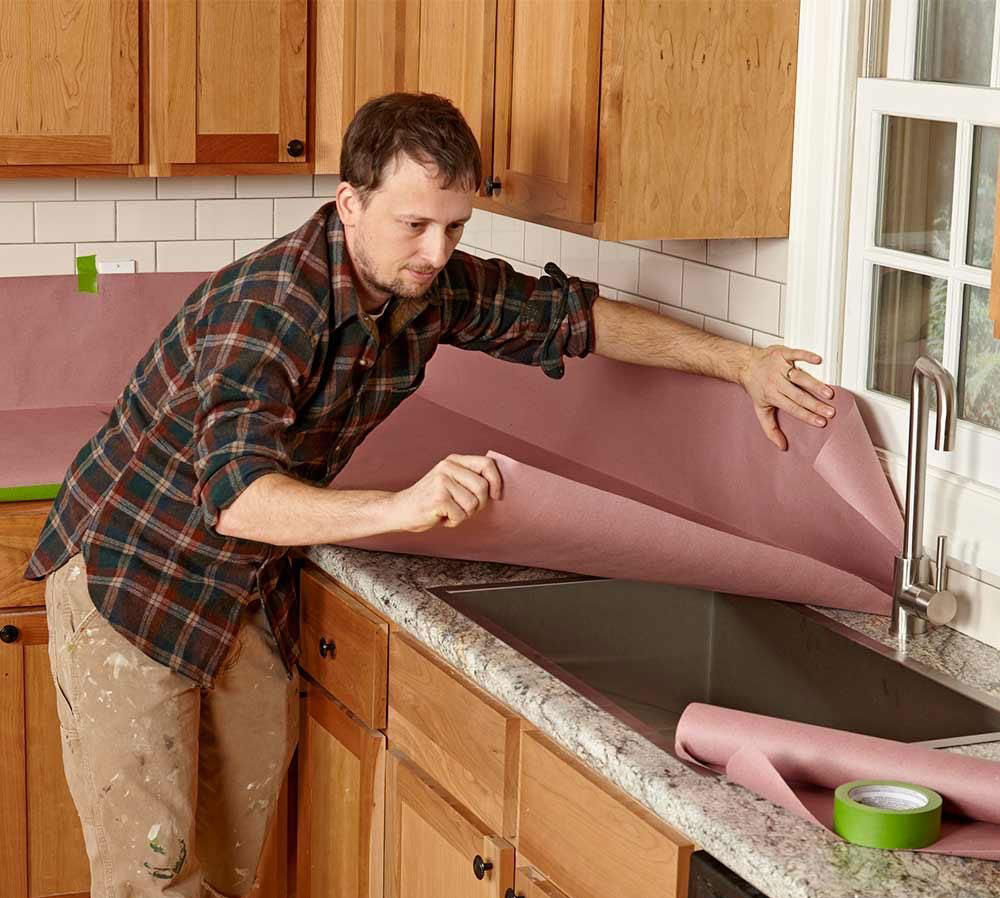
You can use rosin paper for this – it is a cheap and effective protective element that protects your countertop from possible spills. You will get a lot of paper cheaply and have a lot available for the future.
Make sure you add another layer of this paper if you think that just one layer is not enough. However, it should be so.
Step 3: remove cabinet doors and drawers
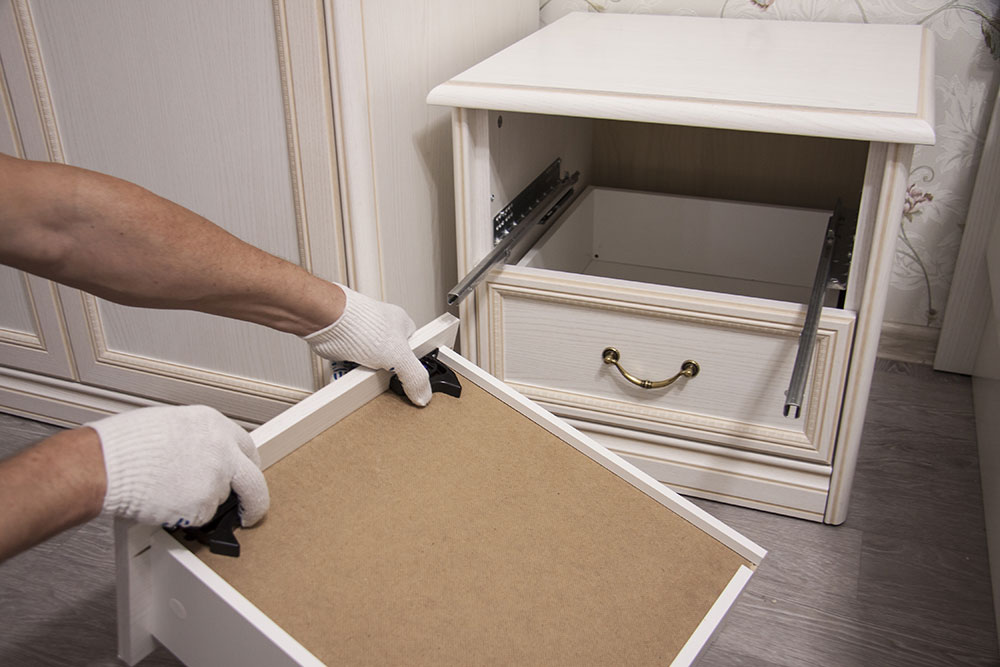
Next, make sure you remove the cabinet doors and drawers. This way you can not only paint easier, but also better access to the corners, especially in the interior.
This may seem like a superfluous task, but believe me, doing this will make it at least a few times easier. You may want to move the doors to a separate room, especially if you don’t have a lot of space in your kitchen. A little trial and error is required because some cabinets have a complicated hinge system.
Step 4: remove the fat
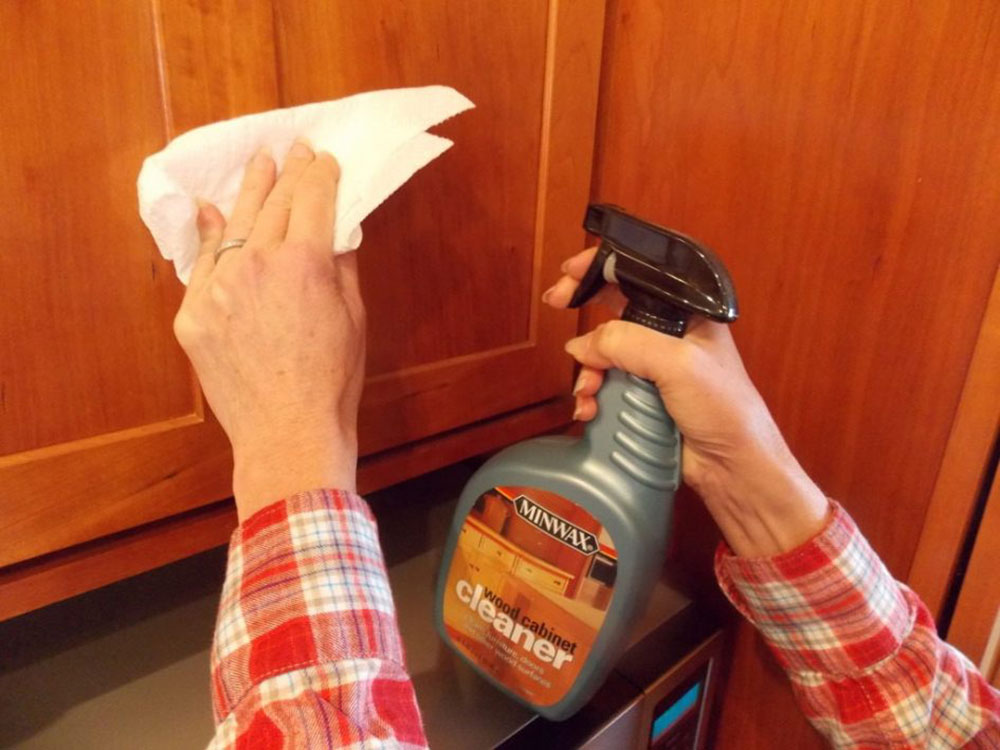
If you haven’t done this yet, now is the time. Even the best colors don’t stick to a closet that’s full of fat. Use TSP that you used to clean the case before. You will notice that another cleaning cycle this time exposes some parts of the cabinet that were filled with grease.
Step 5: Apply the Liquid Deglosser
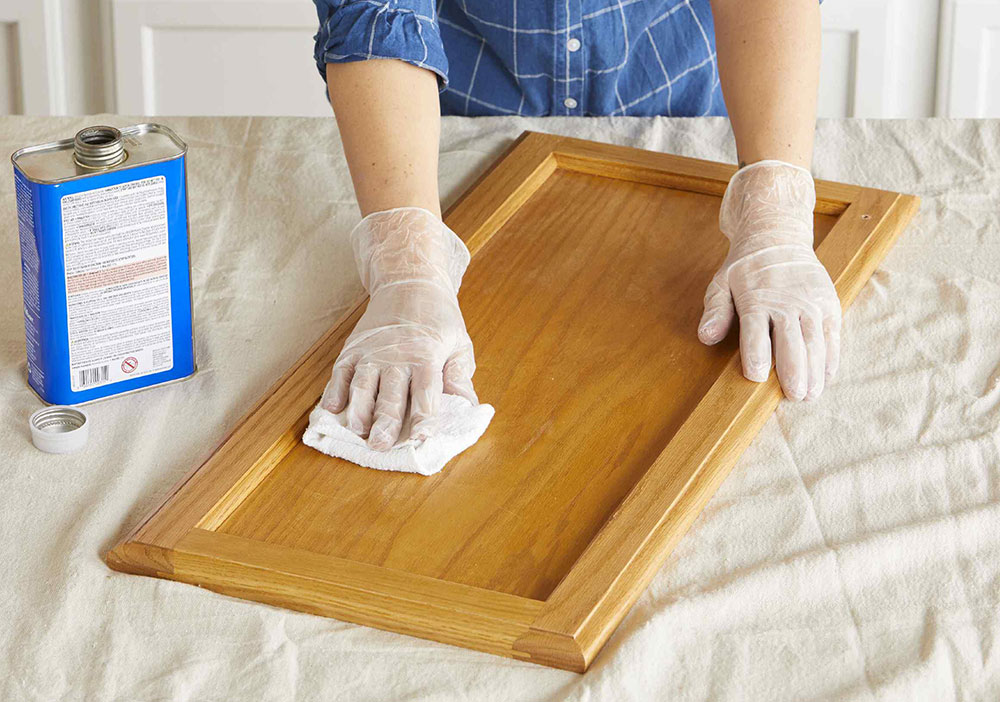
Glossy cabinets are difficult to paint if they are shiny on the entire surface. The color just doesn’t stick. Usually we would do this with loops, but this article would not be called how to paint kitchen cabinets without loops if we couldn’t give you an alternative here.
Here’s how: Use a liquid deglosser to remove the paint on top of the cabinet. As a result, the paint adheres better to the cabinet later. Use a washcloth and wipe each cabinet with the deglosser to remove the varnish.
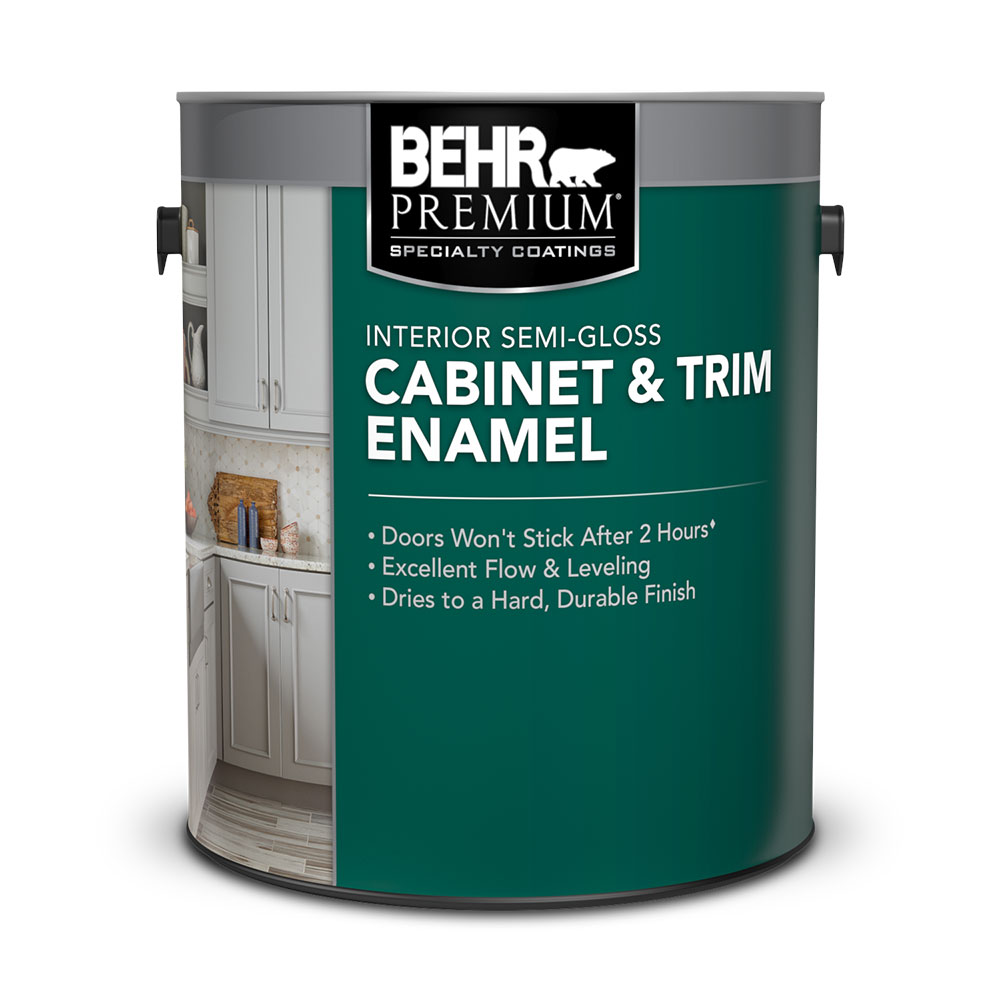
Step 6: Apply the cabinet enamel
We showed you how to paint kitchen cabinets without sanding, but how about without primer? Everyone will tell you that you need to apply the primer, but is that really the case?
You only need a primer for drastic color changes, wooden surfaces or shiny surfaces. In other cases, you can get away with using the barrier enamel. In this way, the surface is also sensitive to the color, and you still get a smooth, satin finish. It’s a big step if your closets haven’t been painted in a while.
Start with the door. Apply the white cabinet enamel to the doors. Then insert thumbtacks and turn the cabinet over. This way you can also paint the other side of the case.
Remember to use different brush sizes. With a large roller, you want to cover the large areas while you need smaller brushes to cover corners and paint the detailed parts of the case.
Step 7: start painting
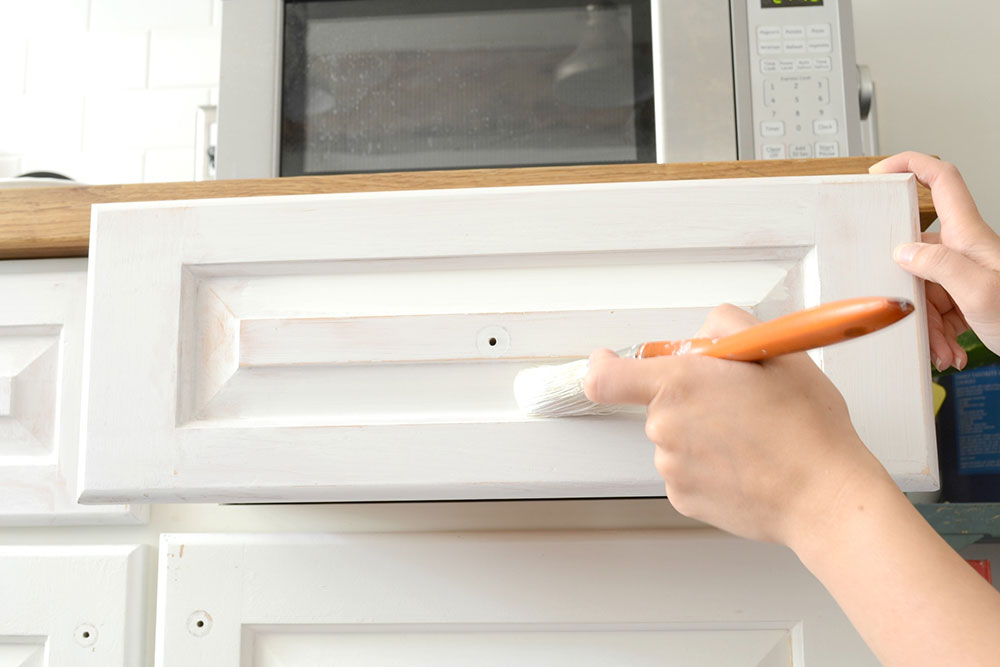
Now you can finally start painting your closet with a new color. Double-check that everything is ready so you can start painting: the edges should be taped, the floor is covered, as is the countertop, and the enamel has been applied.
You should start painting the inside edges of the cabinet and the openings. Then you can move to the sides of the cabinet and to the frame fronts. If you work in this way, you can cover all areas that you may have overlooked later, and you can also correct the drops.
Insert thumbtacks
Put thumbtacks in every corner of the door, making it easier to turn the cabinet over and start painting on the other side.
Spray paint hardware
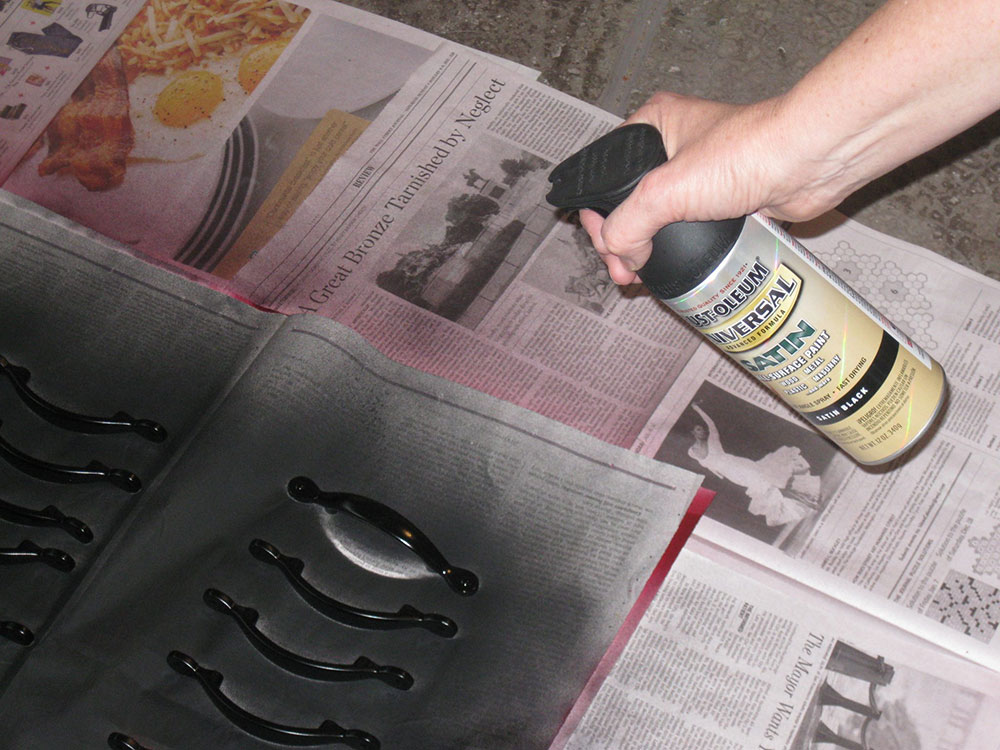
Take off the hardware, it will be easier to paint. You should also spray paint the hardware, especially if it has not been treated for a while. Take the silver spray paint and start painting the hardware. Worn hardware ruins the final look of the case.
Use a fine brush to paint the molding
Some cabinets have molded parts at the front that are somewhat more difficult to paint. In this case, you should paint the molded part with a fine brush.
Use the roller to paint the front, drawers and shelves
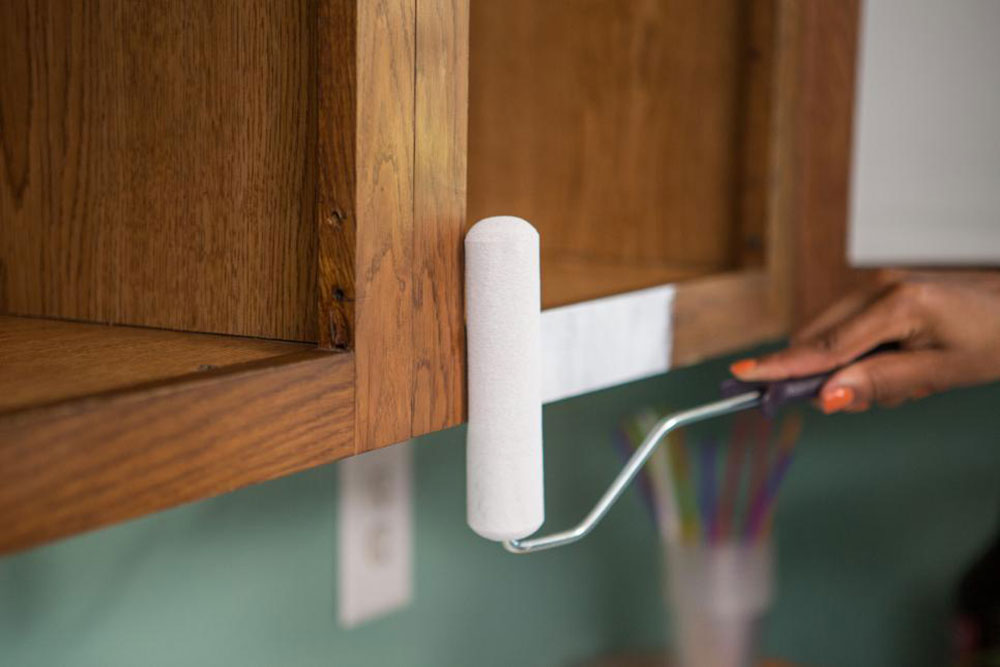
Larger surfaces are much easier to paint with a roller than with a brush. It won’t take you that long to use a roller, and you’ll cover the details later with a brush.
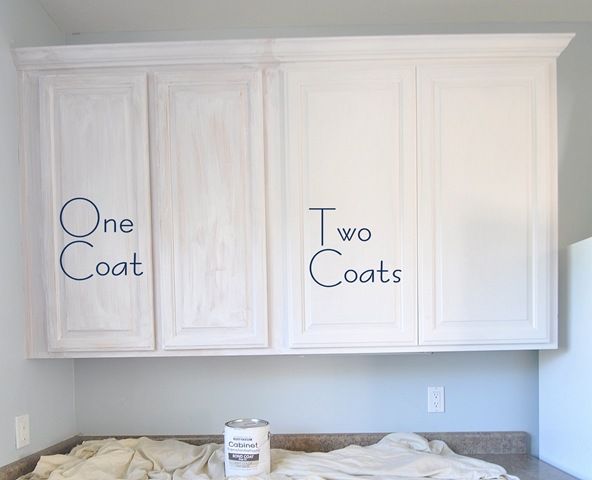
Apply a second coat if necessary
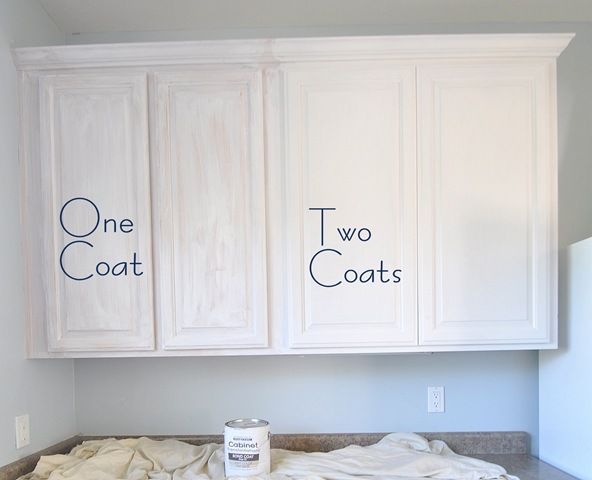
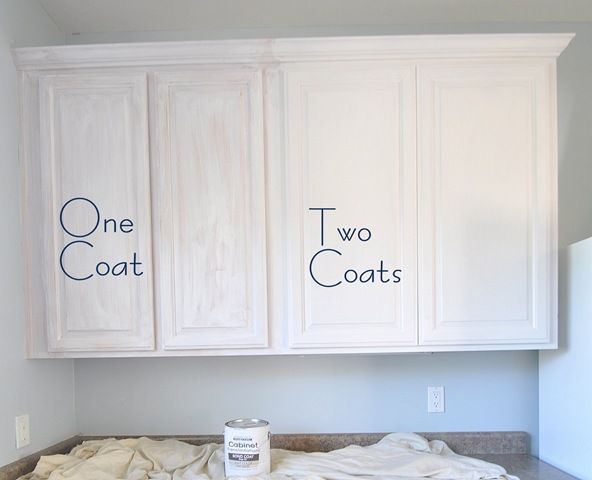
For some cabinets, you need to add another layer of paint and let it dry. In fact, almost every cabinet needs an additional layer – this will make the cabinet fresher and you’ll also want to use a roller and brush to complete the second layer.
Put everything back
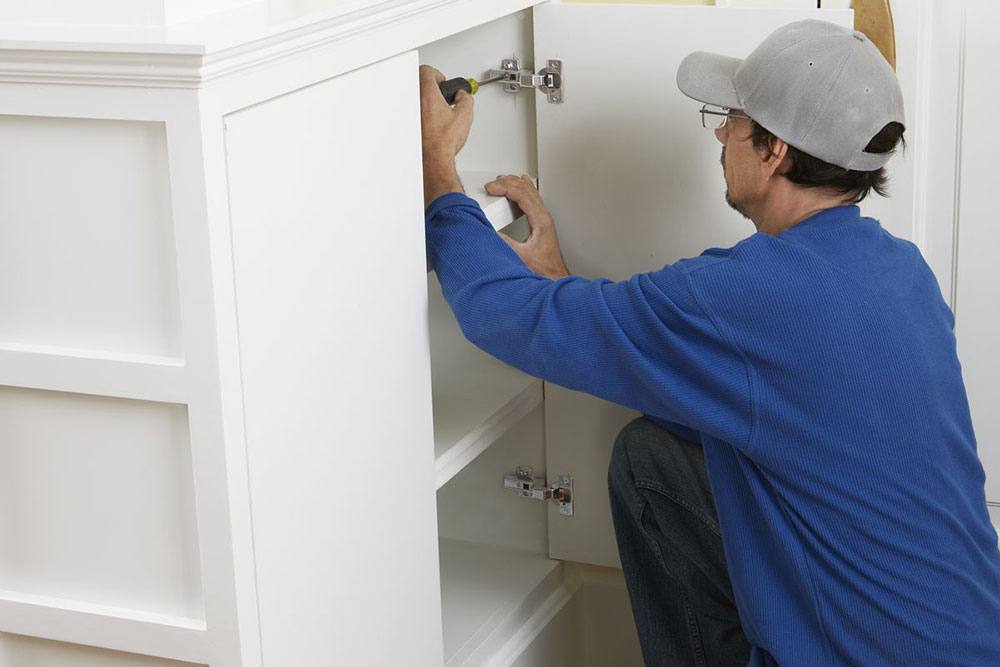
Now let the paint dry for some time. After the paint has dried, you want to reattach the drawers and doors to the cabinet. You need to use a drill or screwdriver to get the job done.
Finally, you can start moving the cabinet around and fix everything. Hopefully the closet looks brand new now.
How to paint kitchen cabinets without grinding. There is no science, you just have to buy the right tools for the job.
If you enjoyed reading this article about painting kitchen cabinets without grinding, you should also read this:
 TopsDecor.com Home Decor Ideas
