Surely almost every laminate owner has at some point thought about how a wet laminate floor can be repaired. Water can cause catastrophic problems, not only for the laminate, but also for the floor below. Mold and moisture creep in, leading to bigger problems that further damage your laminate.
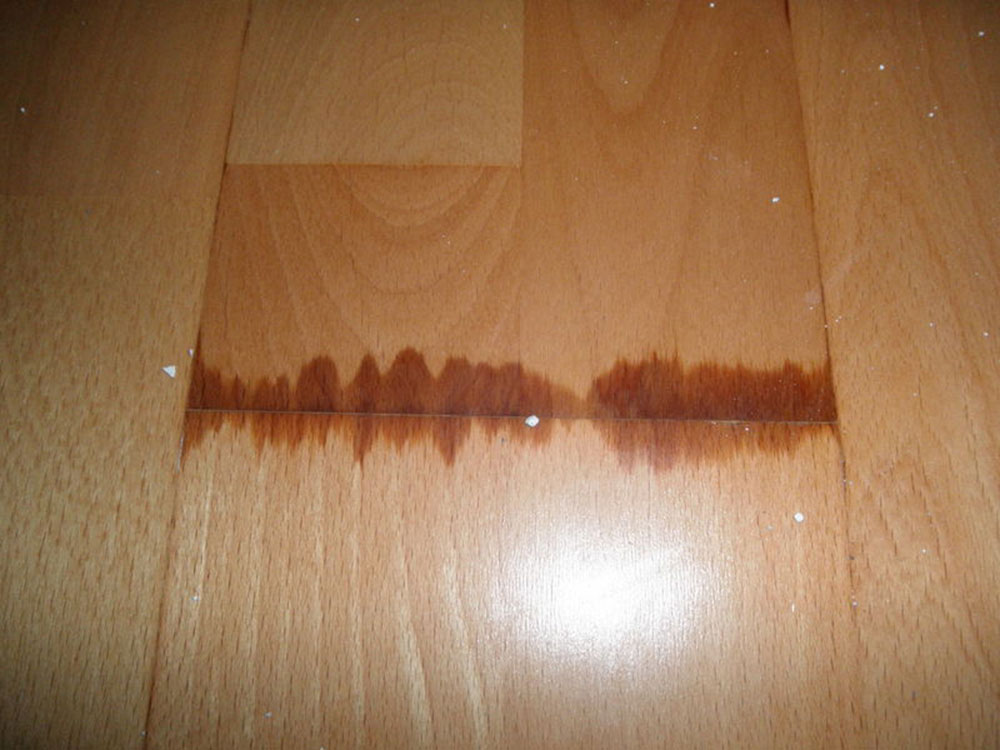
Now a small puddle of water is unlikely to cause many problems when spilling your cup, as it can dry quickly. We’re talking about major leaks that cause significant damage if not dealt with immediately.
That is the disadvantage of laminate, especially when compared to real wood. The latter can be easily repaired and sanded, while you simply cannot afford it with laminate. As soon as it gets wet, it absorbs the water and moisture and the material begins to disintegrate quickly. One of your pipes may be leaking and the water may collect on the laminate. This leads to problems over longer periods of time.
Sometimes you need to first fix the cause of the leak and then focus on the laminate. Here we look at how to repair a wet laminate floor.
Water collects on top of the laminate
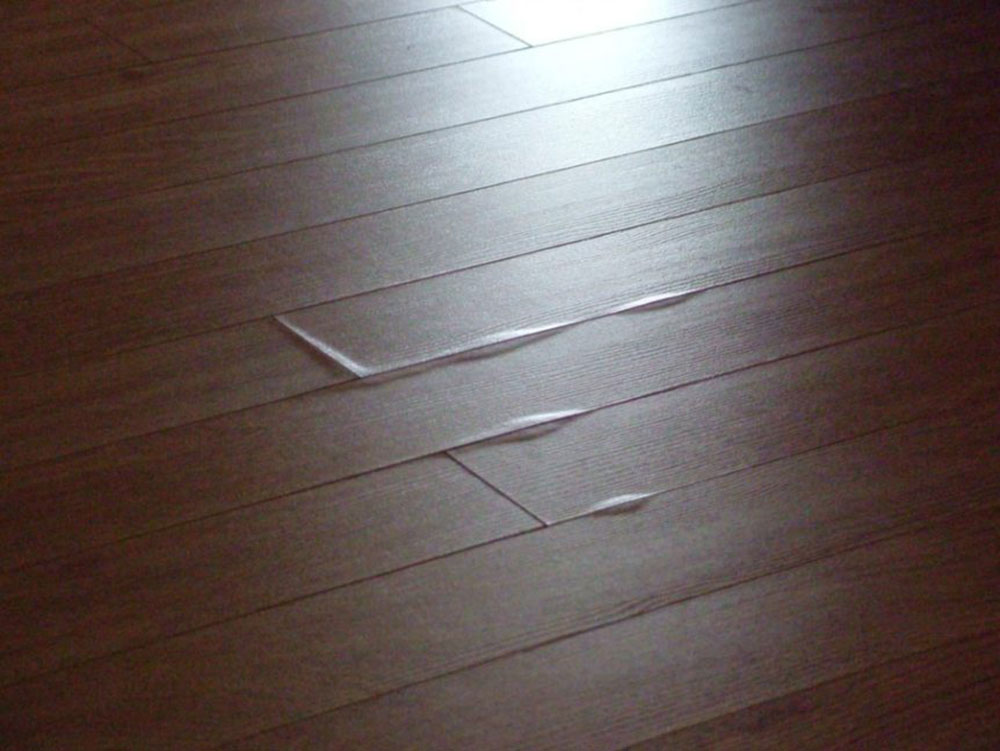
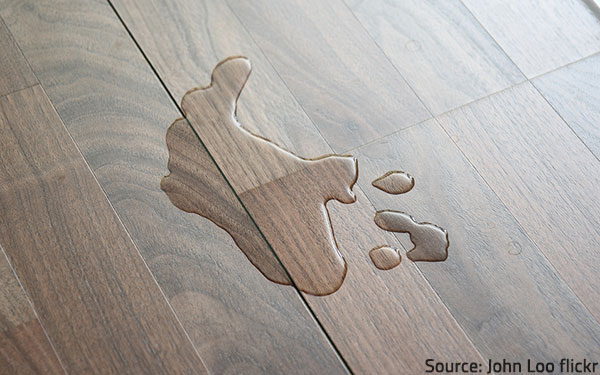
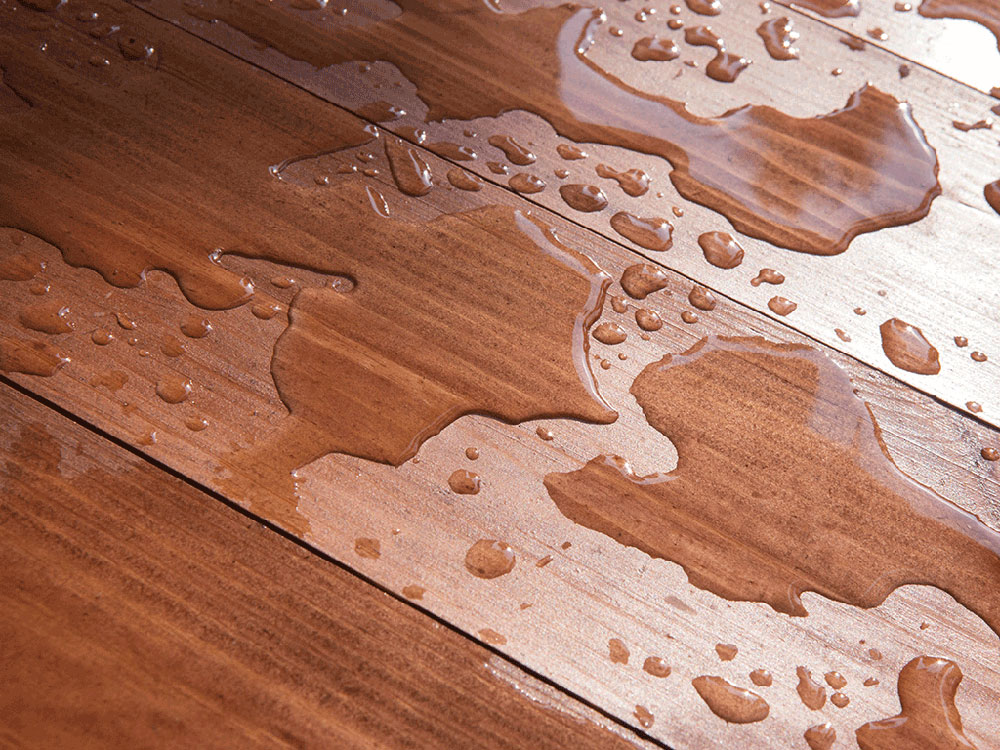
Water will accumulate on the laminate and you should not allow it to penetrate the seams and sides of the laminate as it is more difficult to remove. This is a preventive measure for fixing a wet laminate floor.
As long as the laminate is not saturated and overwhelmed by the water, it will not be damaged. Then you should act immediately and wipe the water by patting a piece of paper, towel or sponge. However, if there is a massive, uncontrollable spill, the damage will inevitably occur and not just on the top layer of the laminate. The seams and cracks between the laminate pieces penetrate into deeper layers and cause the floor to bend, tear and bend under pressure.
It is important that you act as quickly as possible and mop up the water before it gets into the seams and edges. Once the edges come out it is particularly difficult to remove the water and the water will penetrate even further as the corners are often cut off. If it goes through the edges, use a wet and dry vacuum cleaner to remove it.
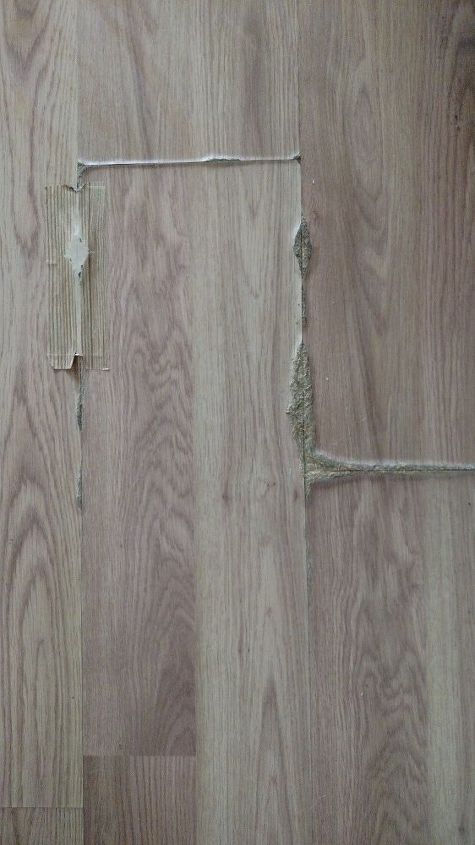
When the water penetrates through the seams, it inevitably reaches the fireboard core, causing the laminate to swell and tear. Take a wet book or a table, for example. These often consist of chipboard, which swell as soon as they absorb the moisture. Something similar happens when laminating. The signs of water that gets under the laminate are bubbles that rise from the seams, swell the laminate, bend and even crack.
In more severe cases, the tiles can be torn apart by water and cause irreversible damage. The best way to check this is to check each tile individually and press on the plank to see if it shows up. Be critical when examining and notice even the smallest movements of the tile. This can mean damage and may need to be replaced.
How to repair a wet laminate floor
Let’s talk about how you can get the best out of such a situation. Note that in some cases there is no choice but to replace the laminate completely. If the damage is too large, you need to replace the entire room. And that can lead to high costs.
In some cases, the damage is so great and in such places that you need the help of a professional. There is only so much you can do alone, especially if the water has already done its damage. We are talking about laminate damage control and laminate replacement. Hopefully you have some laminate packs left over from the installation. If not, you may need to get them now.
You may need to remove the laminate from where it was damaged. If the damage were done in the middle, you would probably need a circular saw or a fine saw blade.
We are talking about controllable damage and the corrections that you can make yourself. It will take some DIY knowledge and a little practice, but hopefully you will find these exercises helpful. If you can correct the situation, you can do so with the following steps.
Stop the leak
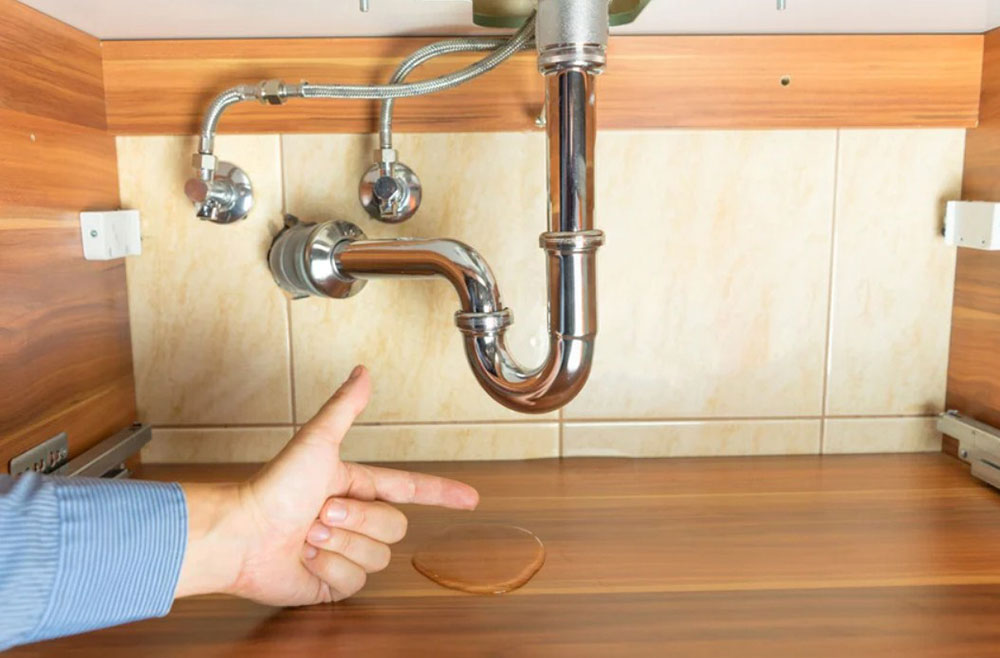
The first step in fixing a wet laminate floor is, of course, to locate the leak source and control the leakage. There can be several reasons for floods, including problems such as faulty equipment, leaky pipes, leaky toilets, and floods. These are the most common and some can be controlled.
Finding significant leaks shouldn’t be too difficult. If you still cannot, contact a local water damage restorer for help.
Check and assess the damage
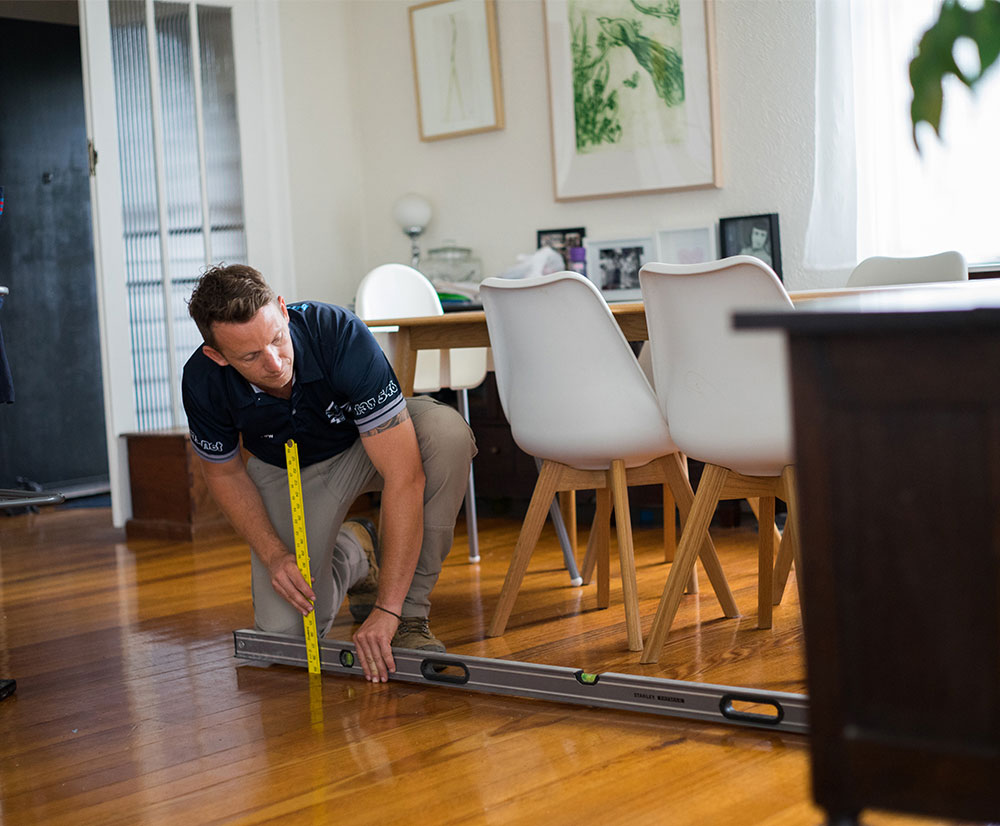
This next step requires your undivided attention. Try to find the damaged areas by simply examining each tile for bubbles, warping, bending, and other signs of damage. When you locate these areas, mark them with a marker or some other type of marker so that you can better remember where they are. Knowing where the damage was caused is important to identify the next steps you should take.
Remove the damaged laminate tiles
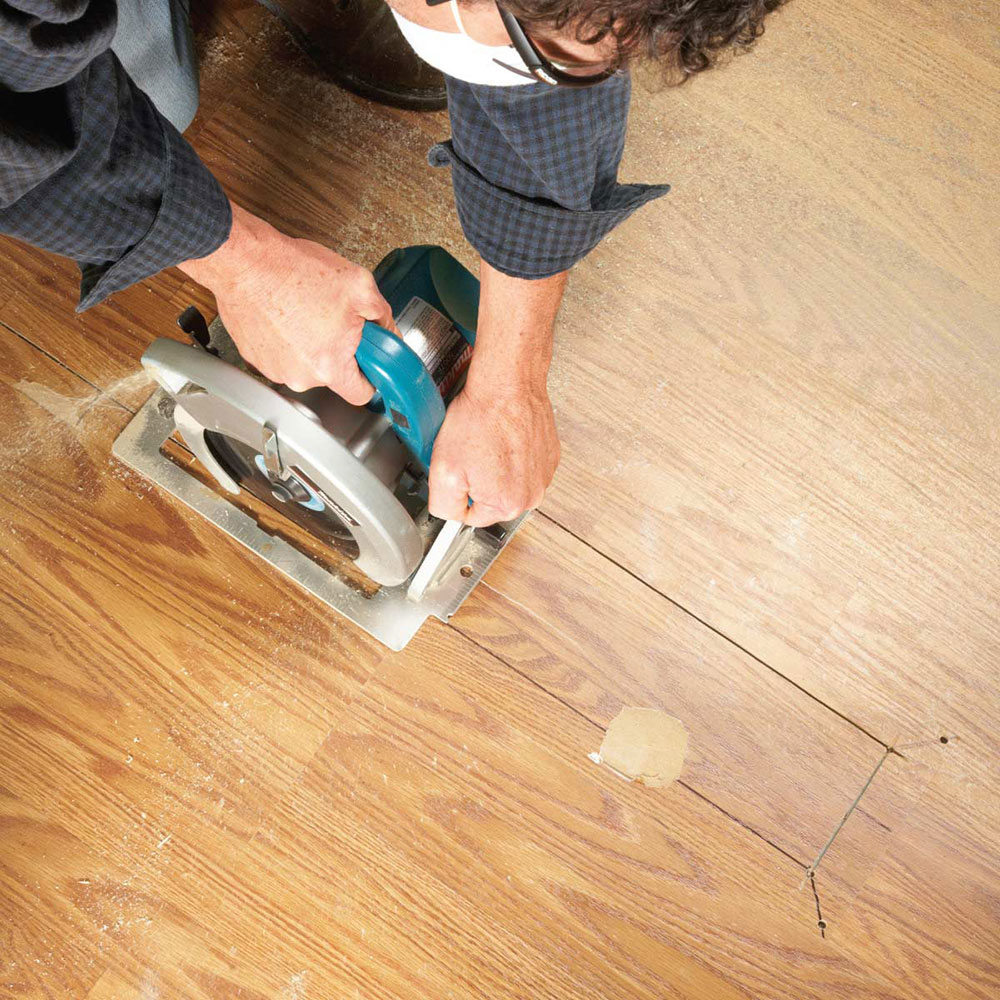
Now it’s time to get to work. Before you can install new tiles, you must replace the damaged ones. By now you should have evaluated which ones are damaged. For this step you need:
- A hammer or a crowbar
- A utility knife or saw would also be helpful
- safety goggles
Pry up the damaged tiles with the knife and try to remove them one by one. Remember to wear safety glasses so that no dirt or dust gets into your eyes.
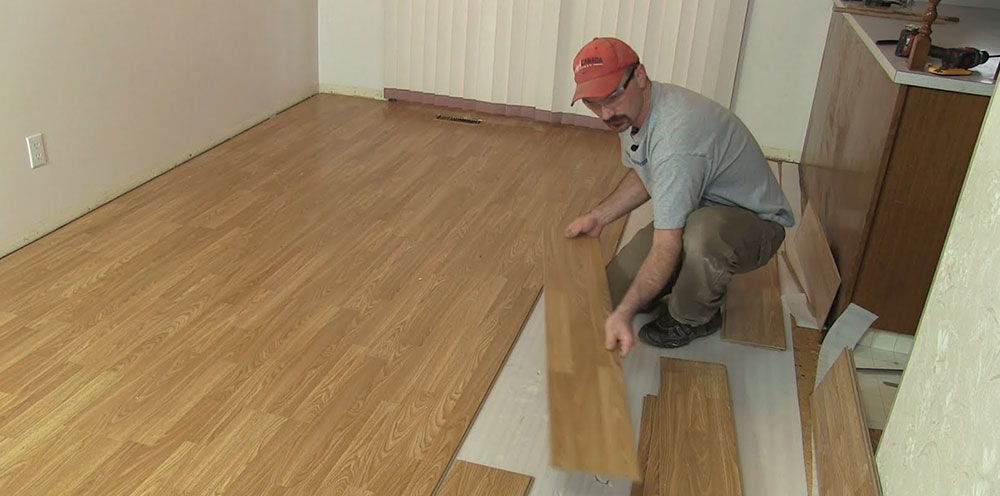
Then remove the baseboards under the tiles that you just removed. Now you should be able to see the floor just below the area where the leaks occurred and you can see the damage (mold, dust) caused. Try not to damage the baseboards too much. To do this, slowly remove them one by one.
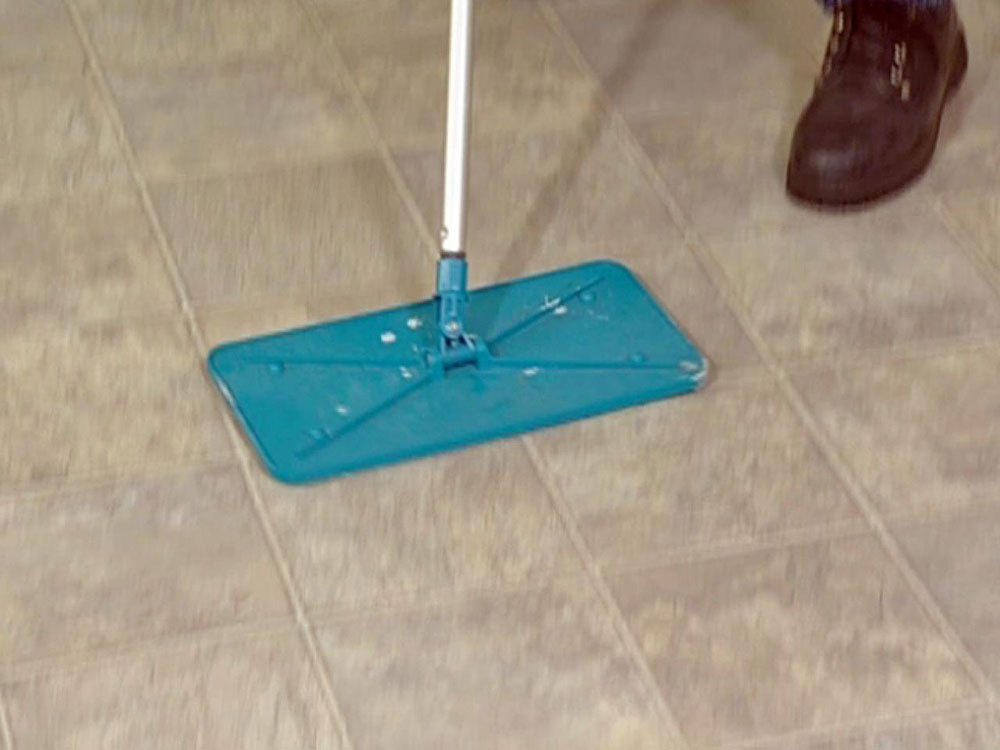
Before adding new laminate tiles, you should clean everything under the tiles. If the area is wet, use a cloth or sponge and wipe the damp areas until they are completely dry. It can be a good idea to let it dry for some time or to dry it with a hair dryer. Then wipe off the dust and clean up the area. You can now continue to replace the tiles.
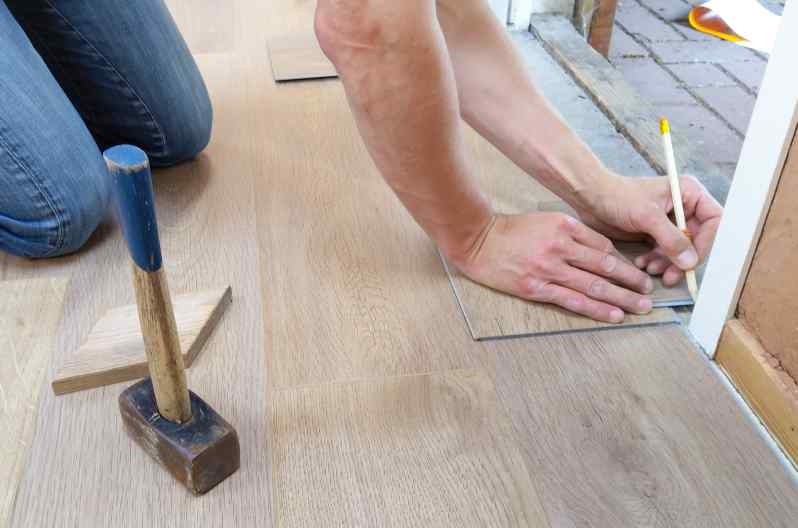
Replace the tiles with new ones
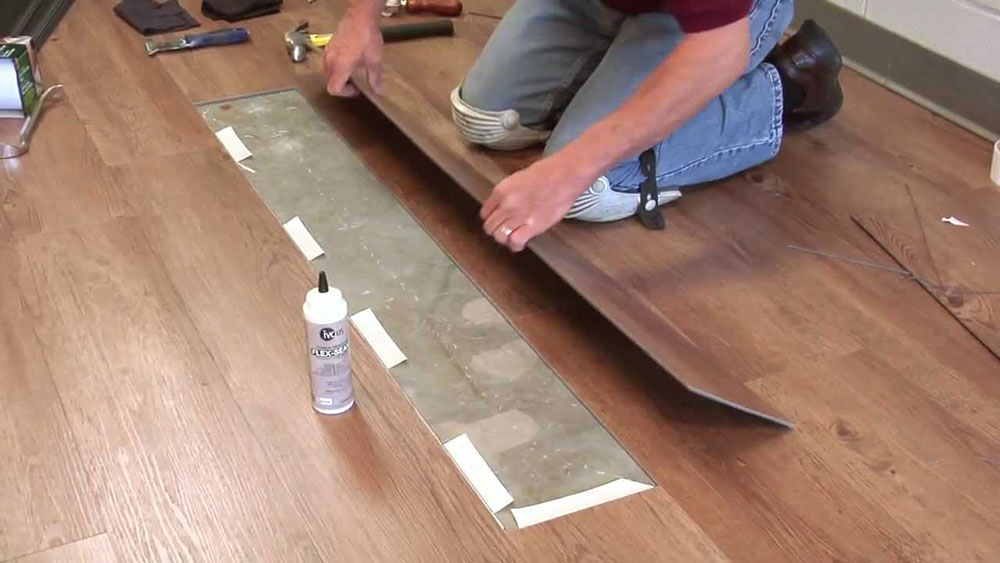
Next up may be the hardest part – replacing the tiles. We say challenging because we expect you to be a beginner in this area. For advanced DIY enthusiasts, this will be a breeze.
One thing you need to make sure is that the planks you use are the same as the rest of the planks. If you have something left, that would be ideal. If not, you can go to your local store to get them. Just make sure they match yours as closely as possible. Take a sample with you for safety.
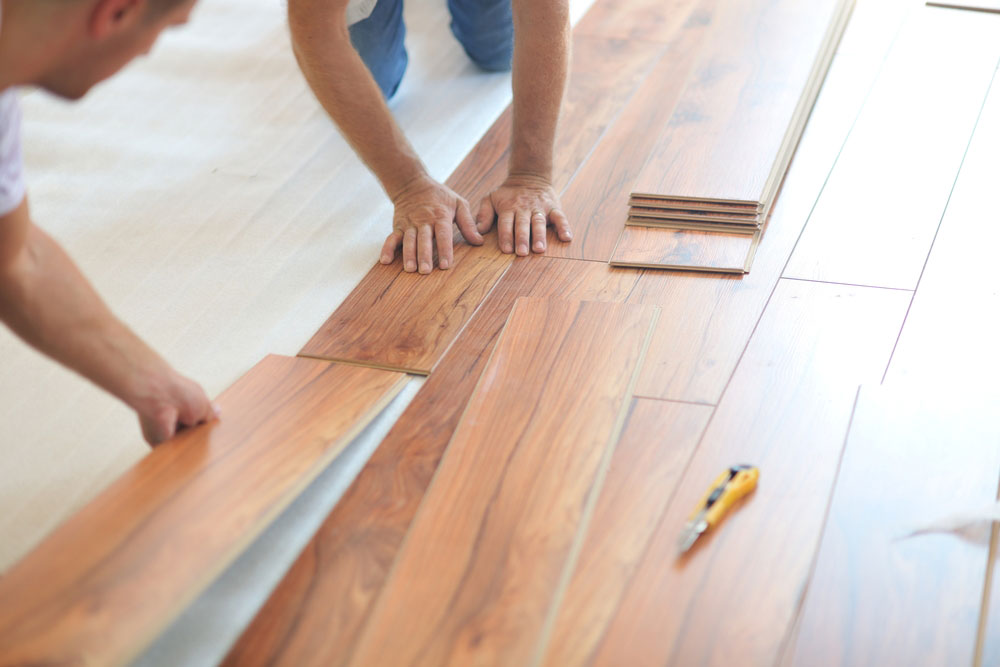
You also need floor glue to reconnect the tiles. Now put the tiles right next to the existing tiles and try to squeeze them as tightly as possible (but not too close so you can add glue later). Avoid nails and other potential hazards that arise earlier.
Then apply the glue between the tiles. Add just enough to make them stick. Then place a heavy object on top of them to make them stick better. Let them stand for a while and clean the glue.
Final thoughts on how to repair a wet laminate floor
Once you’ve completed the process, you may want to wipe up all the tiles and clear the mess.
And there you have it; How to repair a laminate floor that got wet relatively quickly. You need some patience. In the event of major damage, contact a specialist and try to make insurance claims (if this is possible at all).
If you liked reading this article about repairing a wet laminate floor, you should also read this:
 TopsDecor.com Home Decor Ideas
