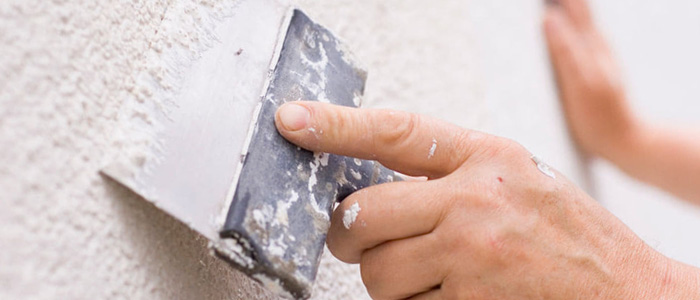
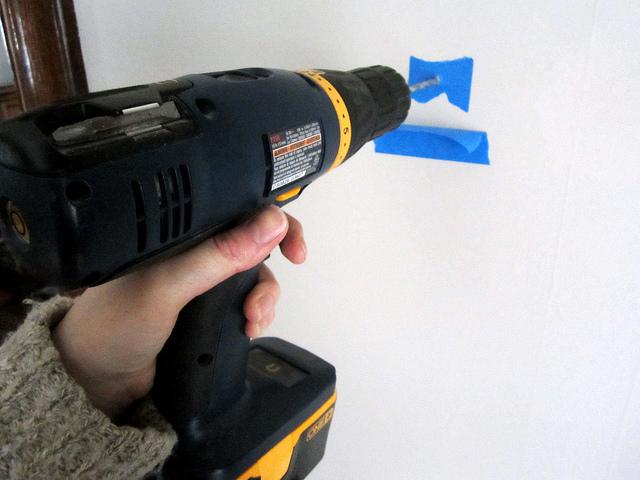
Cleaning walls are common. And when you’re moving to your new home, you may have recently discovered that your walls are made of plaster. Hammering a nail into the plaster wall to hang a picture may not be the most effective tactic. However, it is still possible to hang pictures anywhere in your house.
There are various ways of plastering old walls: over wooden slats, over rock slats, wire slats or large 16 × 48 drywall boards. Wire battens are often found in old houses, especially behind tiles. The walls were plastered with three or more layers, which made the walls harder and, for example, made it much more difficult to hang pictures.
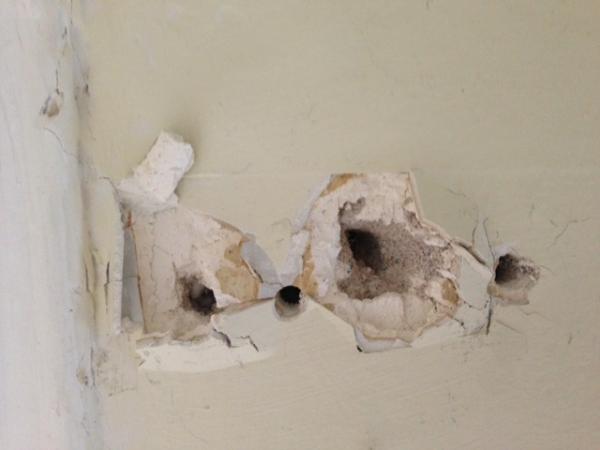
One thing is certain: driving nails into the plaster is a quick way to ruin and damage your plaster. You may not notice the damage at first, but you may find that the plaster will peel off the walls over time if it is not checked. How can you hang pictures on plaster walls without causing damage?
Let’s take a look at the best ways you can put pictures on plaster walls without ruining them.
The basic differences between plaster and drywall
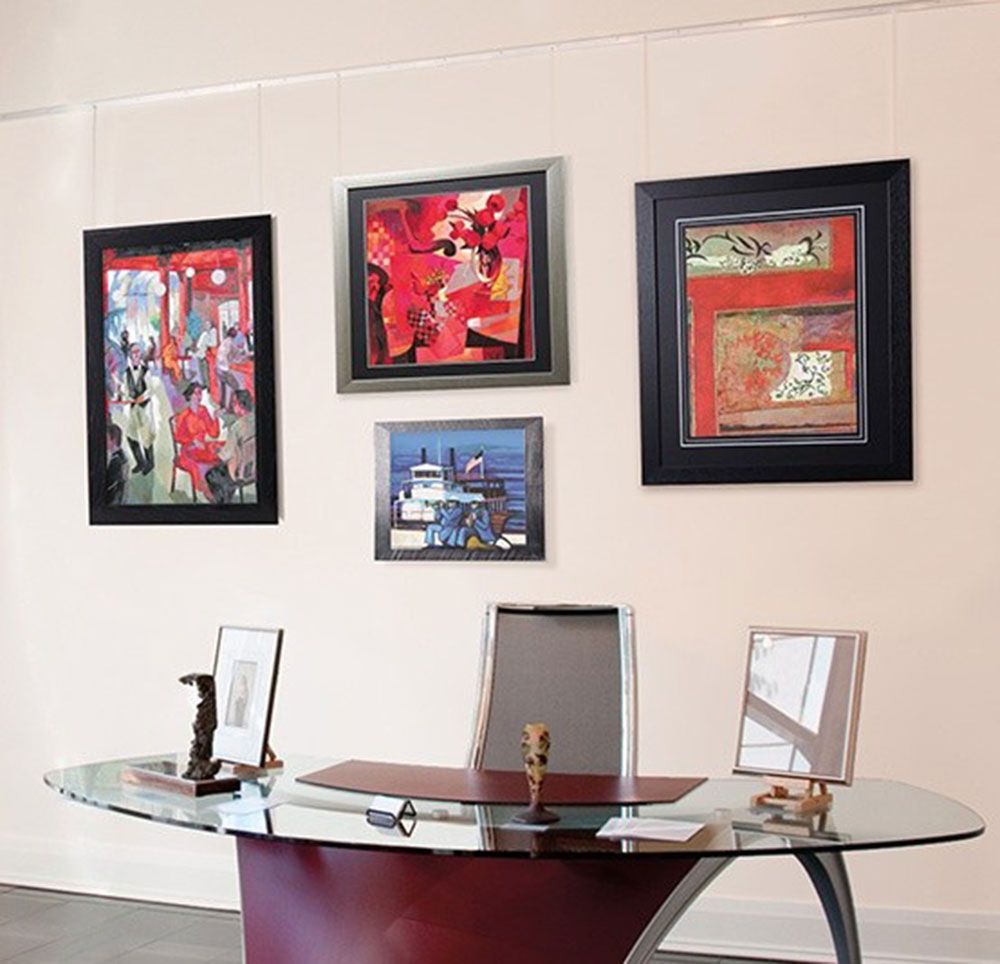
Image source: AS hanging display systems
If you want to use the traditional devices for hanging objects on the walls, they are most likely suitable for drywall and not plaster. The entire complexion changes – from finding the pencil in the wall to using the right tools and fasteners.
Here are the main differences between plaster and drywall.
- Plaster, especially historical plaster, is significantly thicker. Drywall is ½ “thick, while plaster can be 1” thick, or sometimes a little less, but still thicker.
- Plaster is significantly harder and more brittle than drywall.
- Behind the plaster (usually wood, metal or stone) there is a slat that supports it, while drywall has nothing behind it.
- The differences between the two mean a completely different method of hanging pictures on plaster walls.
Method 1: For light pictures with adhesive tape
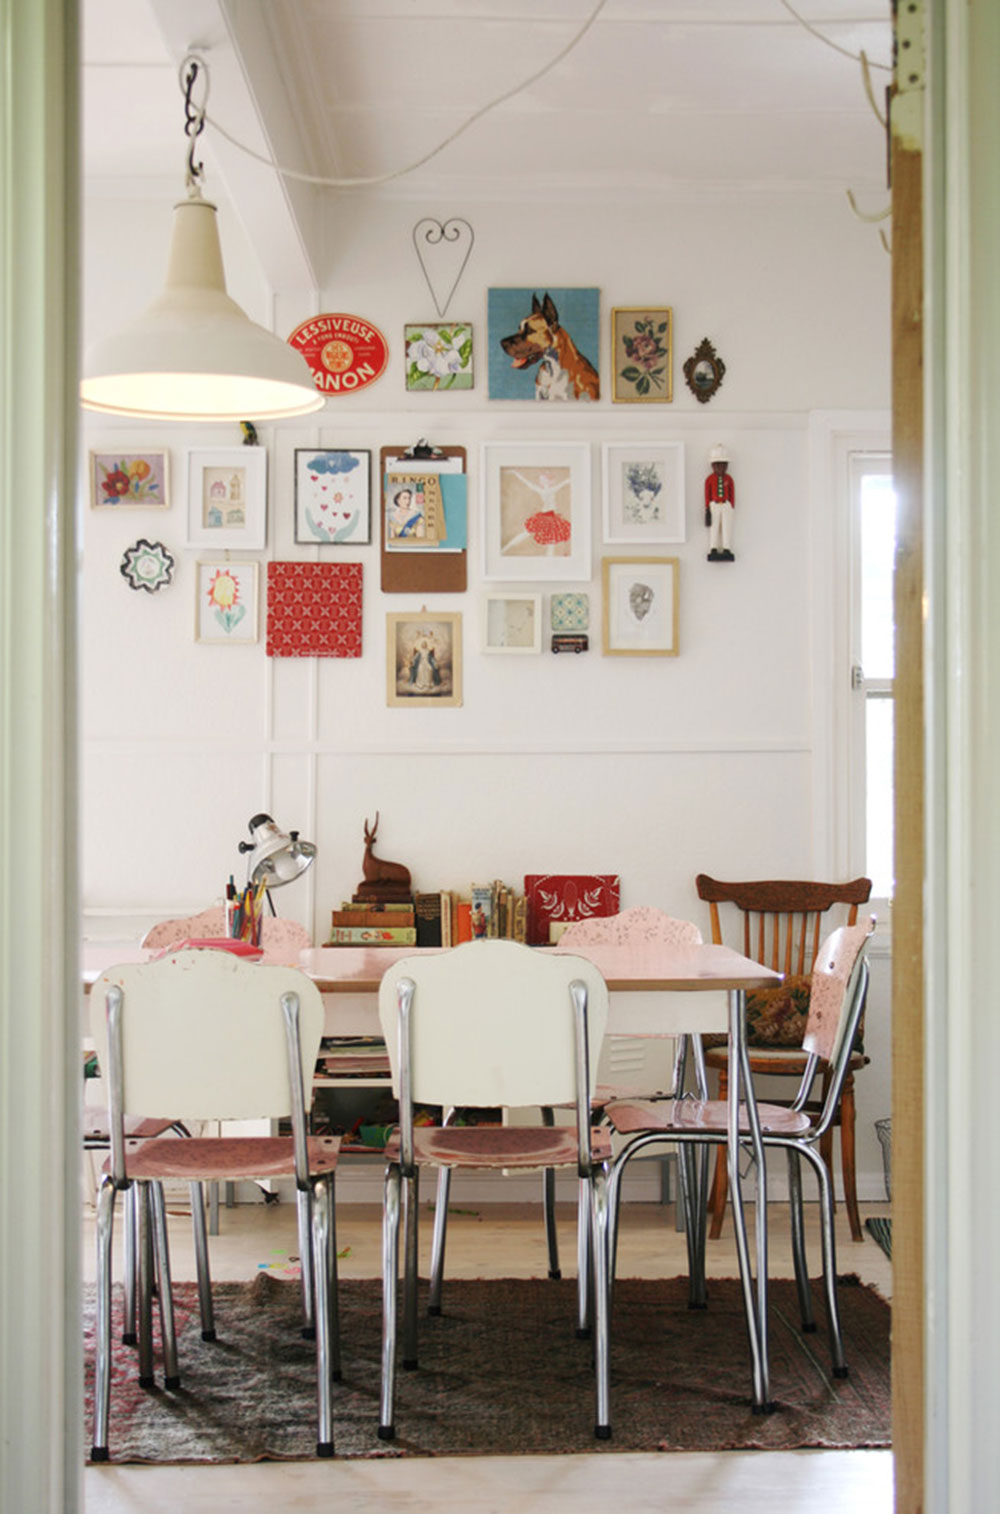 Image source: Sweet William
The first thing you want to do is weigh the picture you want to hang up. For this method, we look at pictures that weigh 2.25 kg or less.
You also need to consider the average humidity in the room. If the room is damp or at least above average when it comes to this aspect, this method doesn’t work very well. The adhesive tape loosens due to moisture and weakens quickly.
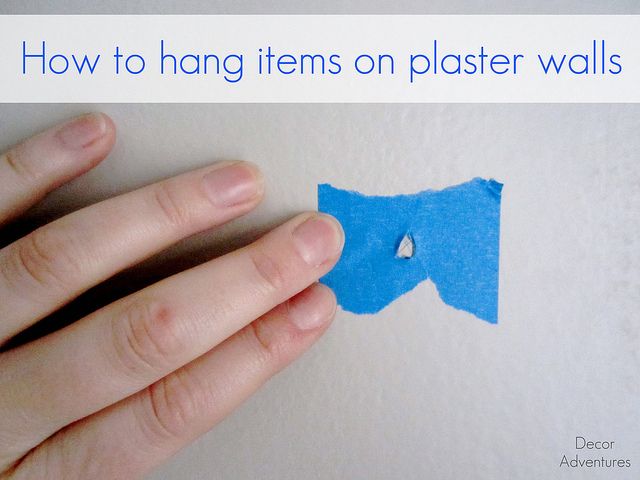
Here are the steps for hanging pictures on plaster walls with a self-adhesive hanger.
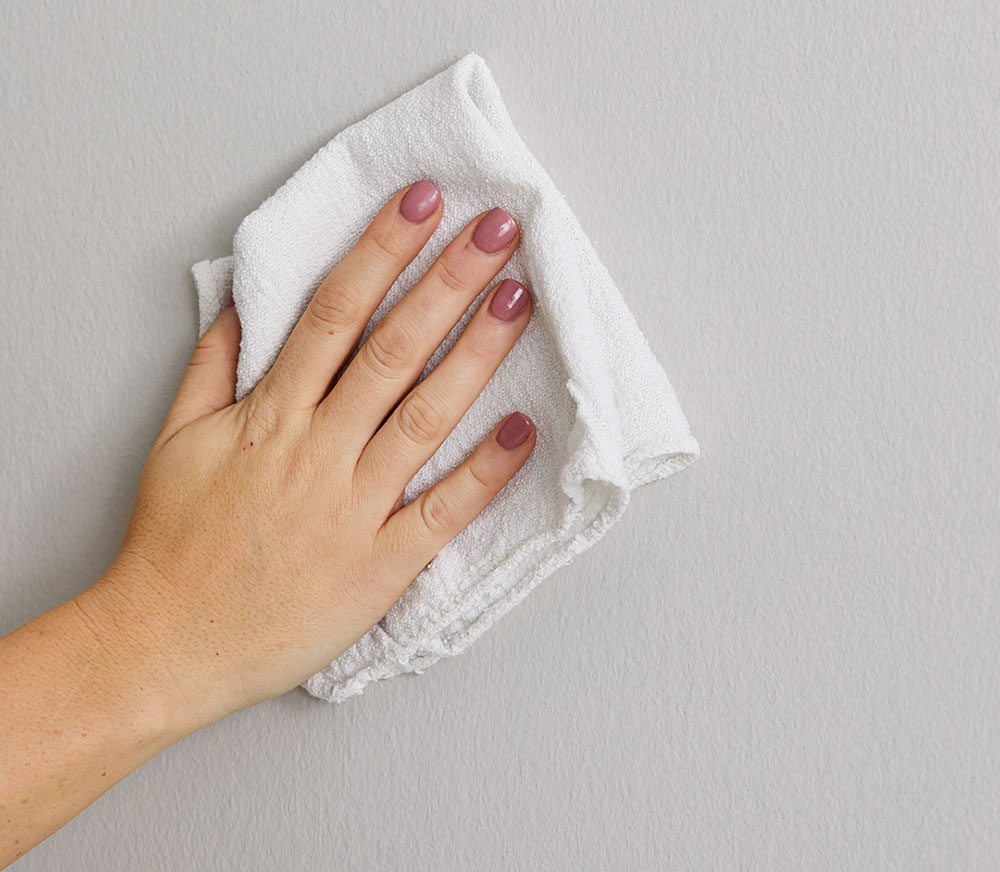
- You must clean and dry the plaster surface well before using the adhesive bracket. A damp surface removes the oils and the coat hanger does not adhere very well to the plaster surface. Make sure that the plaster wall is completely dry. This way you can not only use the hanger, but also prevent moisture and mold. Clean the wall with warm water and liquid soap.
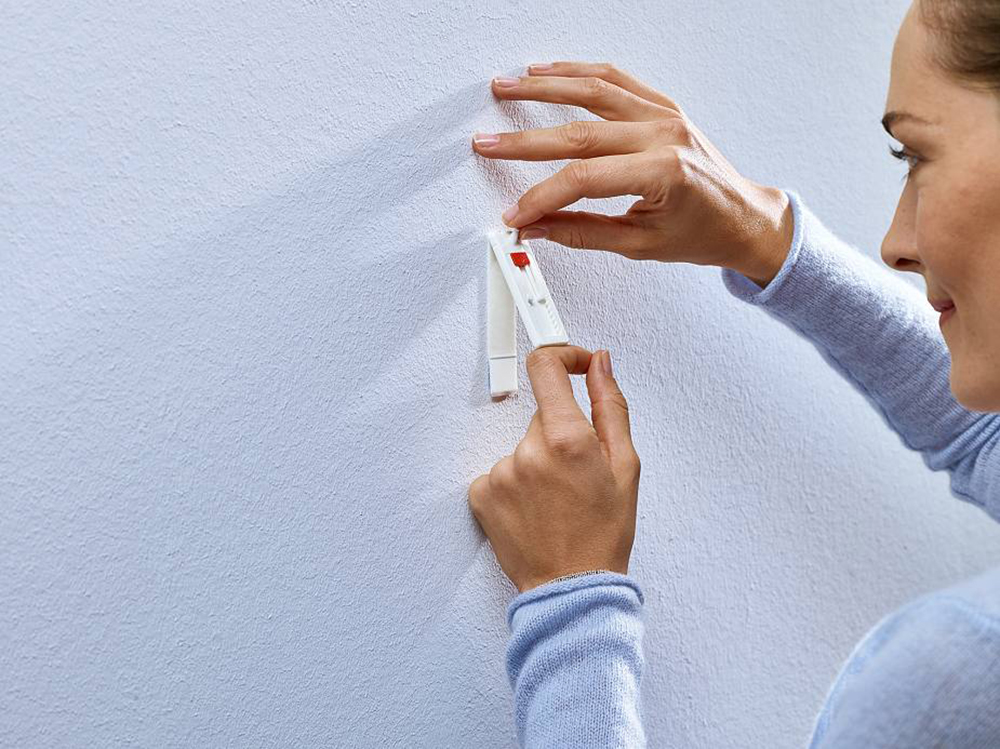
- Next, you want to choose the appropriate adhesive bracket. You can find self-adhesive hangers in all shapes and sizes. Choose the one that you think can easily take the light image. You need to read the hanger packaging to see how much weight it contains. This will vary from brand to brand.
- Pay attention to picture hangers with double-sided adhesive tape – these should easily suffice for pictures without a frame. A plaster hook is probably the best here.
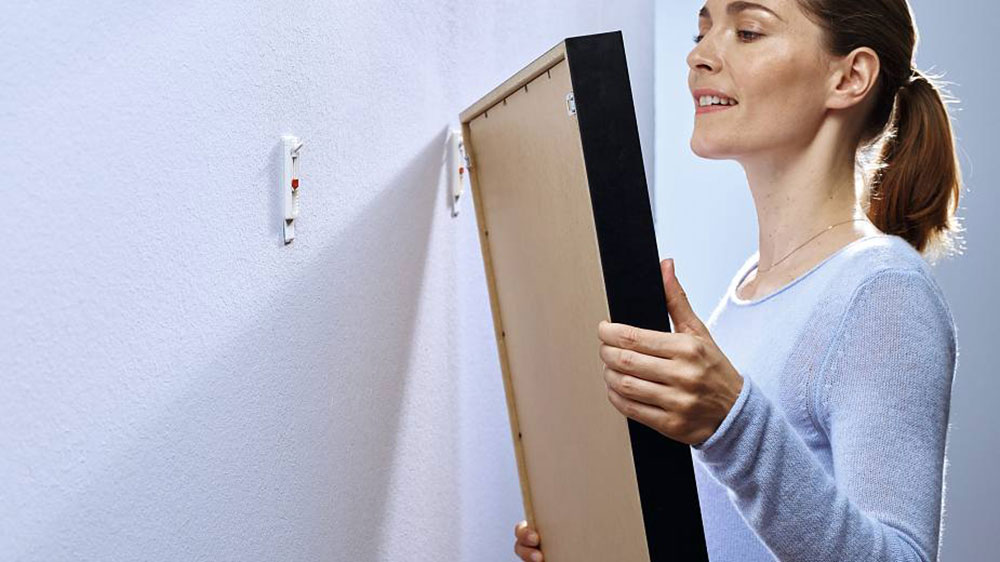
- Finally, attach the adhesive hook to the wall. You have to determine which side of the adhesive square is the “wall side” and which is the “hook side” of the coat hanger. Then you want to attach the wall side to the wall and press the hook side. If the hook for the photo frame is too thick, you should use two hooks for the bottom edge of the picture. Make sure you position the hooks evenly.
Method 2: For medium to heavy pictures with screws and wall anchors
 Image source: STAS picture hanging systems
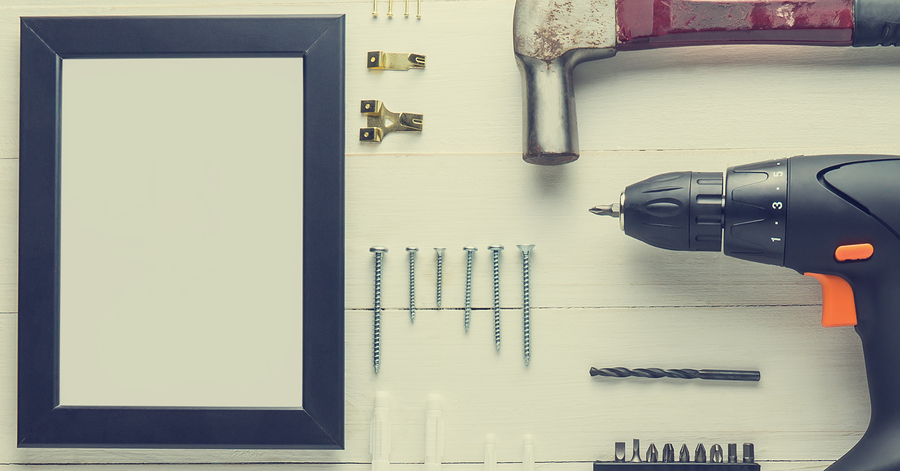
Adhesive tape is not enough for slightly heavier pictures. Instead, you should use screws or screws with masonry anchors for the somewhat heavier pictures. To do the job, it is probably enough to screw the plaster in with a 1 ¼ ”drywall screw.
It is better if you place the screws and anchors so that they meet the wooden slat behind the plaster. This makes it a little more durable and provides additional support. It’s pretty easy to tell if you’re hitting the crossbar, as the screw usually grips better. Don’t worry if you miss something – just take out the screw and aim half an inch from where you last tried.
Find out how to do it Hang pictures on plaster walls with screws and wall anchors.
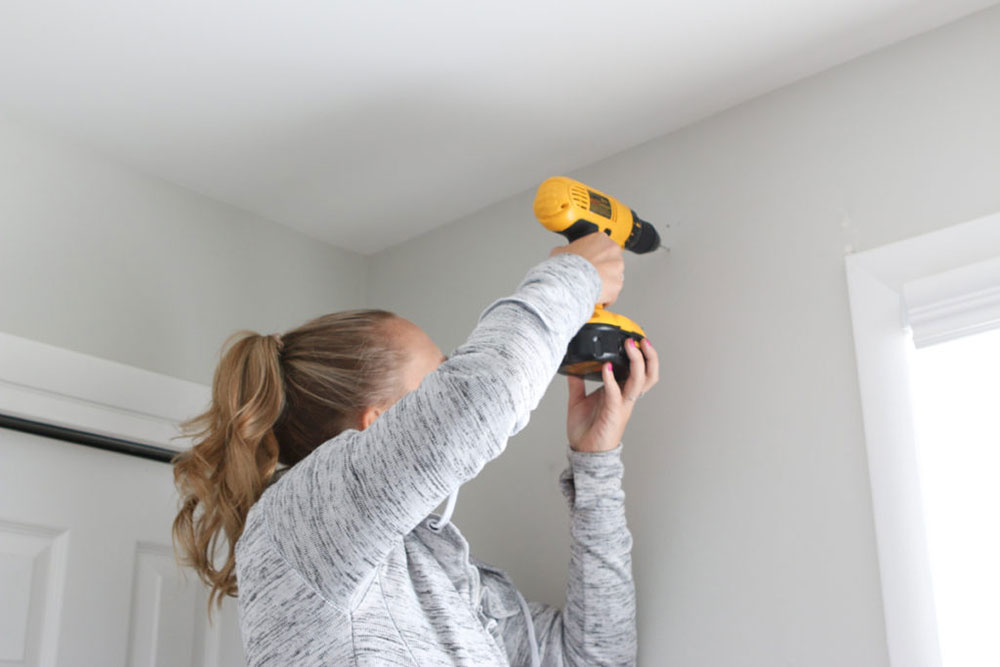
- I recommend that you use a 2 inch screw when screwing into a bolt. If you cannot find a bolt while screwing, you should use anchors.
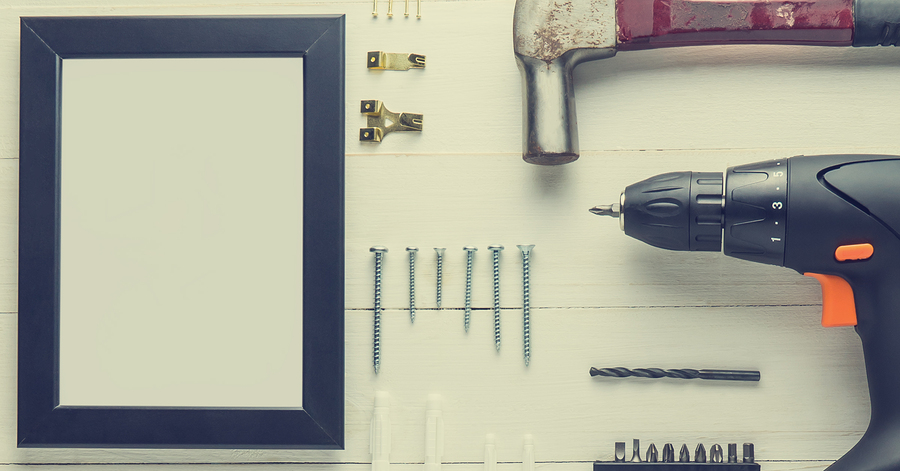
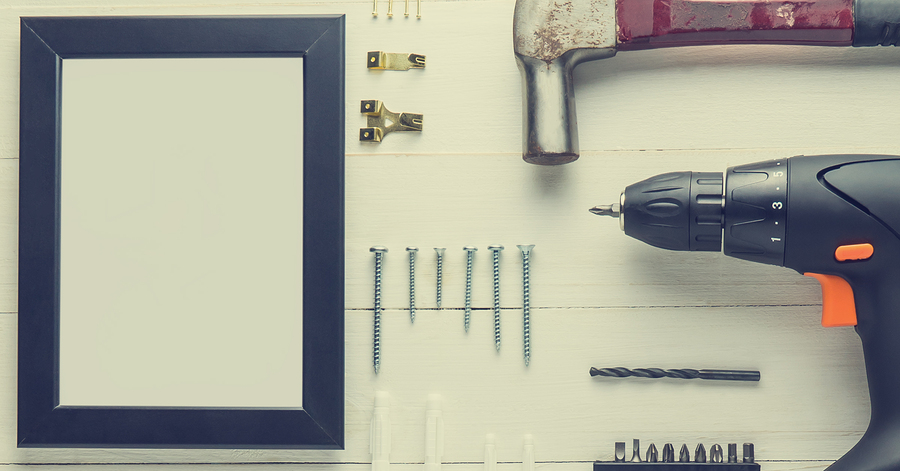
- Choosing the right anchor is important. Some anchors are simpler than others, and you can make many decisions here. The best you can get are masonry anchors, like the white ones in the picture. Or you can use screw-in anchors made of masonry, which you can screw into a pre-drilled hole in the wall. These items are great because they rely on a strong hold rather than drilling the holes in cavity wall cavities.
- Make sure the anchors are placed directly over the hole in the wall, and then tap them into the wall. Apply just enough force to push in the anchor without bending it, and yet enough to insert it.
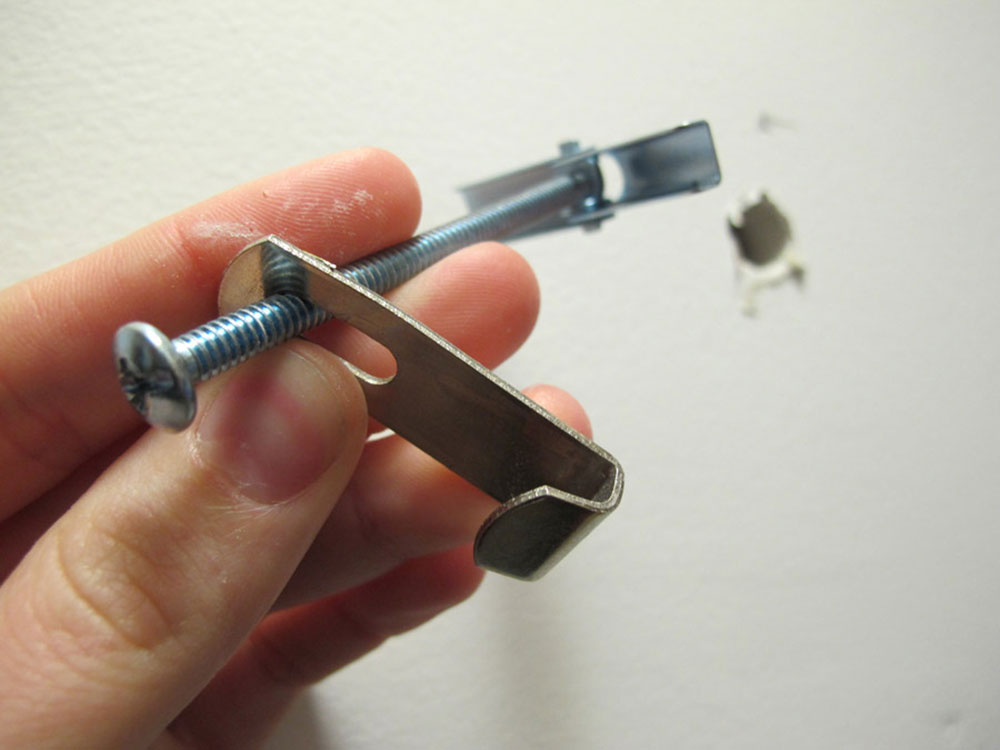
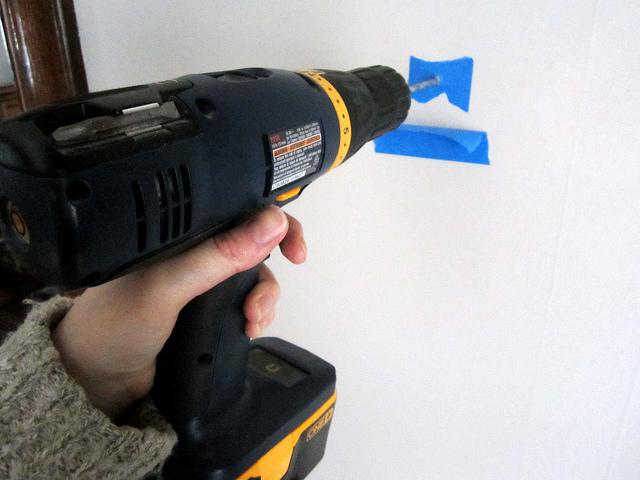
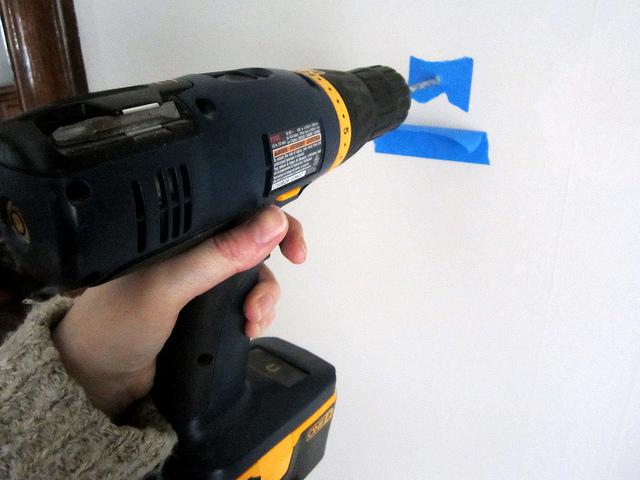
- Then insert the screw into the anchor. Use a screwdriver to push the screw into the anchor, making sure that you align it correctly. Do not screw until the anchor is flush with the wall. You may also want to use the drill to drive the screw. Go slowly and be careful not to screw too deep into the wall.
- Also make sure to put a small swab of seal over the hole before inserting the screw. It turns into the hole and closes it properly, preventing moisture from entering the hole. This will prevent mold and other moisture problems in the future.
- If you don’t like screws and anchors, you can consider an alternative: a wood screw as a hanger. If the screw can be built into the anchor, this is a great alternative.
Method 3: For heavy pictures with Picture Rail
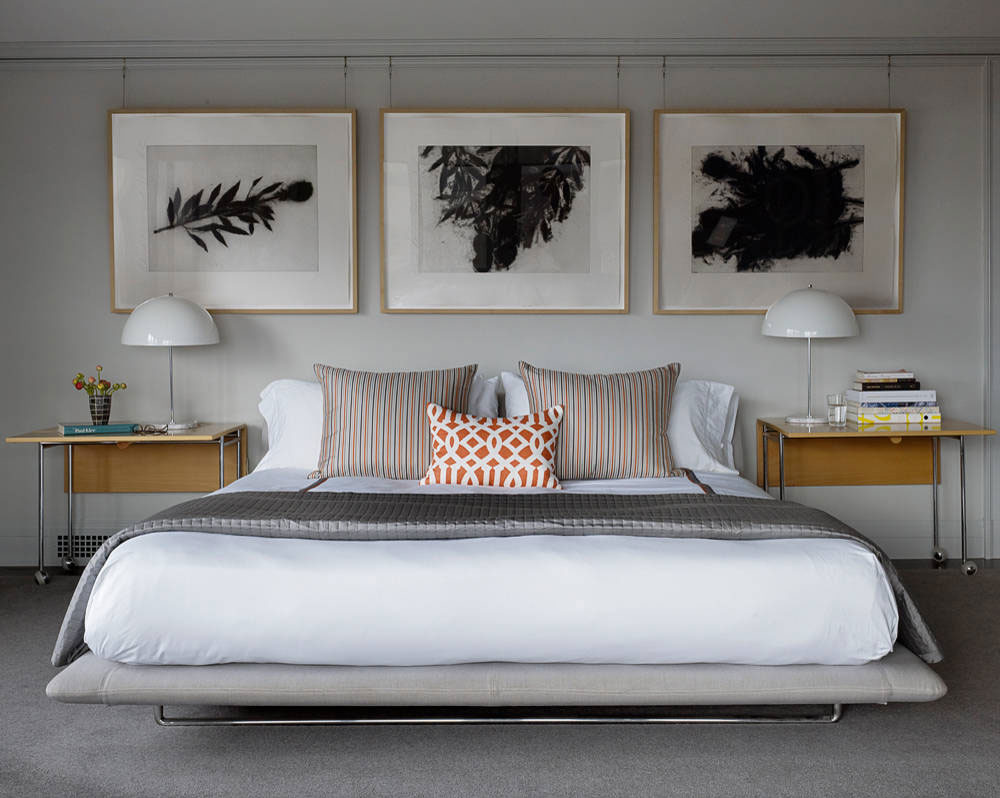 Image source: JKA design
A picture rail is a thin piece of horizontal molding that is usually about 12 to 20 inches below the ceiling. These were specially developed for plaster walls in order not to damage the wall too much when hanging pictures. They are great for heavier pictures because they are durable enough and won’t damage the wall.
Screen rails offer you space to hang pieces and works of art in your rooms, e.g. B. mirrors, works of art, pictures and particularly heavy objects that would normally damage the plaster walls. And you don’t even have to drill holes in the plaster.
Here are the steps.
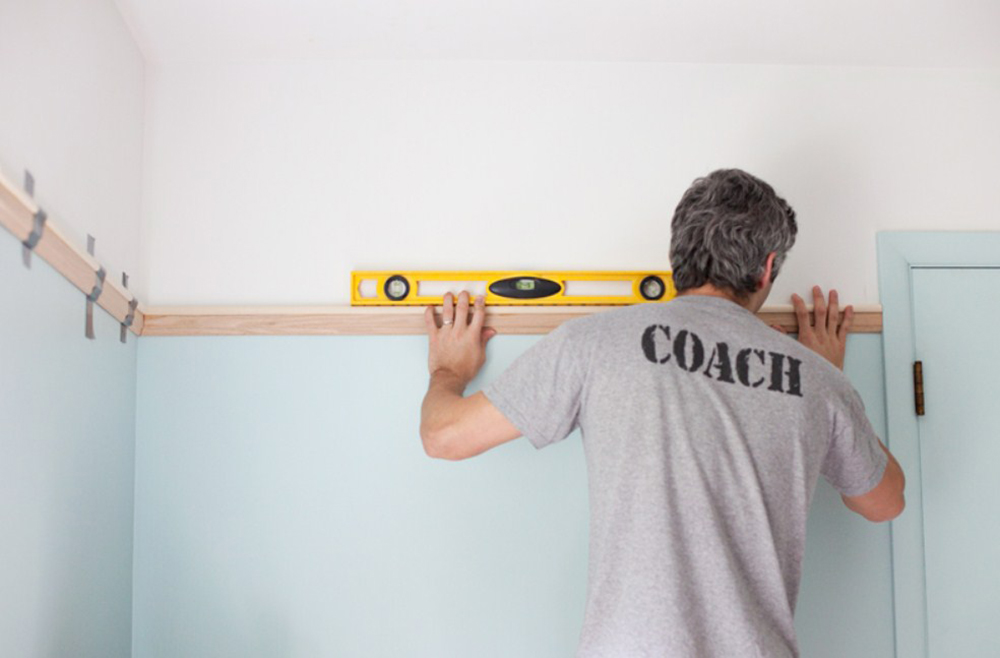
- The way to install the rail is to attach it to the bolts, which gives it superior holding strength and rigidity. The rail is installed on the top of the wall.
- The problem can arise if the ceiling is too high. In this case, the molded part can ring the room even higher. The shape of the cladding allows the metal brackets to clamp over the top, thereby supporting the wire and cable attached to the back of the picture.
- However, do not try to hang extremely heavy objects on the rail. It can only hold so much weight.
If you enjoyed reading this article about hanging pictures on plaster walls, you should read this too:
 TopsDecor.com Home Decor Ideas
