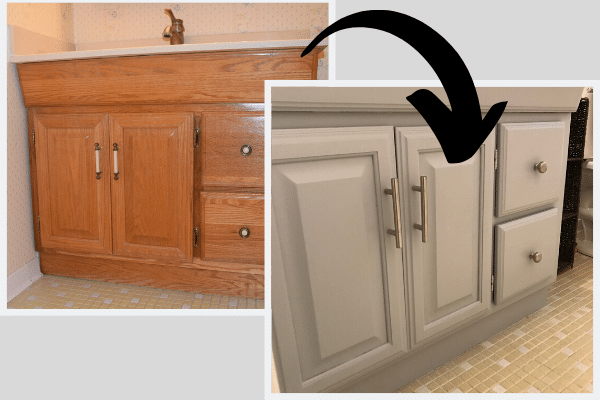
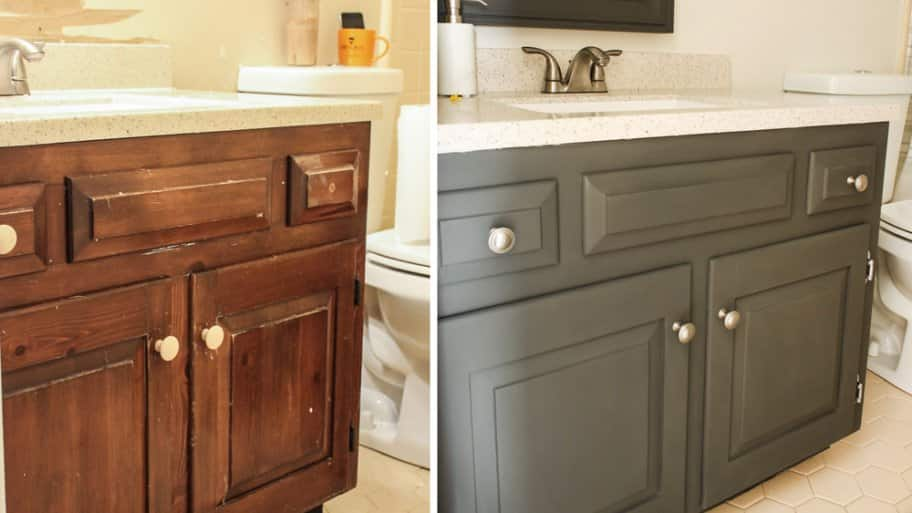
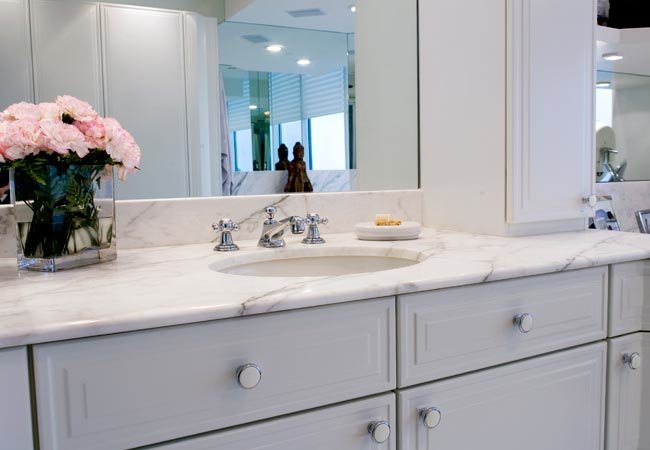
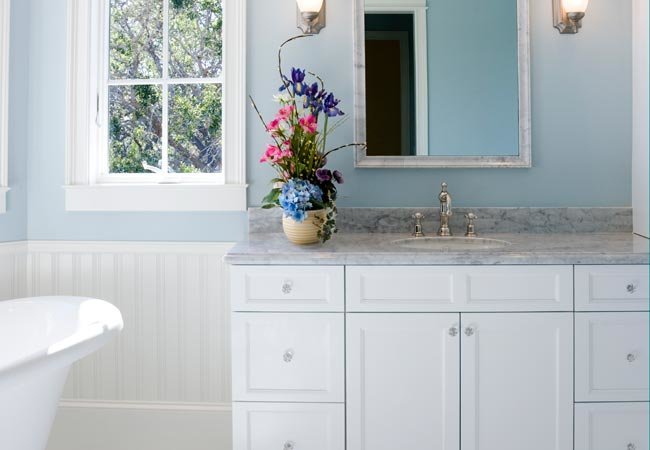
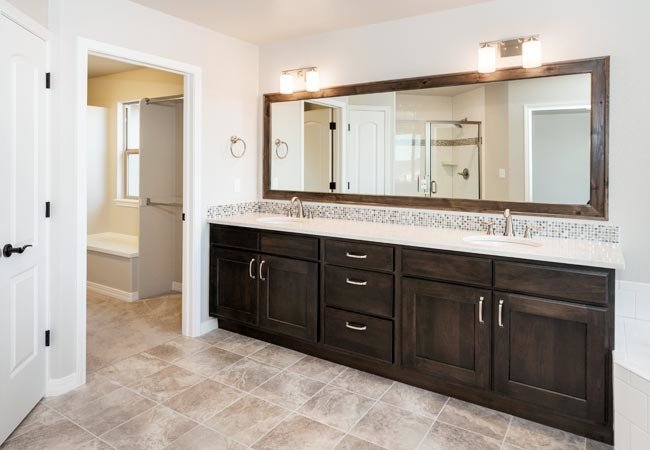
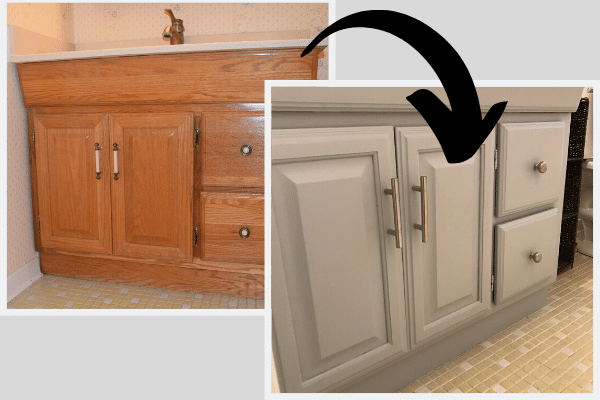
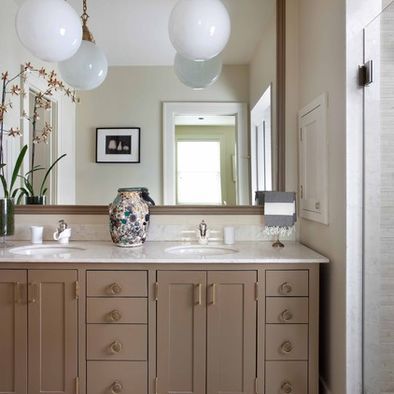
When you think of bathroom cabinets, you may not think there is much room for improvement. However, the truth is that even bathroom cabinets offer many opportunities for improvement. With a fresh coat of paint and a few new pull-out drawers, your bathroom cabinets will brighten your bathroom and make it appear new.
However, the painting process itself depends on the type of cabinet you have. Solid wood or wood based panels, you can still get pretty good results. Today’s furniture color is much more sustainable and adheres to almost any surface. Therefore, you shouldn’t have too many problems painting your bathroom cabinets.
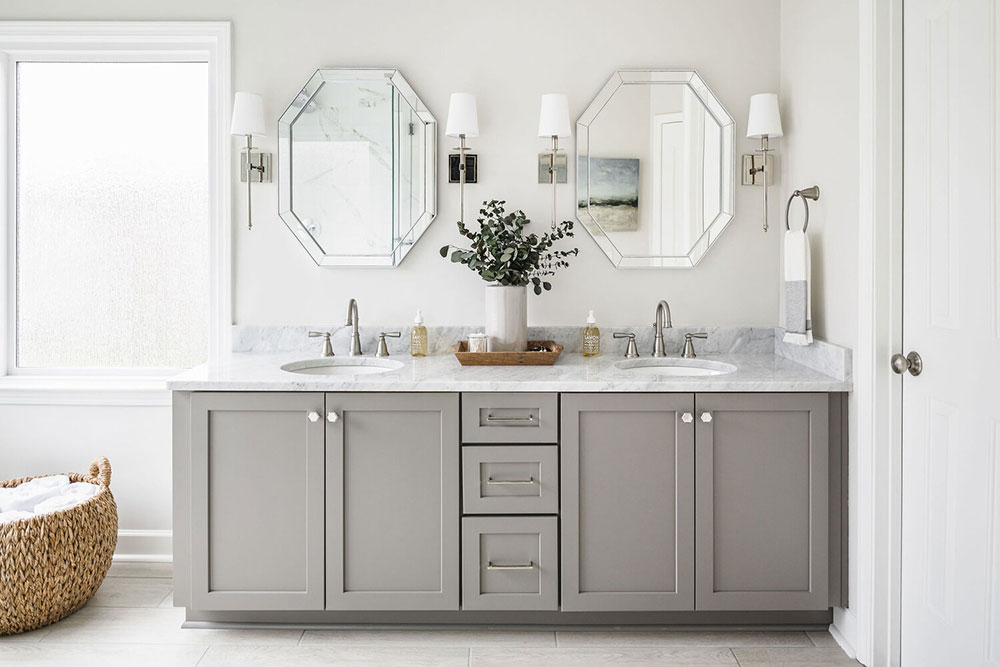
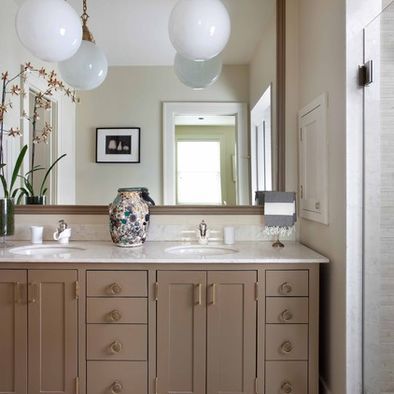
Image source: Delphinium design
If you are still having trouble painting bathroom cabinets, we are here to help. From careful preparation to detailed technology, we show you how you can do your job easily and effectively. Of course, you need some important tools to get the job done.
You will also need to remove all knobs and fittings from the cabinets to complete the job. In this complete and detailed guide, we’ll show you how to paint bathroom cabinets and make them look great.
What you will need
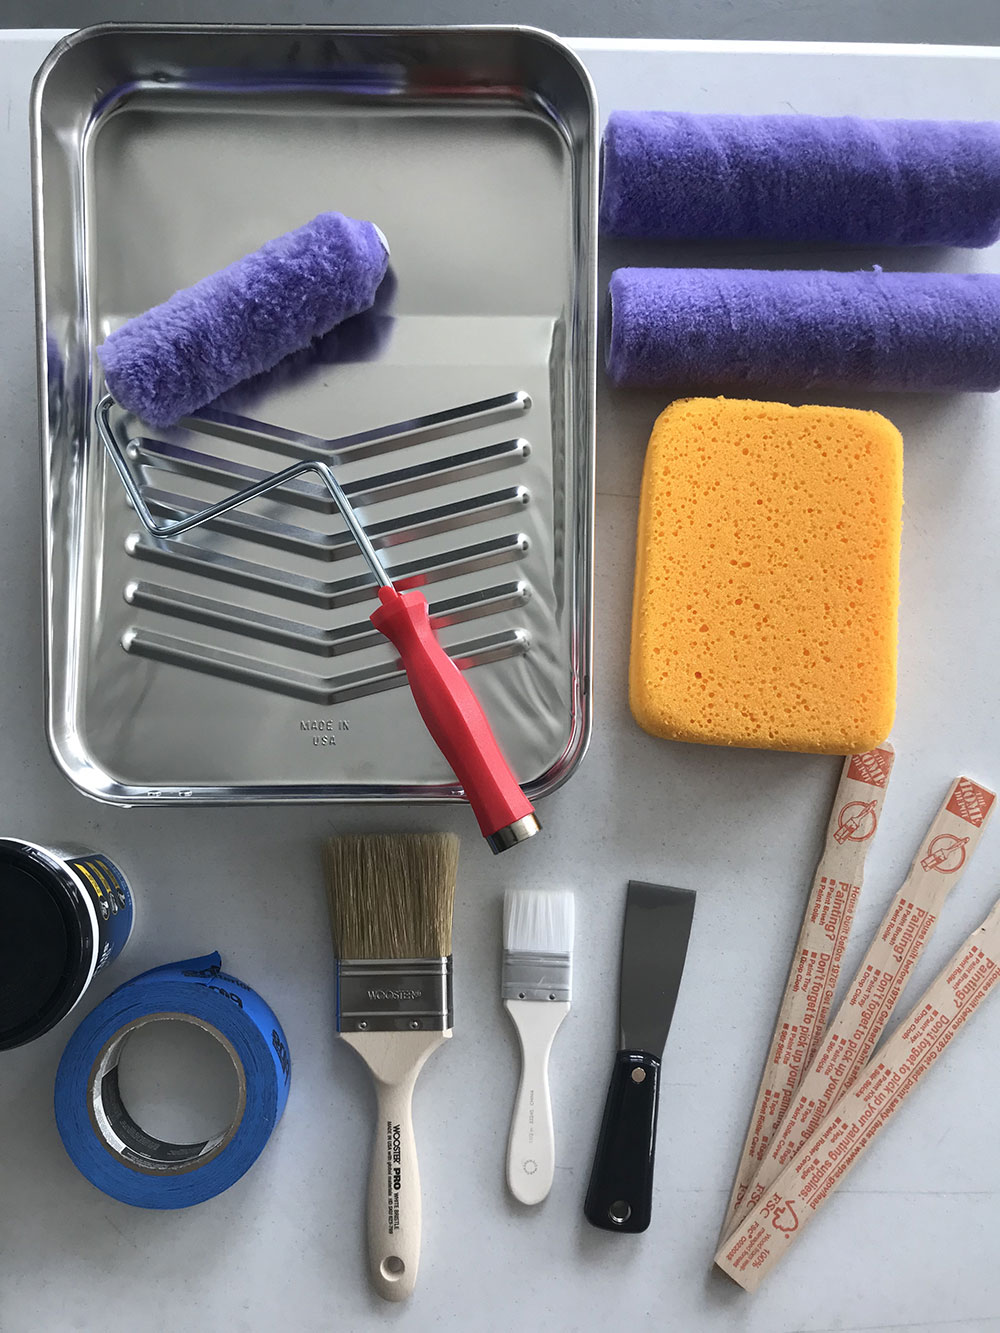
You need to take some time to prepare and make sure you have everything you need. It may take some time to collect your tools. So don’t hurry up and don’t skip this step. Preparation is key, you don’t want to have to search for tools in the middle of your job!
Here are the tools and materials you need:
- Drop towels
- A plastic bag
- Painter’s tape
- Some old newspapers
- Gloves and a ventilator
- Some clear water
- A bucket (1 gallon or larger)
- Soft sponge, towels
- Sandpaper (120-220 grit)
- Oil-based or shellac primer
- colour
- screwdriver
- template
- Clear wax
- A vacuum cleaner with a dust brush attachment
- Paint tray
- Synthetic fiber brush
- Microfiber paint roller (2-3 inches wide)
- colour
- Roller cover
- Pin fabric.
So you can see that it is an extensive list. Ideally, you want to have all the tools ready. However, don’t be upset if you don’t have the exact tools we listed here.
Choose the right color
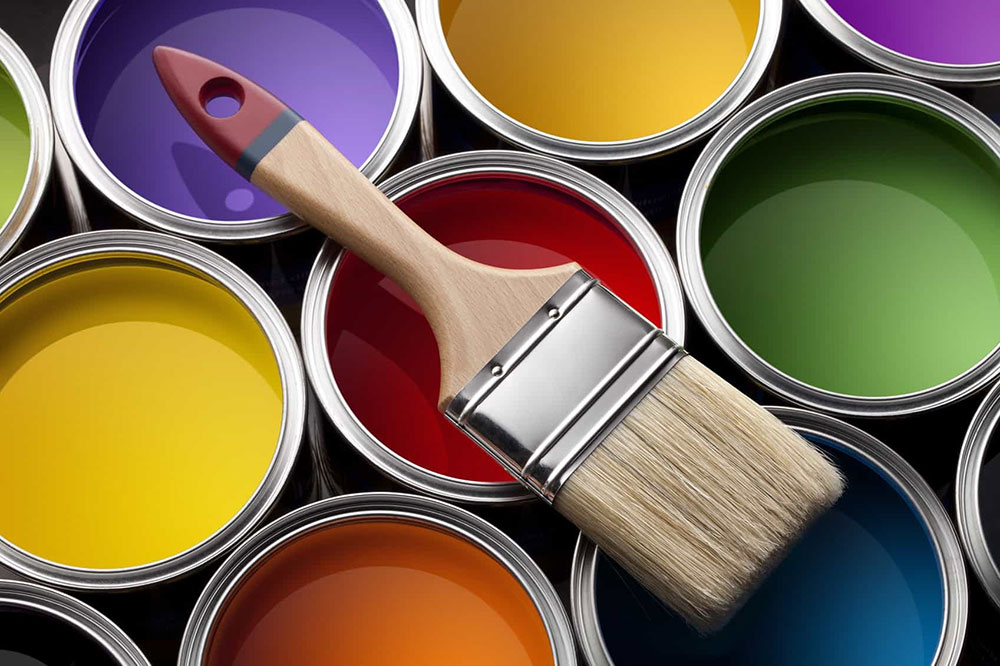
Part of the preparation is also choosing the right color for the project. You have to choose between acrylic enamel paint and alkyd paint for your wardrobe. What’s the difference between the two?
- Acrylic paints or water-based paints are low-smoke paints and can be easily cleaned with water. These are a bit lighter, but not as durable as alkyd paints. In recent years, however, these colors have come closer to alkyd colors in terms of durability.
- Alkyd or oil paints are more powerful and require more ventilation in your home when painting. They can irritate your lungs and make you sick, so ideally you need a respirator. They are difficult to clean because they need mineral spirits. However, they are usually also long-lasting, especially if you choose high-quality colors. Self-leveling color gives you the best details.
There is also a third option. You can use chalk colors. These are easy to use and don’t mess up your room too much. You also don’t need a primer to make them easier to use. Many types are currently available.
The best color is a color with a creamy, smooth consistency, that’s what the experts recommend. This makes the color more uniform, easier to clean and more durable. It will also create soft, differentiated lighting in your room. This gives your bathroom a nice, warm atmosphere. The choice of color is clearly important.
Step by step instructions
After you’ve prepared everything, it’s time to go to work. Prepare your bathroom for work and spread towels where you work to prevent paint from getting on the floor.
Step 1: removing doors and hardware
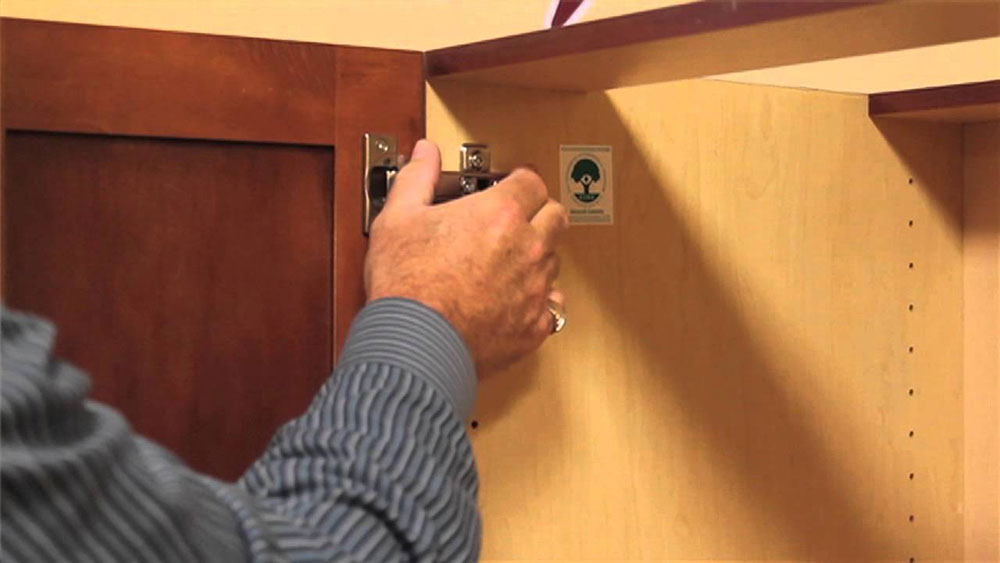
Before you start painting, you should say that you need to remove your doors and fittings from the closets. Uninstall it and keep it in a place where you won’t forget it.
This step is crucial. You don’t want to paint over your hardware like knobs and hinges, as this can give the feeling of an unprofessional approach. Once you’ve painted over the buttons and hinges, remove them as soon as possible until they dry. However, you can always ask experts to help you remove the paint from the hardware.
If there are clips instead of hinges, carefully loosen each door hinge and lift the door out of the cabinet. If you have screws for the hinges, remove the screws with the screwdriver. There is usually one set for the hinge door and another set on the back of the hinges.
Store the screws in a safe place and have them ready for reinstallation after painting.
Step 2: remove the cabinet drawers
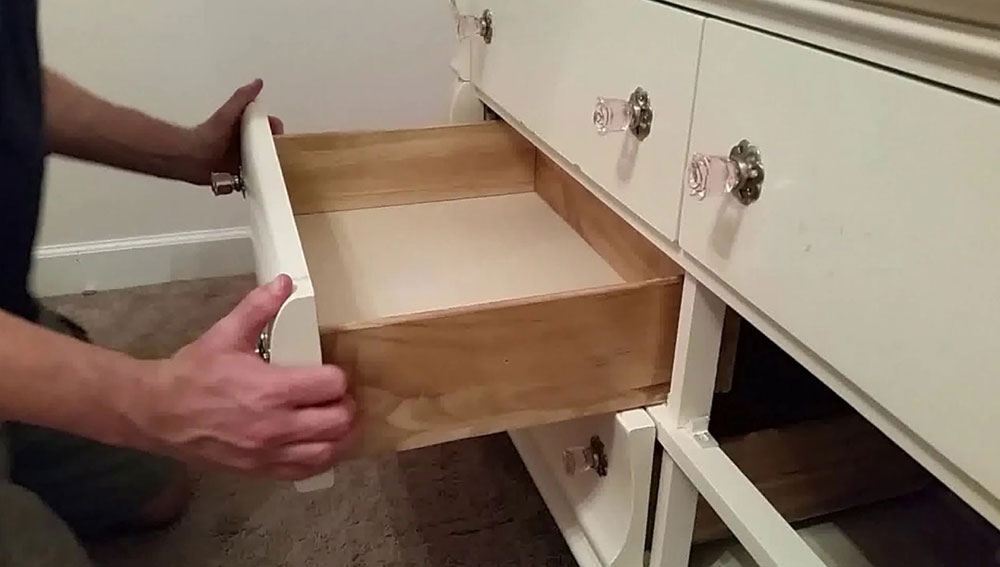
Next you want to remove the drawers in the closet. This way you can not only paint them, but also easily reach into the closet and paint the corners.
Put the drawers aside and drop them on a cloth. Start with the top drawer and go down. Pull the drawer out as far as possible and tilt the drawer down to lift it off the rail of the wheels. Then remove the drawer and continue with the next one.
Make sure you keep them in a safe place.
Step 3: cleaning and sanding
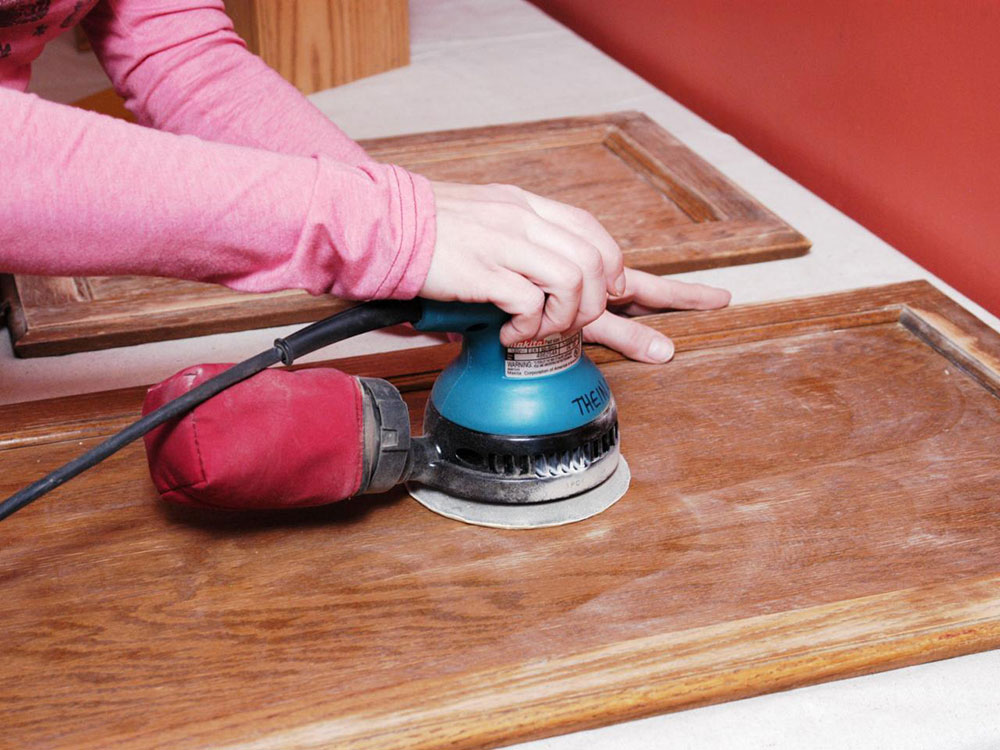
As mentioned earlier, preparation is a very important step, and cleaning and sanding makes it much easier to paint the cabinet.
Removing dust and dirt from the cabinet should be your first step before you start sanding. This makes grinding more effective. Remove residues and grease or dirt that has accumulated on the cabinet with a non-toxic cleaning additive.
Of course, you should clean the cabinet thoroughly and remove dirt or dust from the cabinet. Then start sanding the case. Sand the surface with 120 or 220 grit sandpaper and remove the dust with a cloth after sanding.
Step 4: tape the walls and floor
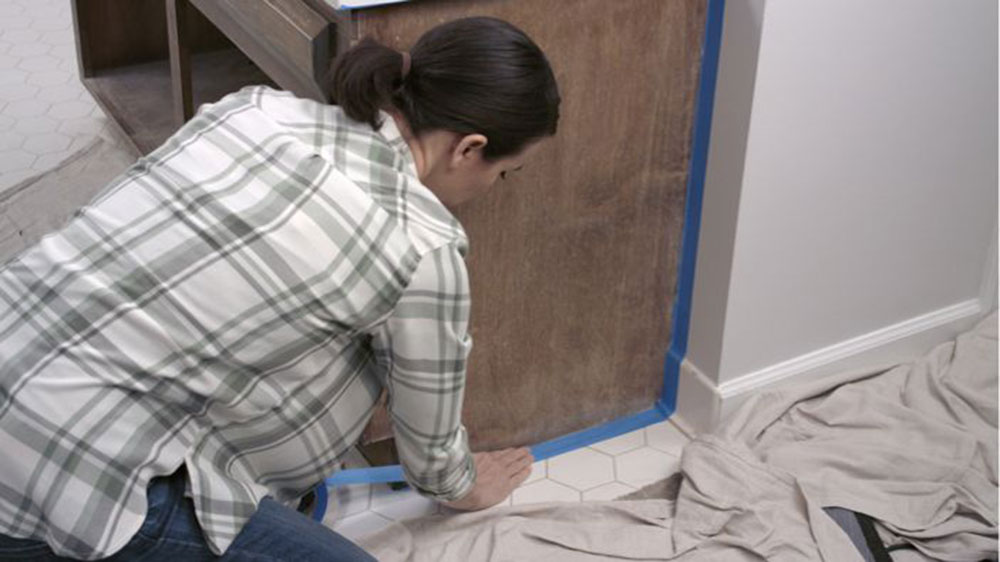
After cleaning and sanding, you should prepare the cabinet for painting. If you are not going to paint the inside of the cabinet, you should mask it – the walls and bottom of the cabinet should be covered with the painter’s tape.
Then you should examine the cabinet for possible holes and defects. If you discover holes, try filling them as much as possible with a spatula. This makes the housing appear new and lasts longer.
If you don’t want to remove the doors before painting, you have to fold a piece of painter’s tape over the door and also cover the hinges with it.
Another thing to keep in mind is to paint the cabinet elsewhere if your bathroom is too small.
Step 5: test paint
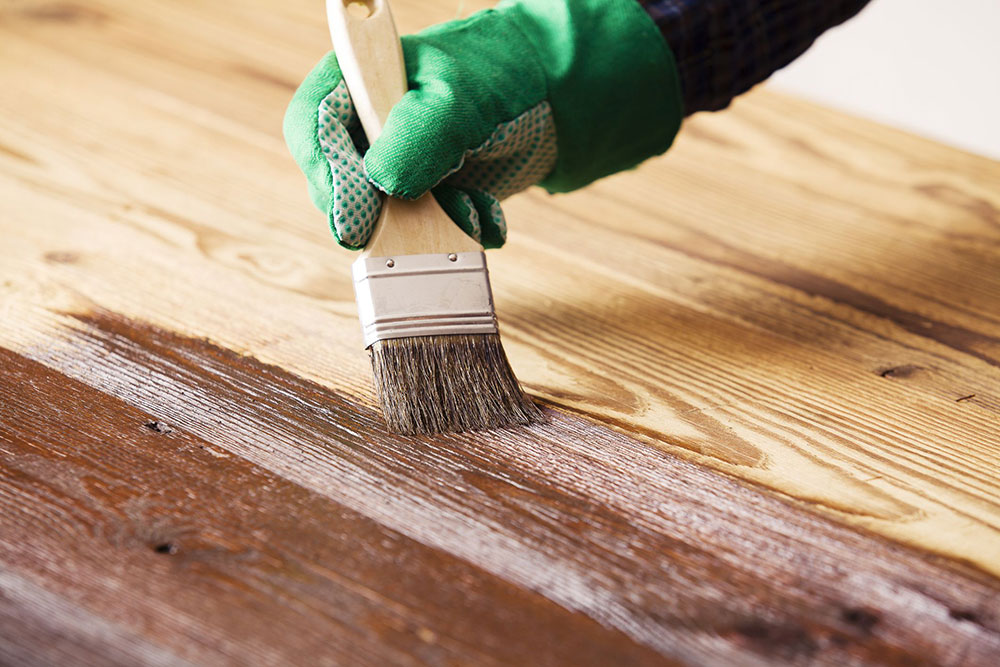
Before you start painting the entire cabinet, you should try the paint and primer. Use the back of the door to test part of your color. This way you can ensure that you like the color without letting the cabinet run.
If you are not satisfied with the color, you can always choose a different one. Just make sure you repaint the door you tested.
Step 6: prepare the cabinet
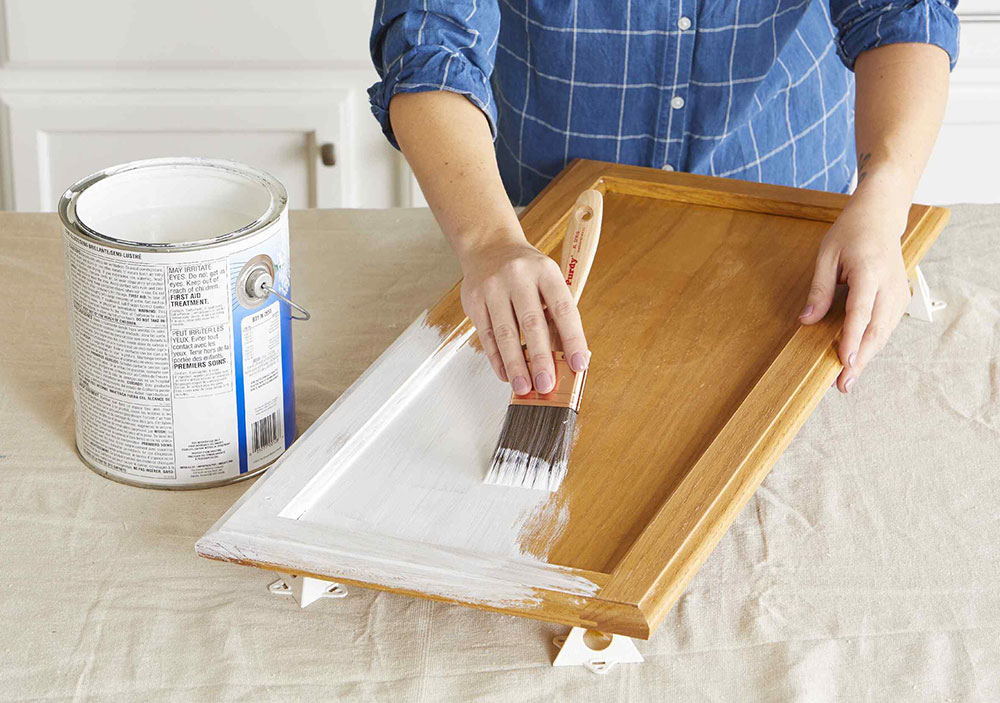
The next step is to prime the housing. If you choose a combination of primer and color, you should choose a special primer. This makes it easier for you to paint the surfaces. For bare wood, you should apply an even layer of primer and sand smoothly. This makes painting much easier.
The primer allows the paint to adhere more easily to the wood. It is much cheaper than paint itself. You should always try to apply at least one, if not two, primers before painting.
With a brush, you can reach corners and gaps in the cabinet and on the outside, which will help the paint to adhere better. Be detailed with the primer. Let the primer dry before you start painting.
Even if you don’t want to prime the interior, it is advisable to do so – this will help the paint adhere better.
Step 7: paint the cabinet
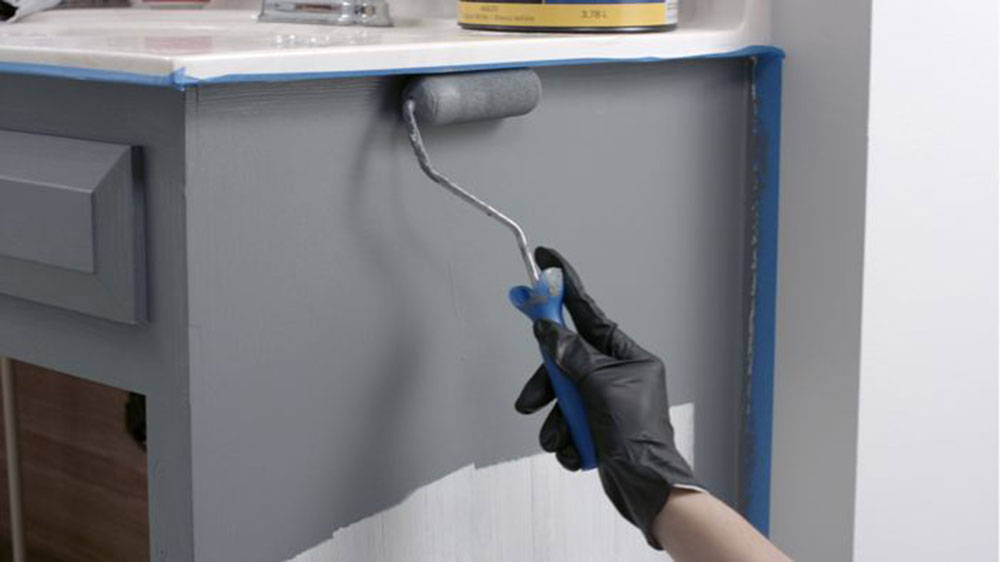
It’s finally time to paint the closet. If you don’t know how to paint bathroom cabinets, don’t worry. It takes some practice and soon you will become a professional!
Make sure your paint is thoroughly mixed and free of lumps before you start painting. With a smoother color, you can paint better, and the color is also more even.
Make sure you do the mixing outdoors, especially if you use oil paints. Use cardboard to protect your home from splashes.
Now it’s time to paint. First, paint very thin layers, especially if the paint is liquid. That’s good, so don’t worry if it doesn’t stick well at first. Use smooth strokes and make them as long as possible. Avoid streaks.
Then, after completing the painting, make sure to let the paint dry for at least 24 hours. But 48 hours could be better to let the paint dry as much as possible. The longer you let it dry, the better it sticks. Make sure you add another level if the first one didn’t go down well.
Step 8: put the cabinet back together
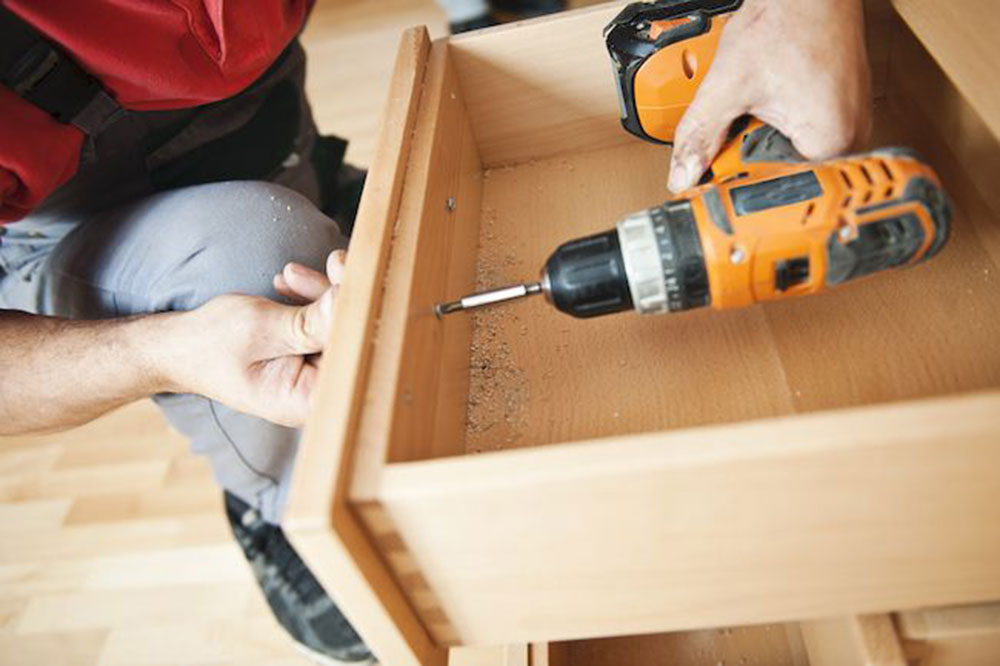
After you let the paint dry, it’s time for the final step – assembly. It shouldn’t be too complicated. Reinstall the hardware, reassemble the doors and drawers and enjoy the cabinet in all its glory!
If you want to install new hardware, you may need to drill new holes in the cabinet. However, make sure the paint is completely dry before doing this!
If you enjoyed reading this article about painting bathroom cabinets, you should also read this:
 TopsDecor.com Home Decor Ideas
