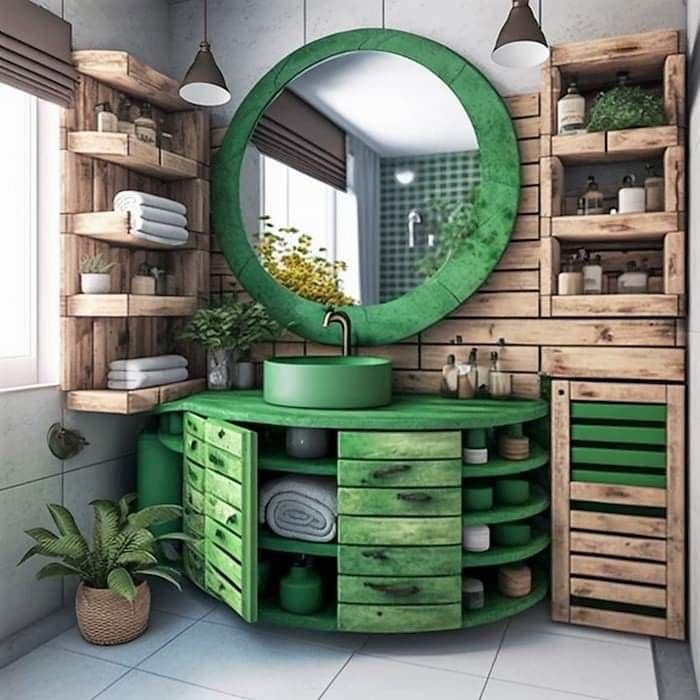
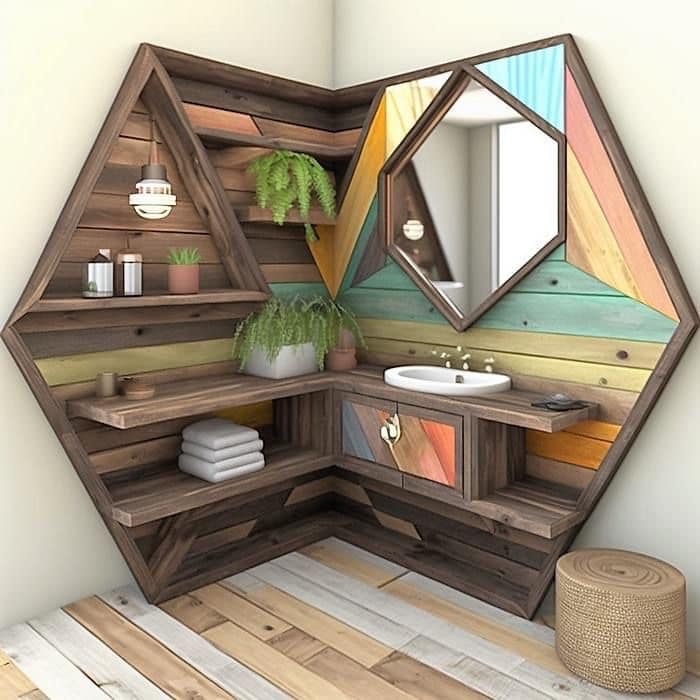
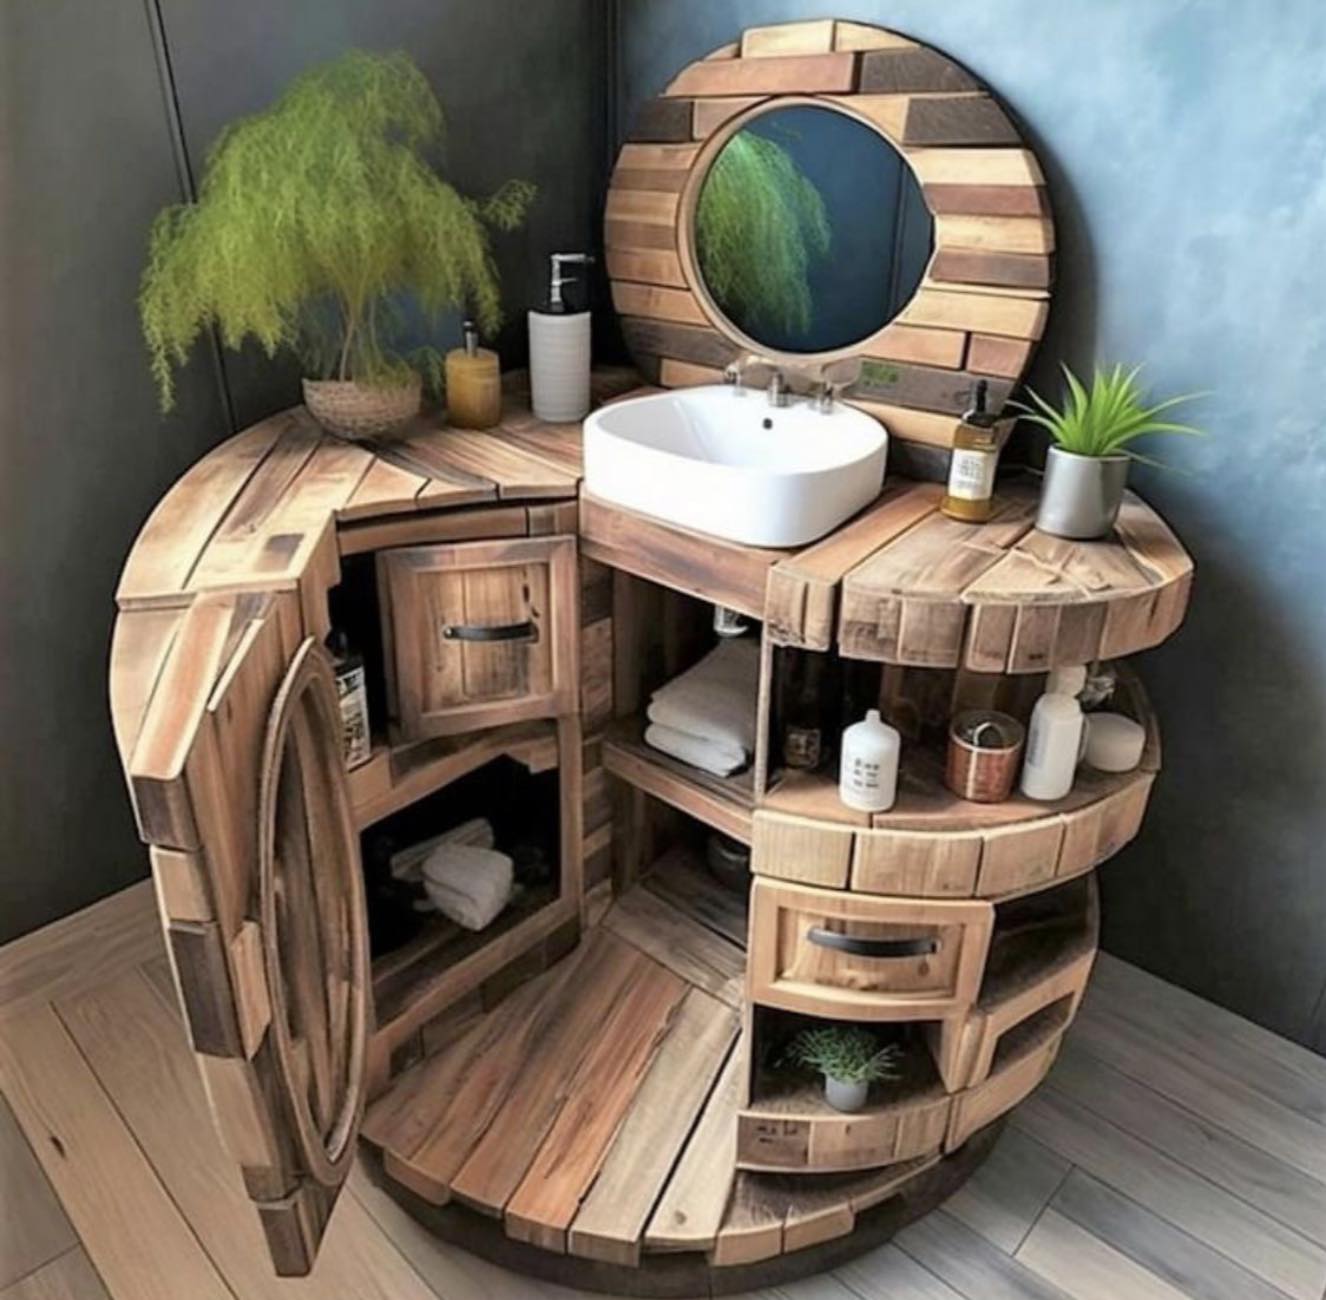
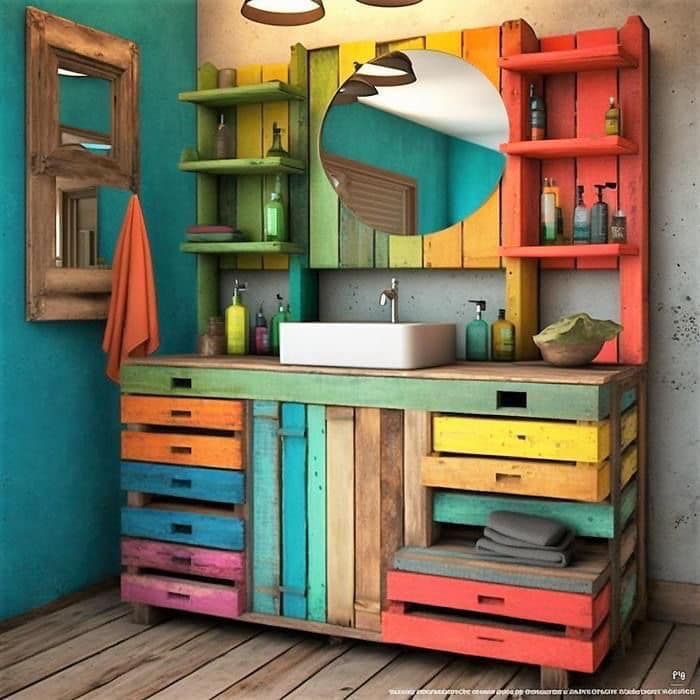
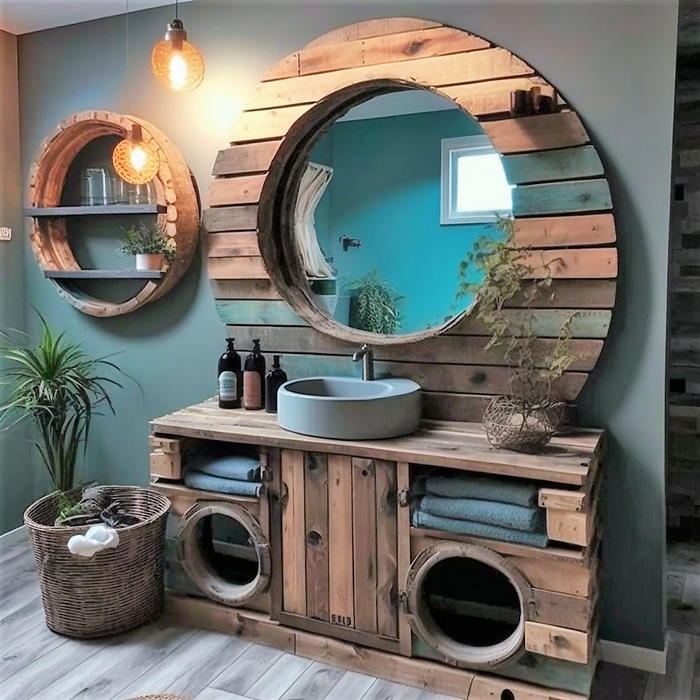
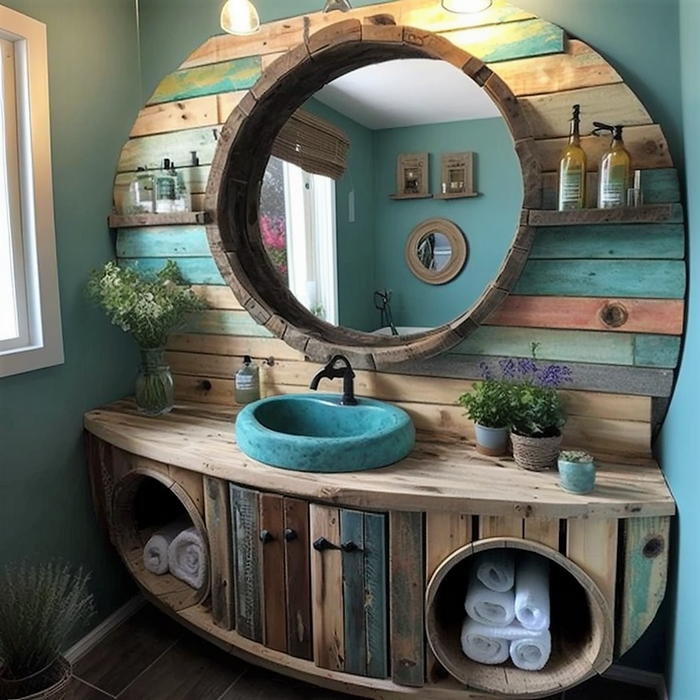
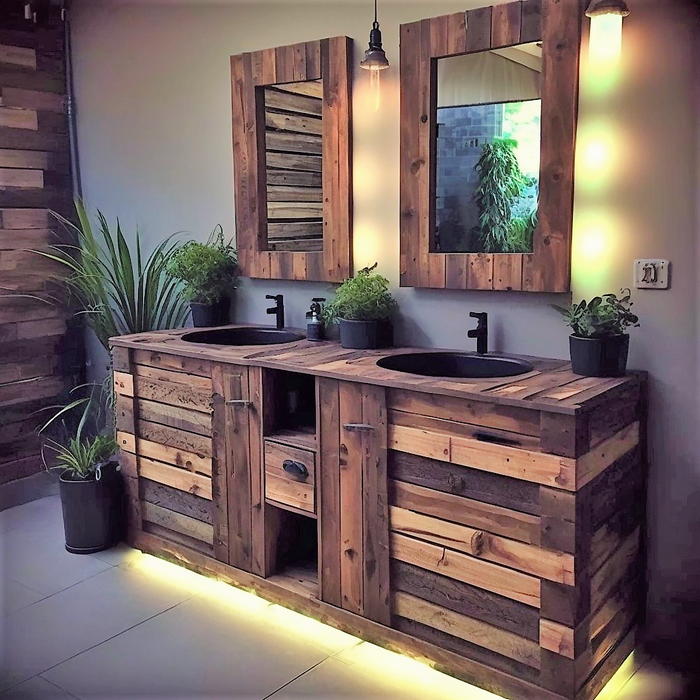
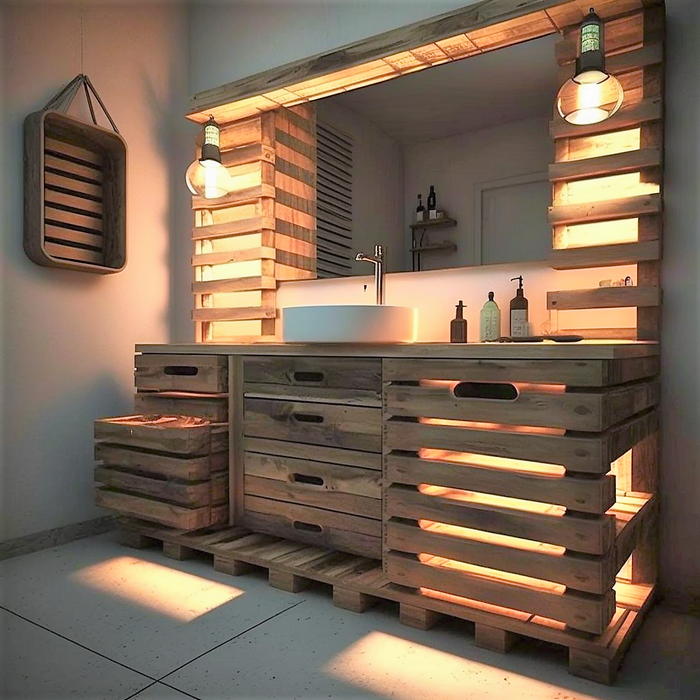
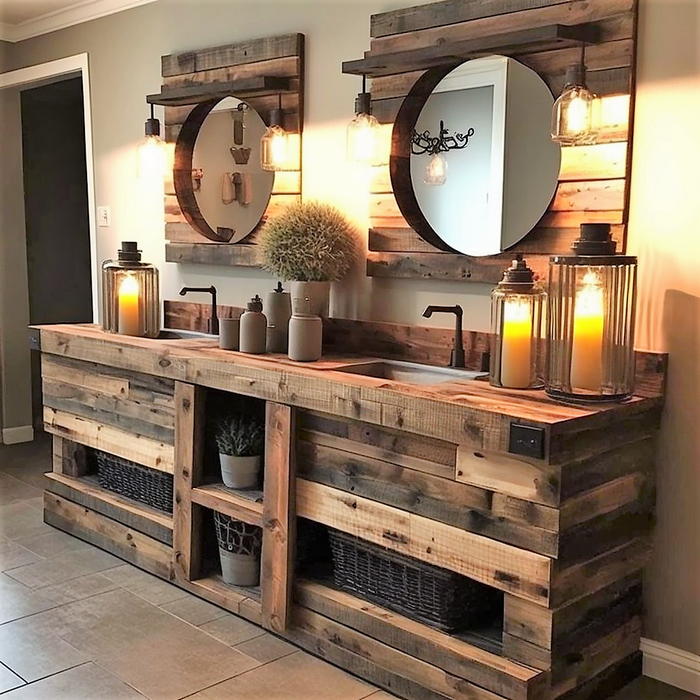
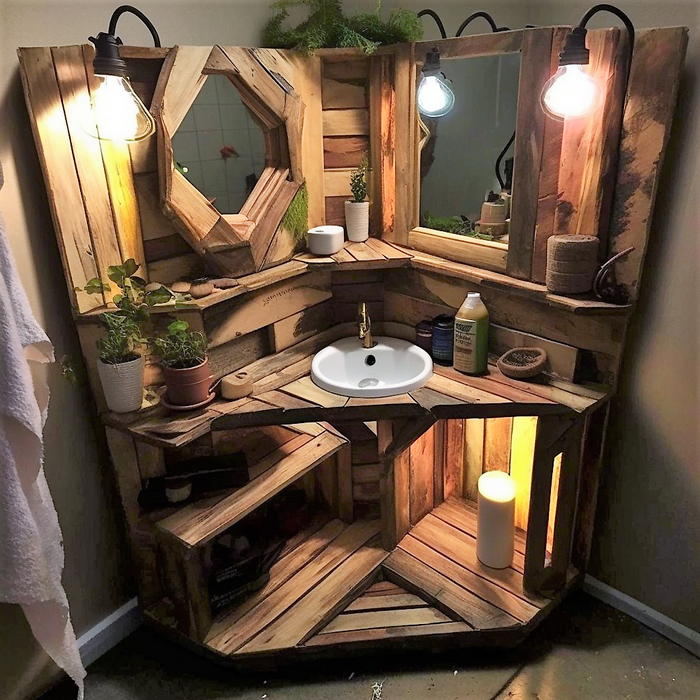
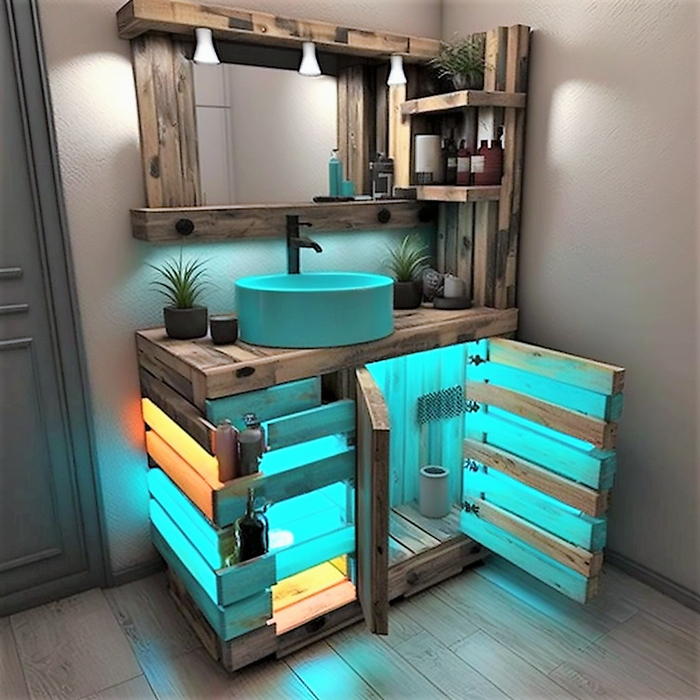
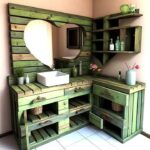
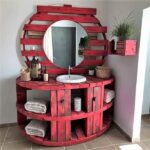
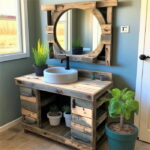
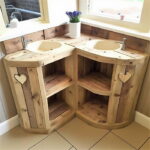
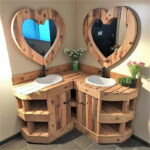
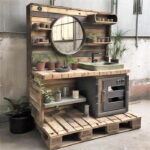
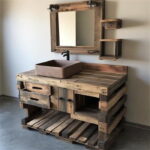
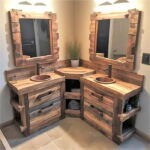
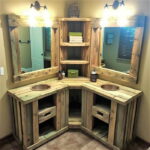
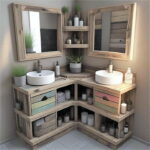
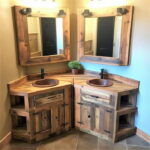
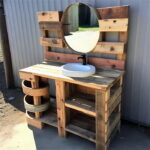
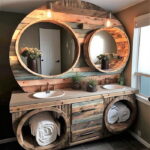
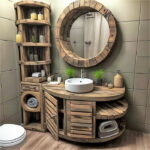
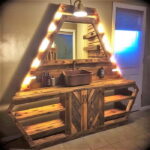
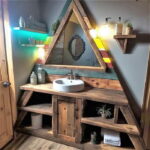
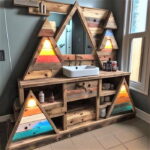
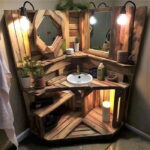
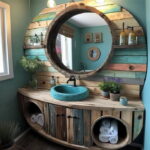
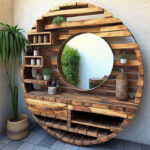
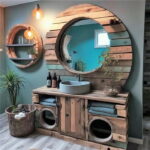
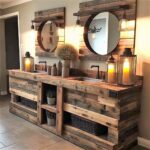
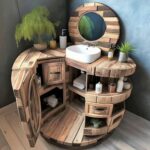
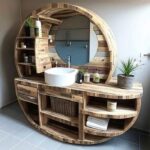
Using recycled wood pallets to make a bathroom vanity is a great way to create a unique and eco-friendly piece of furniture. Using wooden pallets to make a bathroom vanity offers a variety of design options.
Here are some ideas to inspire you:
Rustic and Natural: Enjoy the natural beauty of wood and create a rustic look with a simple design that highlights the texture and patterns of the wood. Keep the natural color or lightly stain the wood for a warmer look.
Industrial Chic: Combine the rustic charm of wood with metal accents like pipe legs or drawer pulls to create an industrial chic look. This can add a unique flair to a modern bathroom.
Colorful and versatile: Paint the wood a light color like blue or green to add a touch of color to your bathroom. You can also combine different wood finishes and colors for a versatile look.
Farmhouse Style: Create a farmhouse-style vanity by using reclaimed wood and vintage-inspired hardware. This can add a cozy and inviting touch to your bathroom.
Minimalist Design: Create a simple and minimalist vanity by using clean lines and a neutral color palette. This can add a sense of calm and serenity to your bathroom.
Double Vanity: Use two wooden pallets to create a double vanity that provides ample storage and counter space. This can be a great option for a shared bathroom.
Open Shelving: Use pallet wood to create open shelving that provides storage and display space. This can be a great option for a smaller bathroom as it can create the illusion of more space.
Here are the steps you can follow to create your own bathroom vanity from recycled wood pallets:
Find the pallets: Start by sourcing clean and in good condition pallets. You can usually find pallets for free at construction sites, warehouses, or online marketplaces.
Disassemble the pallets: Carefully take apart the pallets using a hammer and crowbar. Be sure to remove all nails and screws from the wood.
Cut the Wood: Using a circular saw, cut the wood to the desired length and size for your vanity. You will need to cut pieces for the sides, top, bottom, and shelves of the vanity.
Sand the wood: After cutting the wood pieces, smooth any rough edges or surfaces with a sander. Sanding also helps remove dirt and debris from the wood.
Assemble the vanity: Attach the wood pieces together with wood glue and staples to form the vanity frame. Once the frame is complete, you can add shelves and other details such as a back panel or drawer pulls.
Finish the vanity: Apply a clear coat of polyurethane to protect the wood and give it a polished look. You can also paint or stain the vanity if you prefer a different color.
Install the vanity: Finally, mount the vanity in your bathroom using screws and wall anchors. Be sure to measure carefully to ensure the vanity is level and properly secured to the wall.
 TopsDecor.com Home Decor Ideas
