TopsDecor.com Home Decor Ideas
If you are a creative person and enjoy trying out new projects, you will love working with new techniques and trying new challenges.
Upcycling and furniture flips are all the rage and can even be profitable with a bit of talent and hard work. Taking a shabby piece from the past and turning it into a one-of-a-kind project can be just as satisfying as any other DIY project you’ve tried.
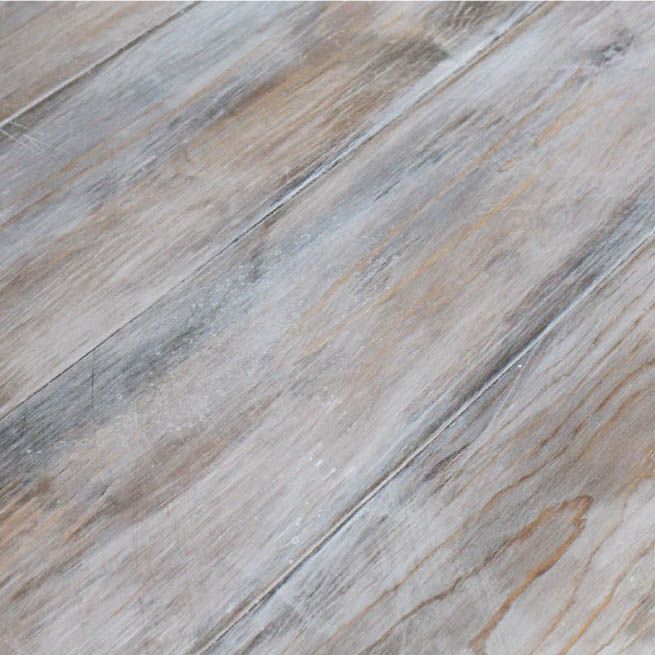
If you want to learn how to create a rustic look For any project you’re working on, just follow our simple instructions below. With milk color products and a little creativity and effort, you can create your own stunning projects that can become cherished family heirlooms.
Required material
The process of creating a rustic look is fairly straightforward and doesn’t require a lot of expensive materials, making it perfect for projects of any size. You will need:
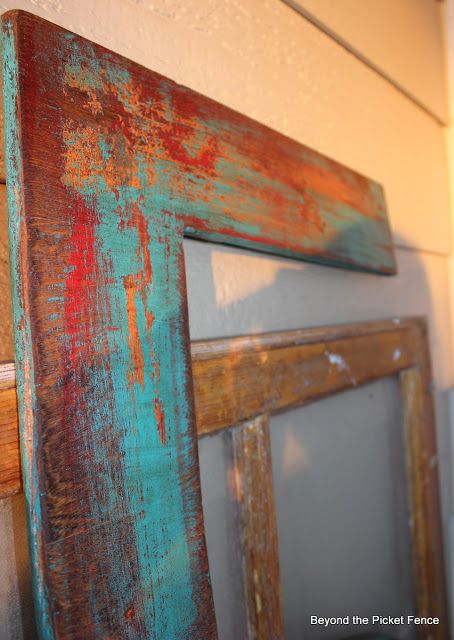
- Two colors of milk color. You want to have a base color that will show through the top color once the stress is complete. For a bolder look you can choose contrasting colors and for a more subtle look you can choose different shades of the same color.
- Natural bristle brushes achieve the best results
- Bucket filled with warm water
- A lint-free towel or rag
- Fine grain sandpaper – 120 grit is recommended for most projects
- Polishing Paste – Matt or Low Gloss Finish
The process
Wipe your piece completely to ensure that all debris and dust have been removed from the surface before you start. Always be sure to apply paint along the lines of the wood grain for the best results. Painting against the grain can make brush marks visible.
- Apply a layer of your base color and let it dry for at least two hours.
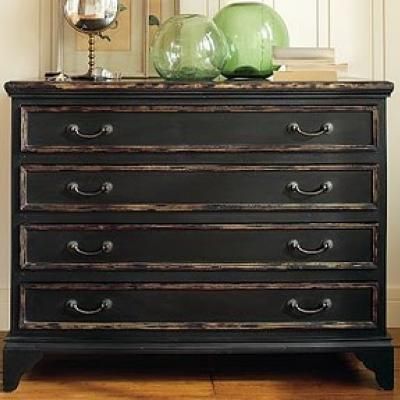
- Once you feel dry to the touch, you can lightly sand where you want to show a worn look. The best place to start is along the edges and around hardware where normal wear and tear would show up. There is no wrong or right amount of stress, it’s entirely up to you how much you want to withdraw.
- Apply a thinner second coat of your base color and let it dry for 8 hours.
- Apply a layer of your top coat and let it dry for 8 hours. This gives the paint time to harden properly before the next step.
- Moisten your rag and wring it out until it is just damp. Use a rolled-up towel to rub the surface in the areas where you want to see the strain. In this way you can uncover the basic color in a natural way. Make sure you focus on the edges, corners, and hardware areas of your piece for the most natural look possible. The paint begins to thin out slightly and lets the base color shine through. How much you withdraw is up to you.
- For a rougher, worn look, you can use your sandpaper to dig deeper into the layers of paint.
- Apply the polishing paste over the entire project to seal and protect it. The addition of the paste may cause the finished color to darken slightly. So choose your colors wisely for the best results.
Tips from the pros
- If possible, work in natural light or outdoors.
- Distressing should focus on areas that have natural wear and tear for an authentic look.
- Use a combination of rag and sandpaper to get exactly the right results.