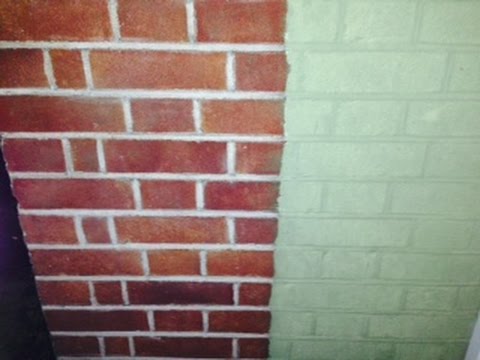
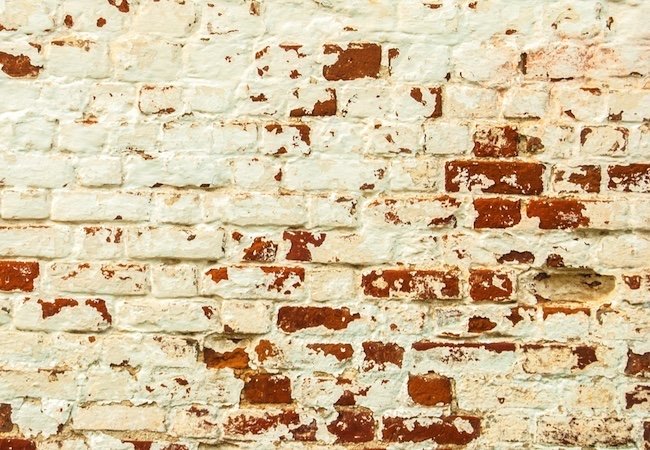
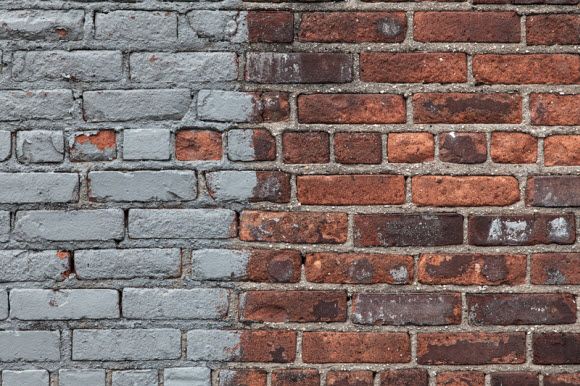
Brick is a practical building material that enables the construction of strong houses and is the perfect basis for other treatments. However, some prefer to simply delete this block of clay. The only detail about painting bricks is how difficult it can be to remove the paint later. In this situation, the question is how to remove paint from bricks without losing your head.
Let’s go little by little. The first is obvious: why should we want to remove the paint from the brick? There are many reasons why we may need to remove paint from a wall, for example if we want to leave it as it was, because we are already fed up with the color it is, or even if we want to paint it one another colour.
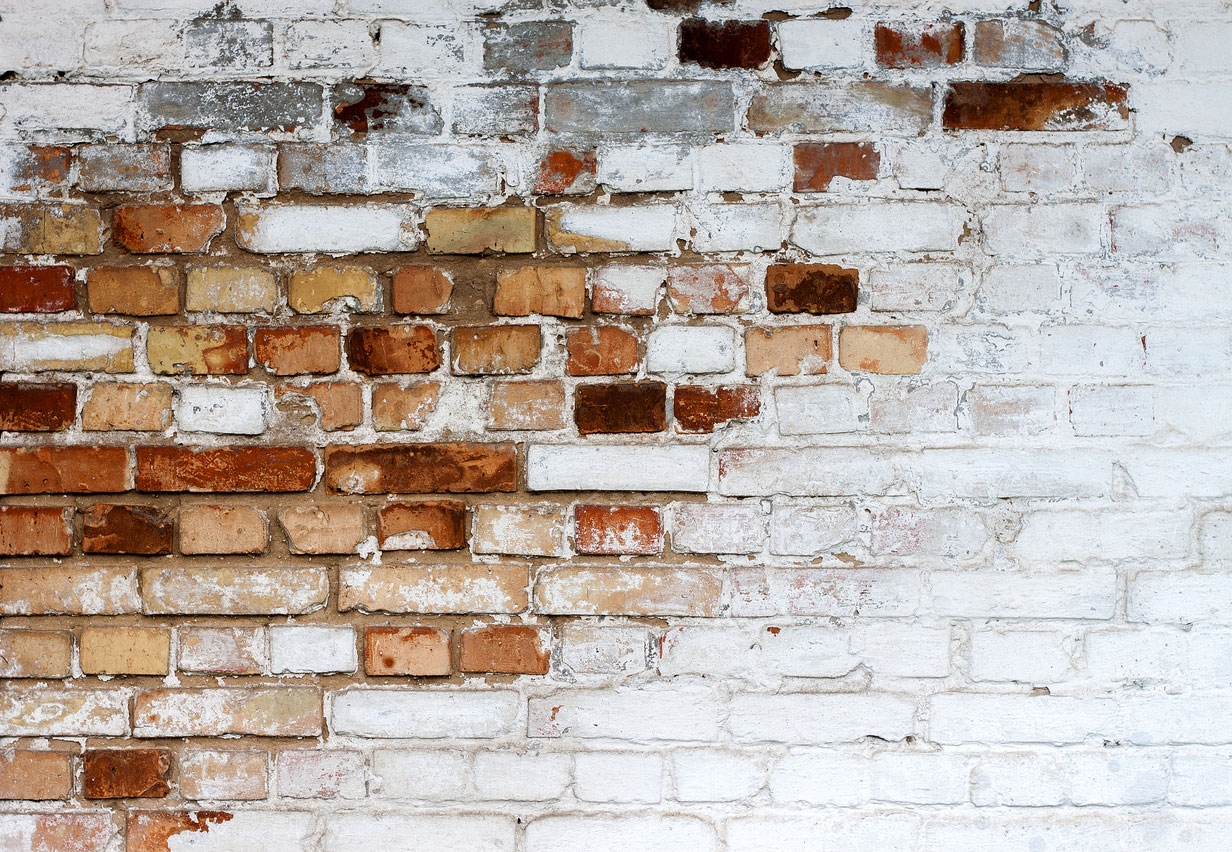
Many people will simply tell you that you can paint directly onto another layer of paint that has already been applied. Although it’s true, the result is not the same and we end up compromising the finish. Removing paint from bricks is essential before any home renovation project.
There are currently many ways to remove paint from clay material, although the vast majority are complex or expensive. And anyone who has tried to remove paint before knows that the problem is not the large pieces, but the cracks where it was absorbed.
Today we bring you some practical tips that, with a little luck, will save you the problem of having to use sandblasting on your wall, which do more harm than help and cause new cracks. And peeling paint from bricks does not result in a less resilient house that we later invest in large sums of money in repairs.
How do I remove paint from bricks? – The different options
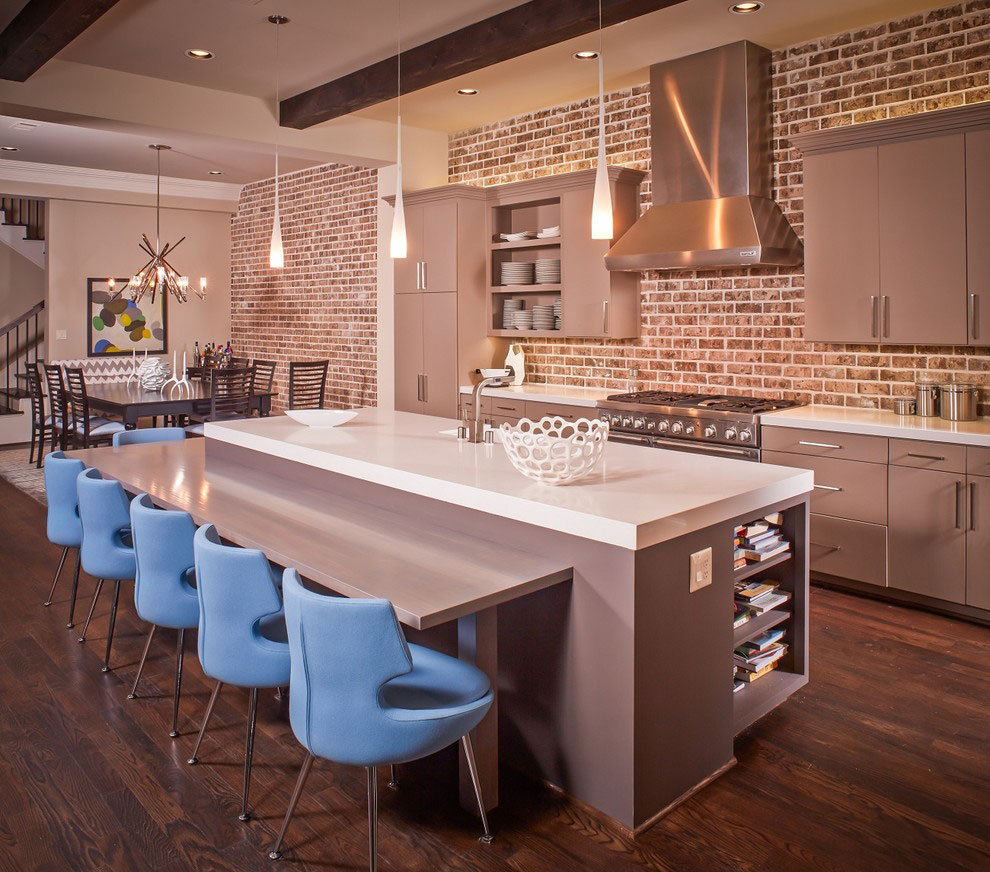
Image source: Jamestown Estate Homes
The most popular method is pressure washing. This works great for removing dirt and paint from the toughest spots. With bricks, however, water pressure can cause more harm than good due to erosion. It is popular for its effectiveness, but we recommend that you only use it if everything else fails.
Another less abrupt alternative is to use chemicals. These are caustic and, like sandblasting, can affect the structure of the brick. When it comes to old houses where it is common to find old walls, we should avoid substances like acid. If we use chemicals, we should check that there is no moisture in the end.
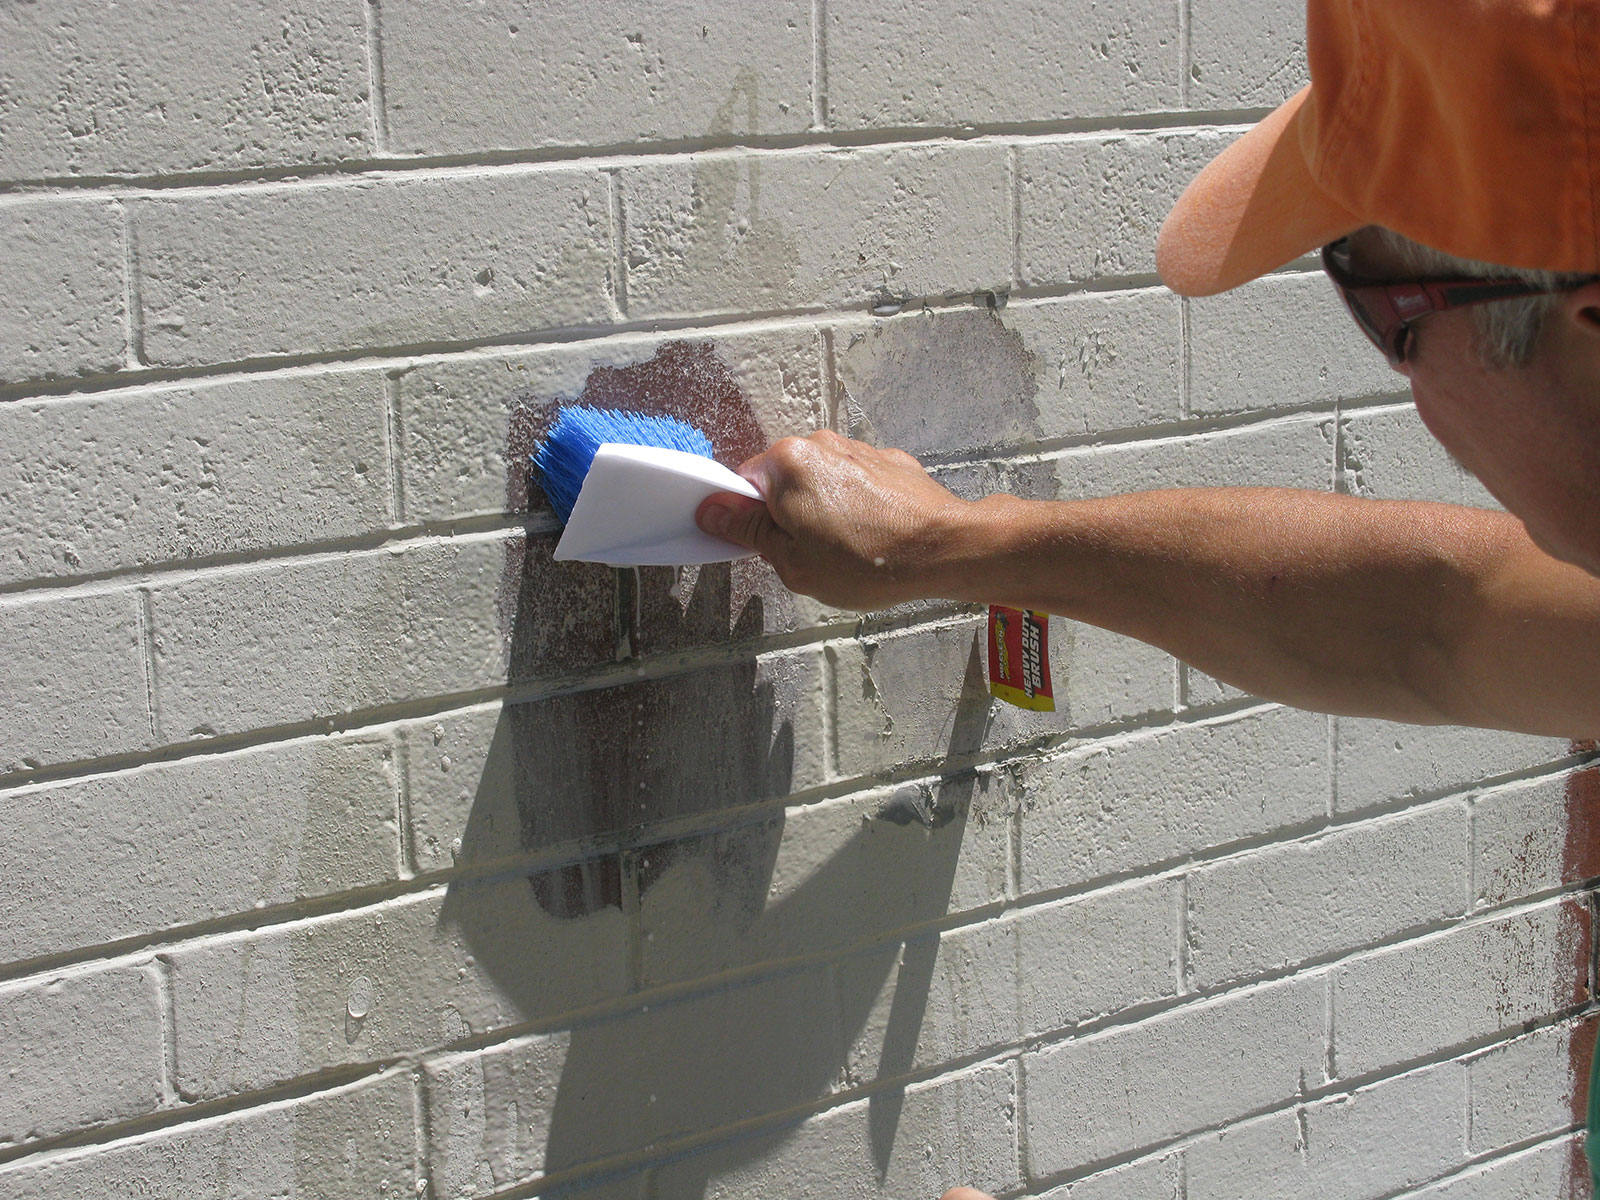
Finally, we come to the safest and slowest way to remove paint from bricks: a cloth with a paint removing paste. It’s a tedious option, but we can always have control over the paint remover.
If you are going to do this removal work, you will need the following previous supplies: brick paint stripper, rags, brushes, sponges, a cleaning brush (preferably rigid or wire-bristled), fall cloths, laminated paint removal strips, and the standard protection when we do this type of work (Lenses and rubber gloves).
How to remove paint from bricks in the safest way
Once we have all the materials, we will do the following steps to remove the paint satisfactorily:
Determine if the paint is latex or alkyd / oil
This is important to determine which devices are required to remove the paint. If you don’t have the container that held the original paint, you can always check the type by using a simple technique that is to moisten a cloth with a nail polish remover with acetone and rub the wall. If the paint is not erased, then it is an alkyd paint. However, if it is deleted, it is latex.
Do a stripper test
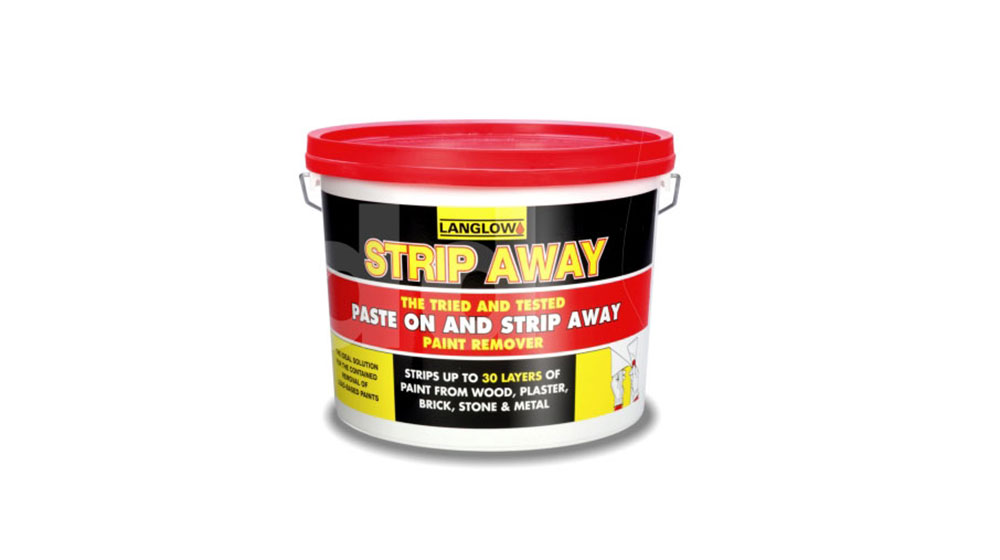 It is important to know whether the quality that we achieve with the tape is the desired one. The test takes place in an invisible area of the wall where the paint is. This test is used to check a number of features, e.g. B. the result of removing the paint, the time it would take for it, or whether the bricks are painted for some reason, e.g. B. due to a bad surface.
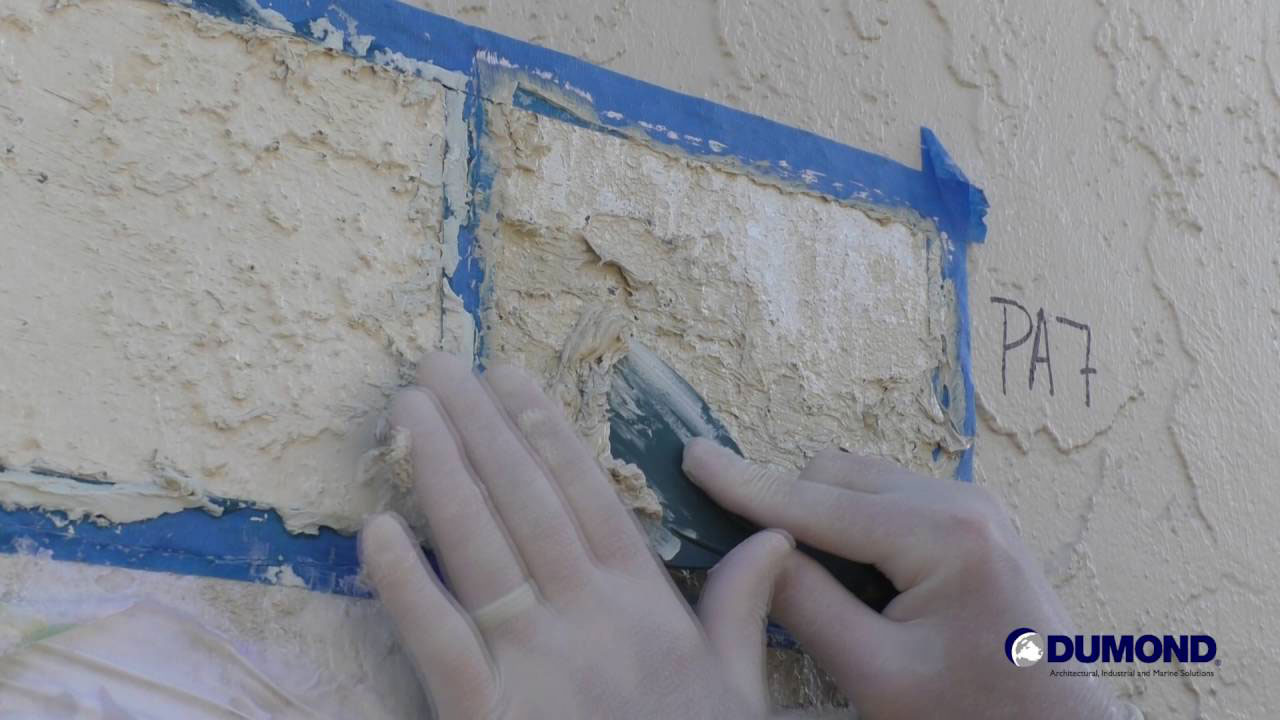
The test doesn’t have to be that large, as checking a small area is enough to determine its quality. In addition, you should already be using gloves and lenses as a protective agent from here.
The area in which we remove the paint is verified with a brush or a sponge
Protect areas that you will not be working in
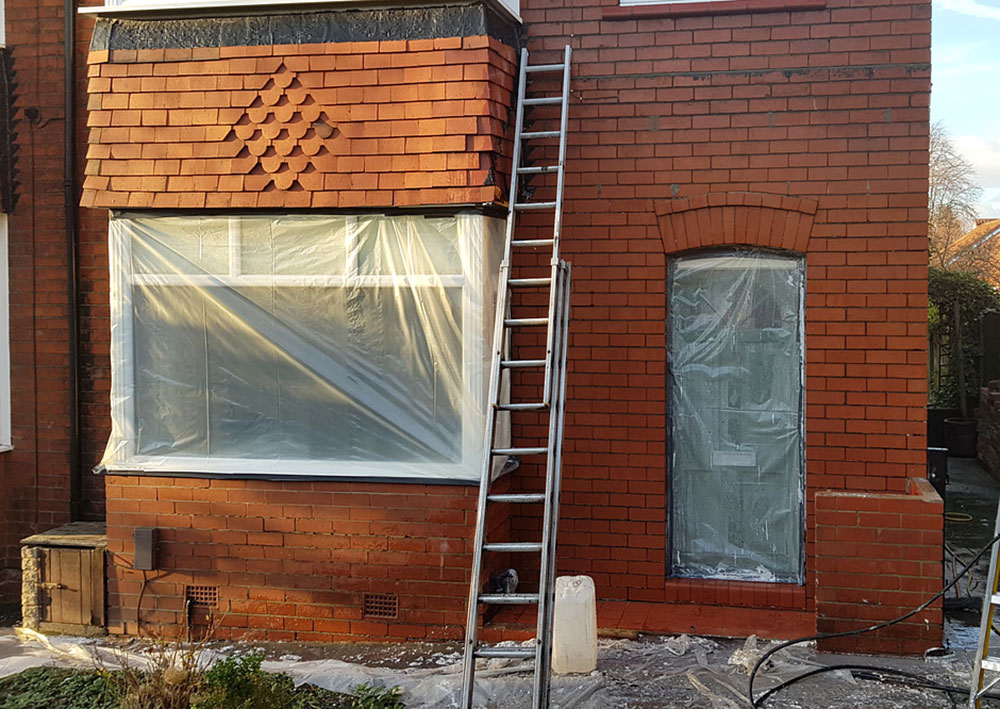
This is one of the most annoying parts of the process. In the end, if we want to reduce our cleaning work, we need to cover in advance the areas that we are not currently cleaning.
Below the area where we apply the remover, we have to place rags, plastics or newspapers so that the waste falls on them, and just throw them away in the end. It is also recommended to tape this protective material at the bottom with adhesive tape so that nothing escapes.
The decorations on the wall, wooden strips, should be covered with patience, as it is worse if they are damaged in the process. We could accidentally crack the sets.
Prepare the work area by ventilating it
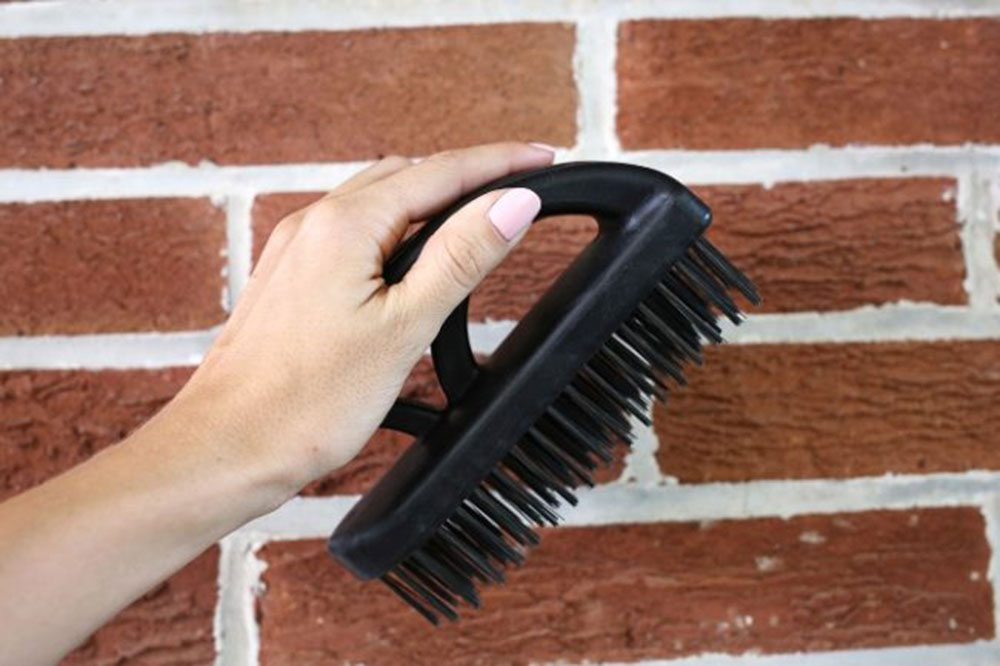
Cover the area to be cleaned with the brush little by little with the remover. Do not overdo the amount as it can damage the wall. Once it is well covered, let it sit for about 10 minutes before cleaning.
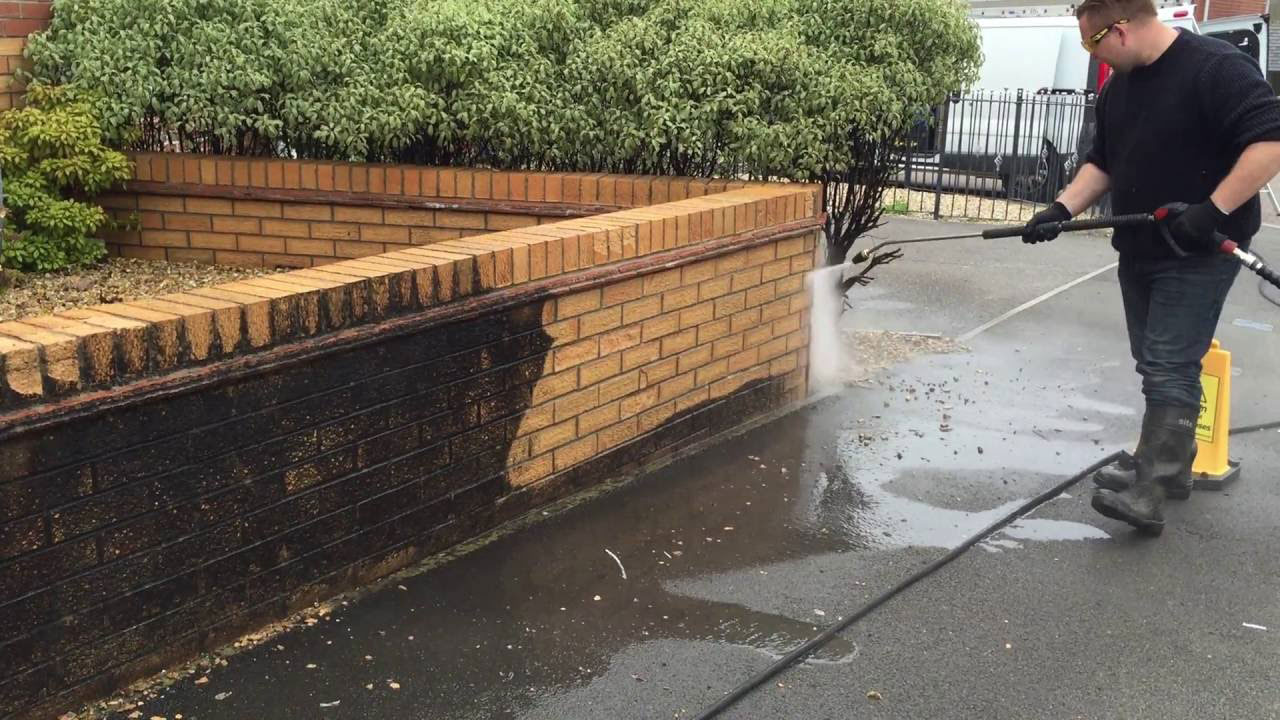
Use a hard brush, preferably steel, to remove excess product. Rinse the area to remove any residue. Once the paint has been removed, we can proceed with the process. Otherwise we have to repeat it.
Be sure to clean with firm horizontal movements from top to bottom. Keep the area moist with a sponge so you can work before it dries.
Remove the paint
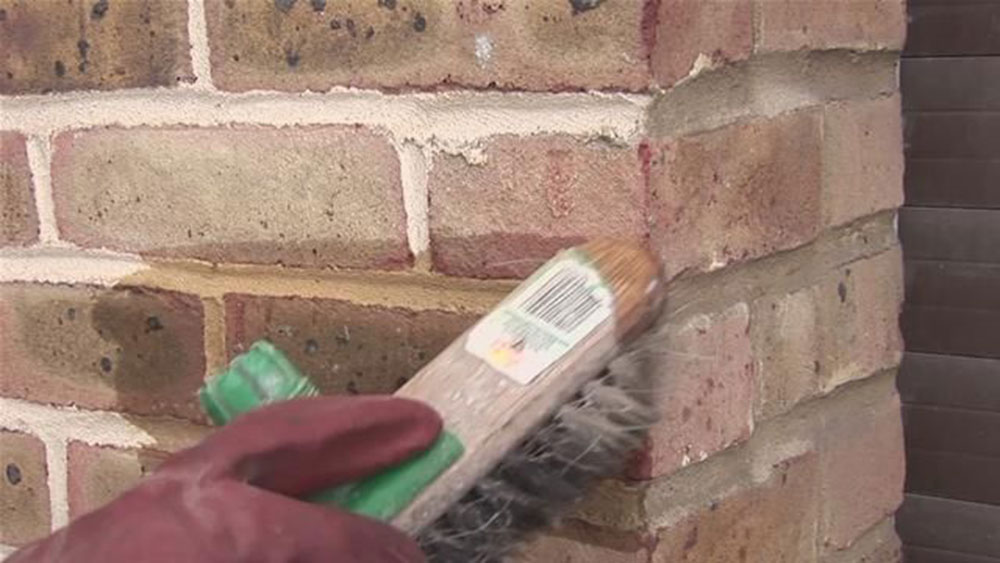
When the product has finished working, remove the paint remover and paint with a damp cloth or brush at the same time. As indicated above, repeat the application and cleaning process until the paint drops if it has not been effectively removed.
Repair cracks with paste or gel
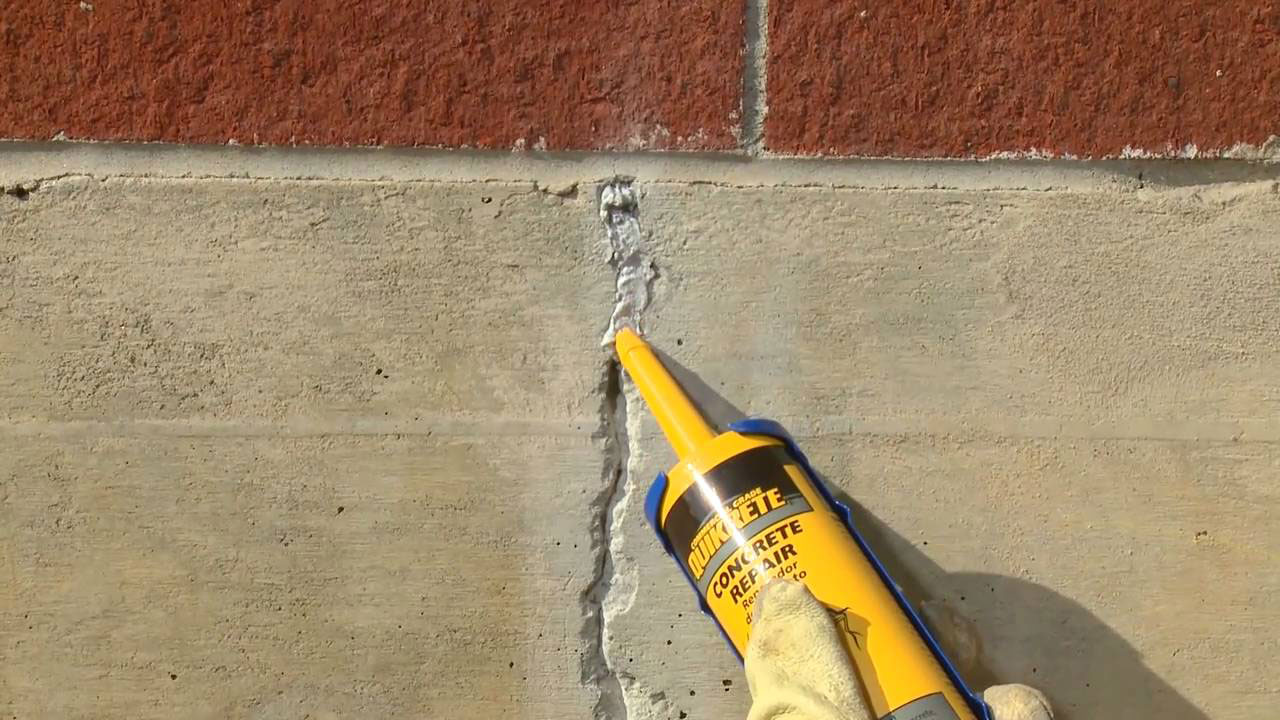
If cracks appeared (or they were already there and just came out), we should cover them with something like paste or gel.
If there is any paint left after applying the remover, scrape off the paint first. Now use a palette to prepare the mixture and apply it to cover the leaks and cracks. If there are cracks, it can interfere with our painting work.
Use masonry paint to protect your work
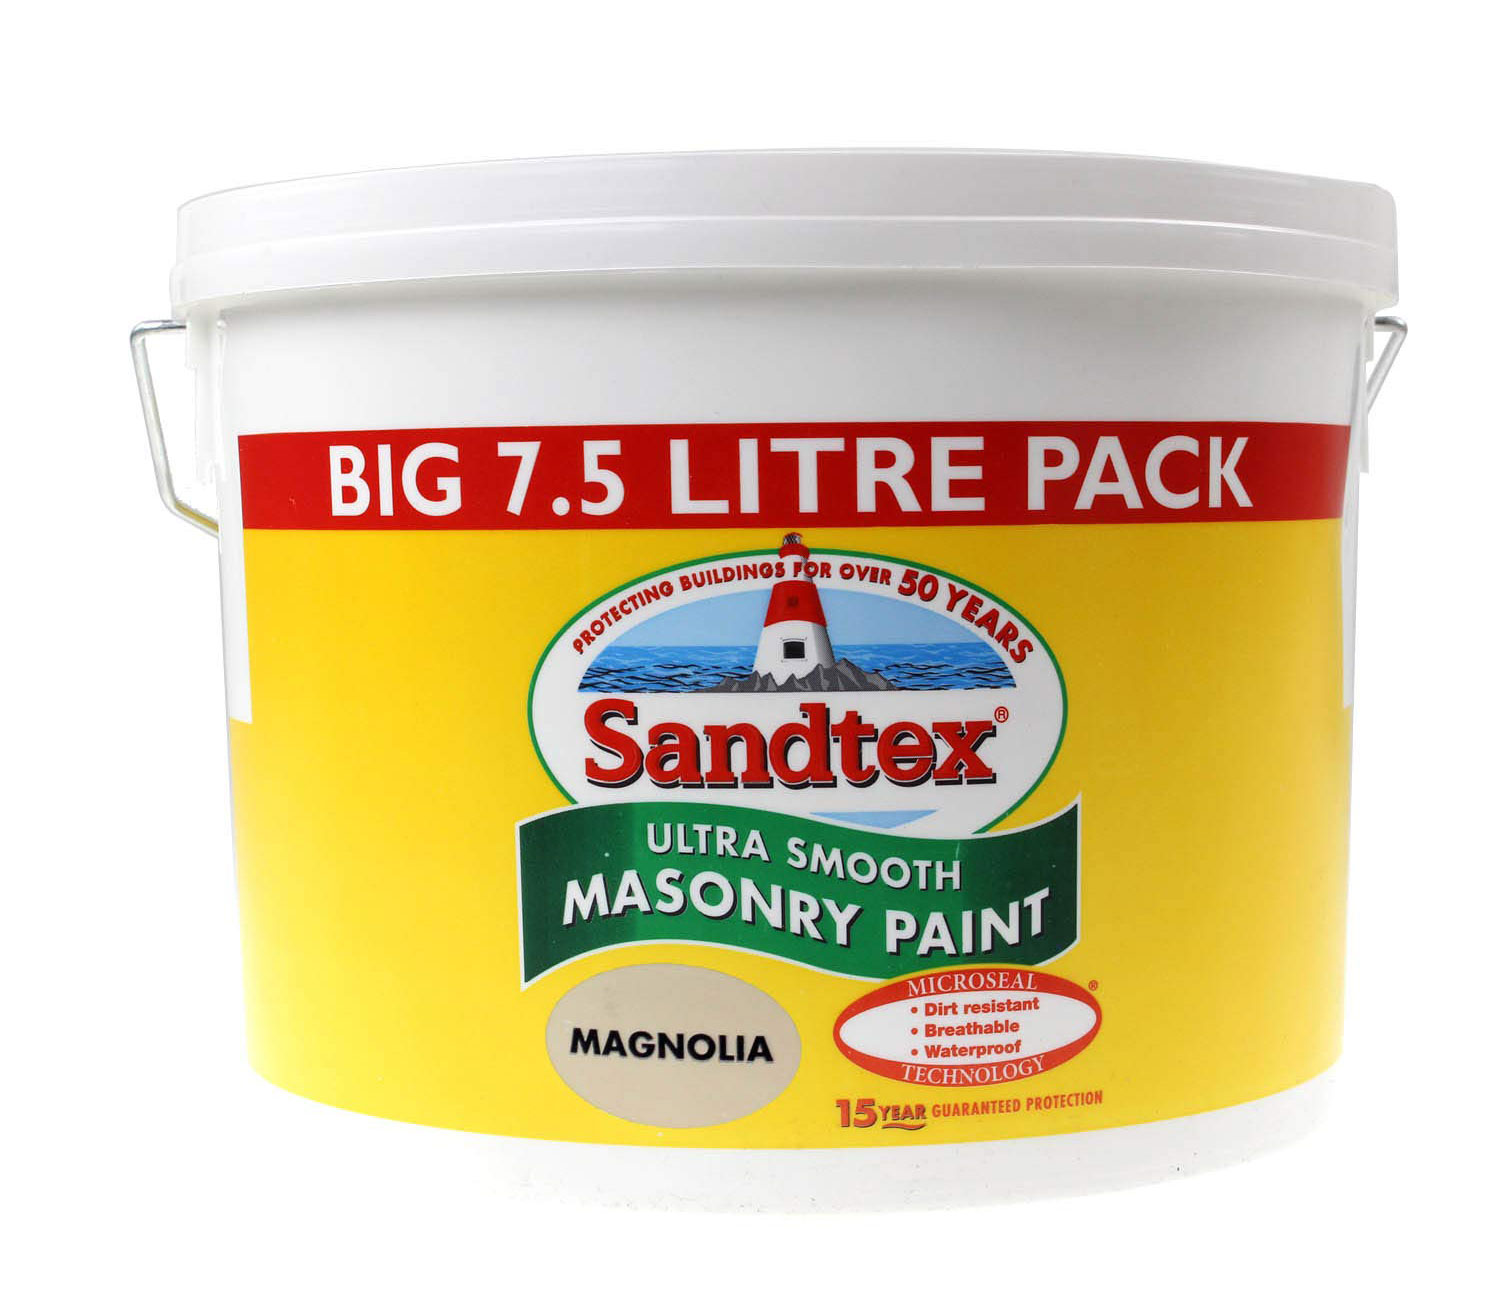 When we have finished removing the paint and repairing the bricks, we can finish the work with an additional protective layer based on masonry paint. However, you should keep in mind that masonry paint is difficult to remove. If we are not sure whether to use them, it is better not to take any chances.
This painting was specially designed for brick walls as it easily adheres to the porosity of the clay.
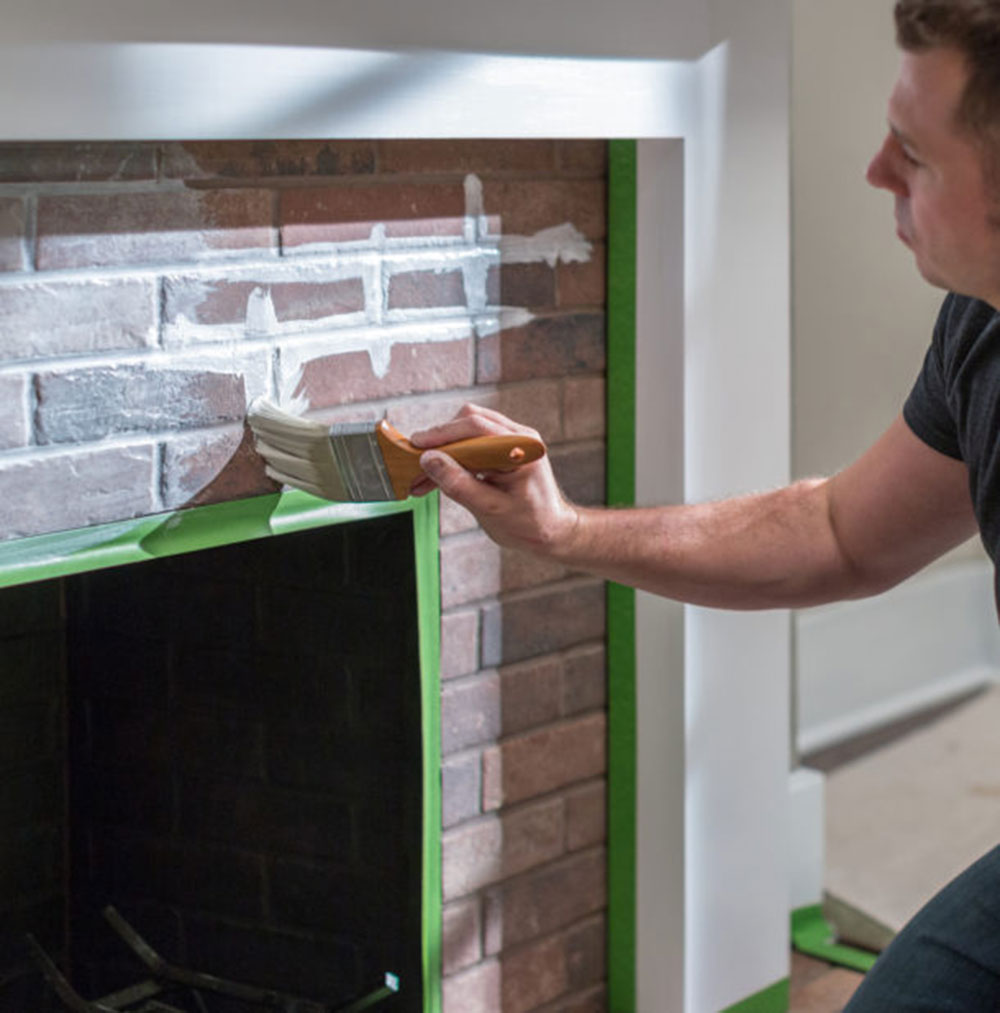
Although you should generally take this into account, the texture of the brick makes it difficult to remove masonry paints. This type of paint can only be removed with aggressive chemical agents, so it is not recommended in older homes.
The best thing you can do with this type of paint if you notice an imperfection like an air bubble is to gradually remove it with a spatula and scrape off the surface. Avoid sand nozzles whenever possible.
If you enjoyed reading this article on removing paint from bricks, be sure to read this too:
 TopsDecor.com Home Decor Ideas
