The bathroom is a room in the house that needs sufficient ventilation to get rid of bad smells. Although it is recommended to use a window to naturally ventilate it, it is often necessary to install a fan to support this task. The problem is that the fan must also have a path to remove residual air. Usually this is towards the attic, but if this is not possible you need to know how to install a bathroom fan without access to the attic.
Although it seems complicated, the process is very similar to that of any other installation. The route the connections follow is slightly different, but this does not prevent them from connecting to the outside.
Moist air is a big problem, especially in the bathroom. As there is always water at this location, the humidity begins to accumulate until the walls and furniture are damaged. It goes without saying that this room is exposed to the most unpleasant smells in the entire house.
If the ventilation of your bathroom is not optimal and mold grows on the walls or smells do not disappear, you need to install or replace the fan.
Preparations to replace the bathroom fan
Get the right extractor
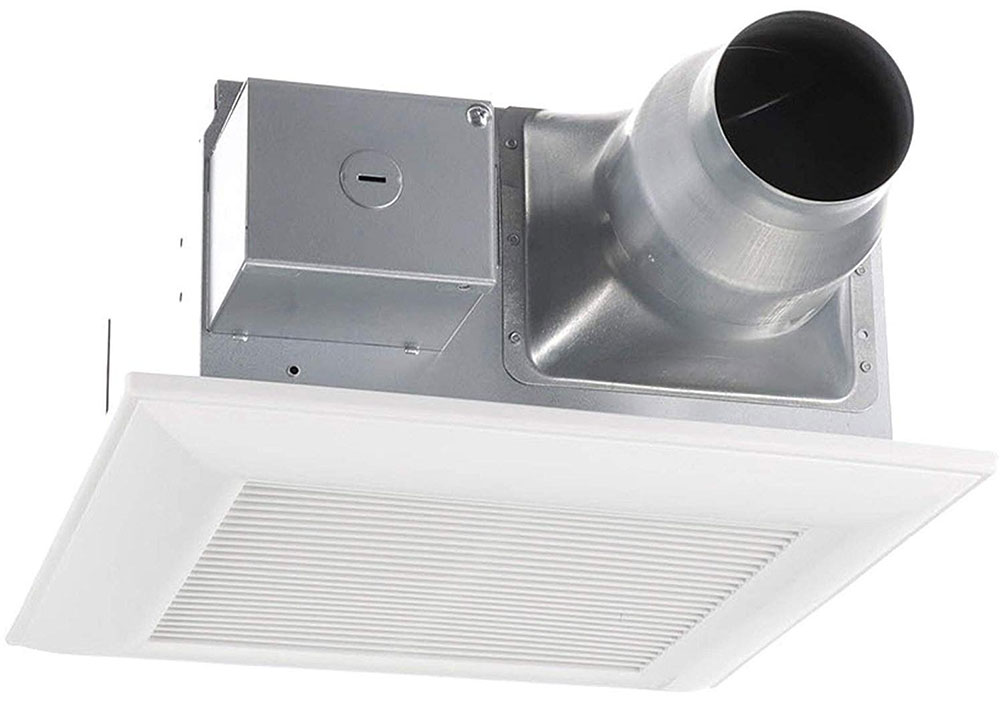
This aspect depends on the budget in which you want to invest. Basic fans do not require additional electrical installations when replacing an old one.
There are also options on the market that improve the usefulness of the extractor, e.g. B. those that contain lights or heaters. In these cases, it will be expensive to install a bathroom fan without access to the attic because you will need to take into account the additional wiring of these accessories.
To give you an idea, the conventional extractor uses a 15 amp circuit breaker and a 14 gauge cable (the common one for electrical systems). If this includes heating, you’ll need a 40-amp circuit breaker and a 12-gauge wire, which is much thicker and more expensive because it uses more power.
Measurements are important
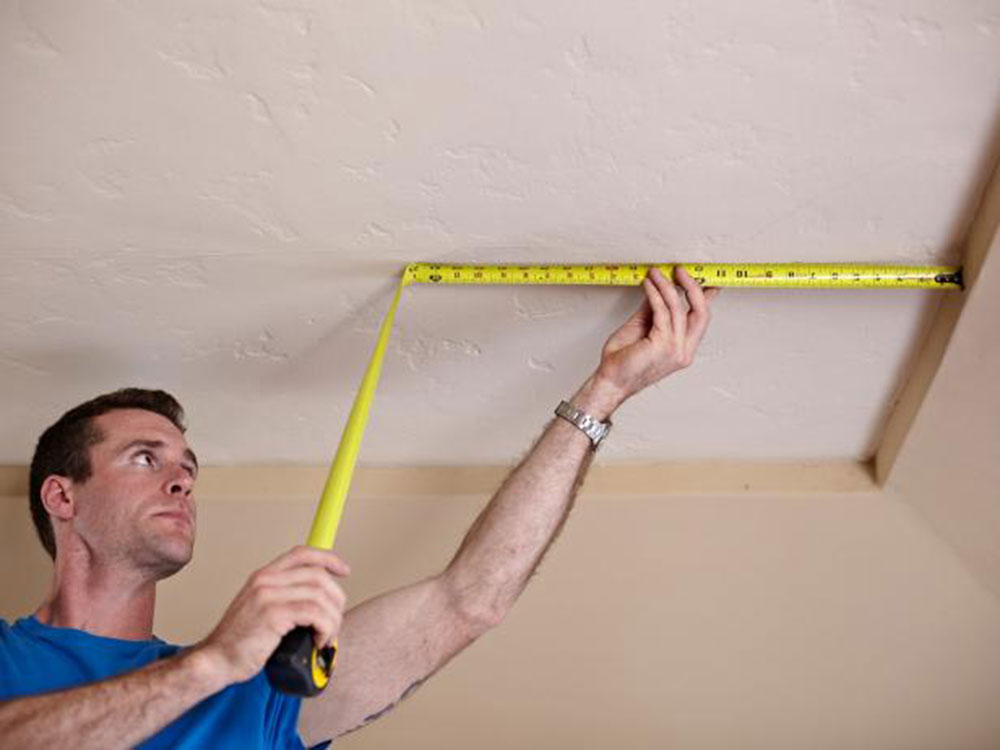
When installing a bathroom fan without access to the attic, it is very important to take into account the size that you have available for the extractor hood. For this purpose, it is recommended to remove and measure the case that protects the fan. If you choose a fan that is larger than the one you installed, you will have to shorten the wall, which can be difficult depending on the design.
One way to save a lot of work is to install a fan with the same dimensions as the one you are replacing. This way you don’t have to invest in new cables, screws or bolts.
Choose the right extractor
You may not need a large fan for your room. How you install a bathroom fan without access to the attic largely depends on the type of extractor hood used. Fan performance is determined in CFM (cubic feet per minute). This is the amount of air that can be processed. If you know your bathroom size, you can buy what you need to avoid additional costs.
Determine the extractor power
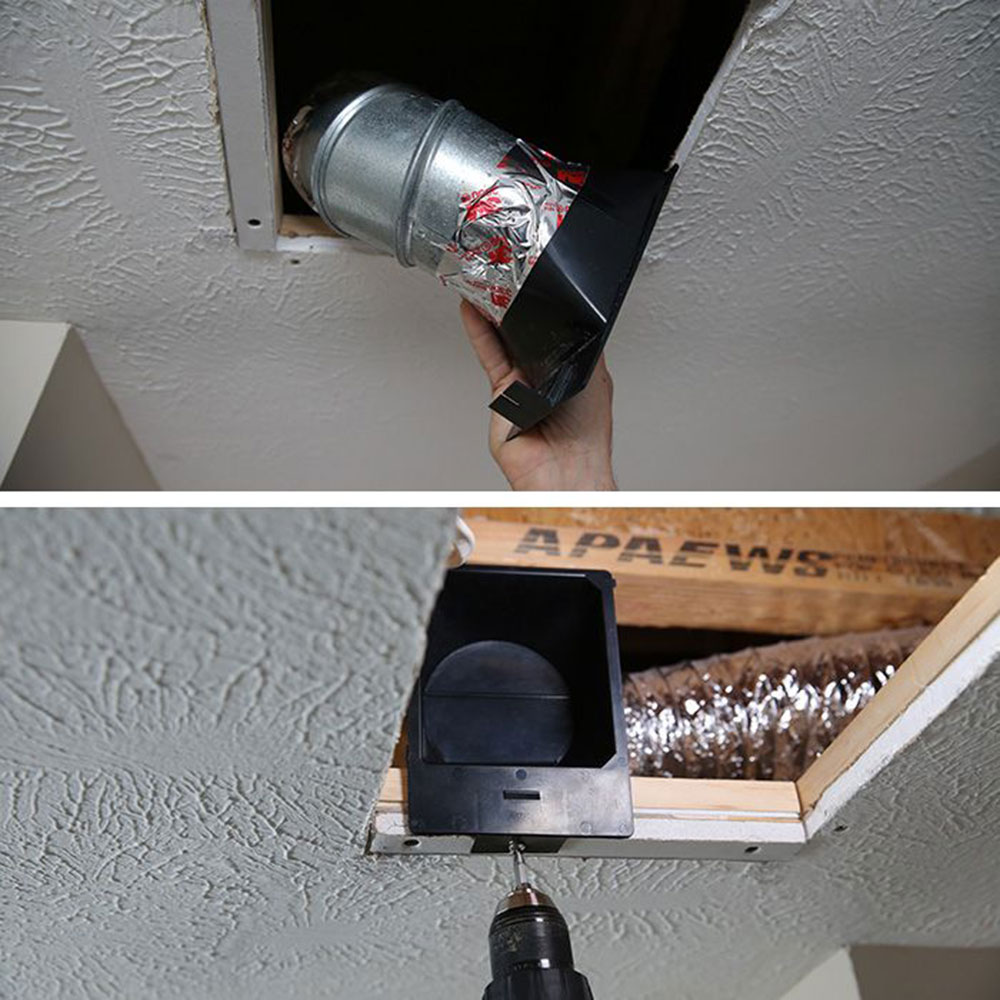
The extractor cannot work if it is not connected to the outside. There is no point in bringing air into another room, let alone when it comes to the bathroom.
You must install ducts through which air and moisture can pass. These are already installed if you want to replace your old exhaust fan.
If you don’t have the pipelines, you need to plan an outside route. If the bathroom is close to the ceiling, just build excellent ventilation.
If you have a bathroom on a mezzanine, you have to lead it through the wall. This last alternative has the advantage that the roof integrity is not impaired, since leaks or other problems can occur through the gap.
Many possibilities
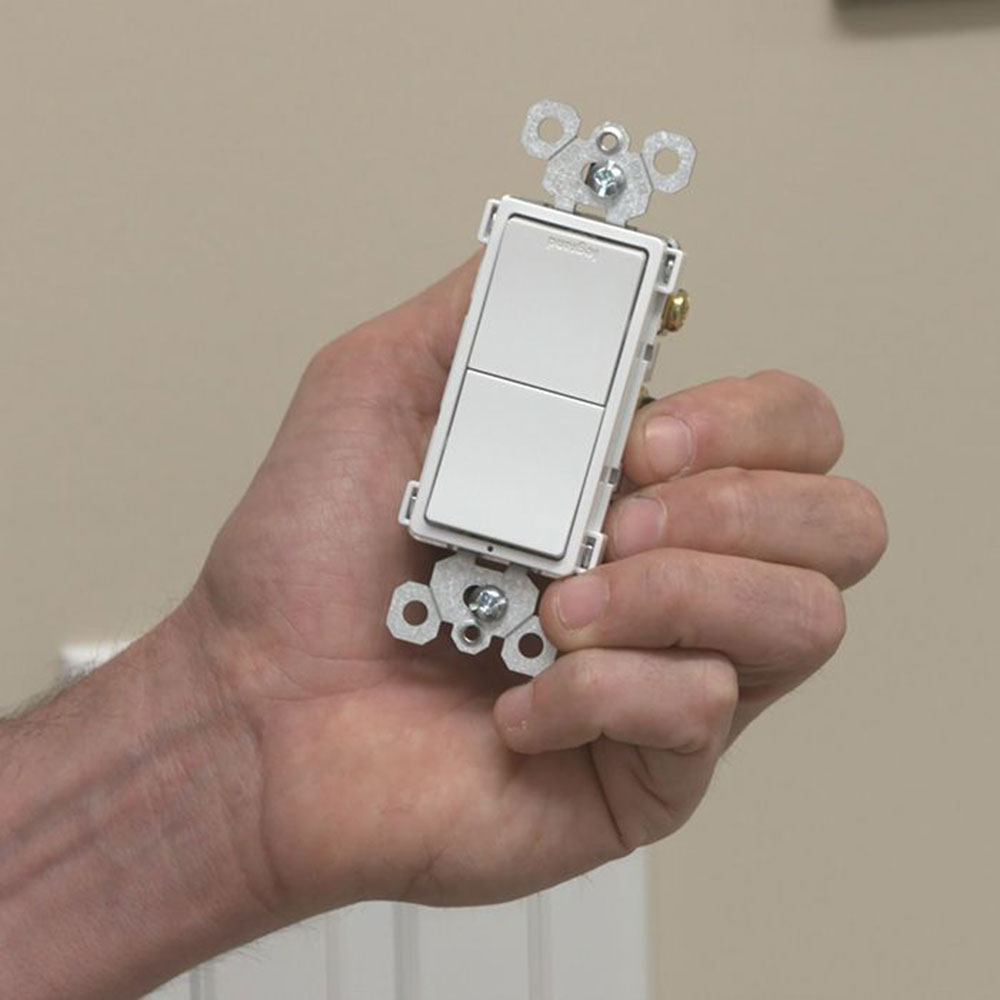
On the market you will find ingenious solutions for everyday problems that can be built into your bathroom fan. For example, if you don’t want to turn it on every time you visit the room, you can purchase a sensor that does the work for you.
Before you purchase this accessory, remember that additional cables are required for your installation.
How to install a bathroom fan without access to the attic
You should know that the main difference between a house with or without an attic is the difficulty of the installation process. The fan housing is easier to remove from above.
It doesn’t mean that it is impossible to do this from below, but you do need to take some extra steps.
Adjust the space for the installation
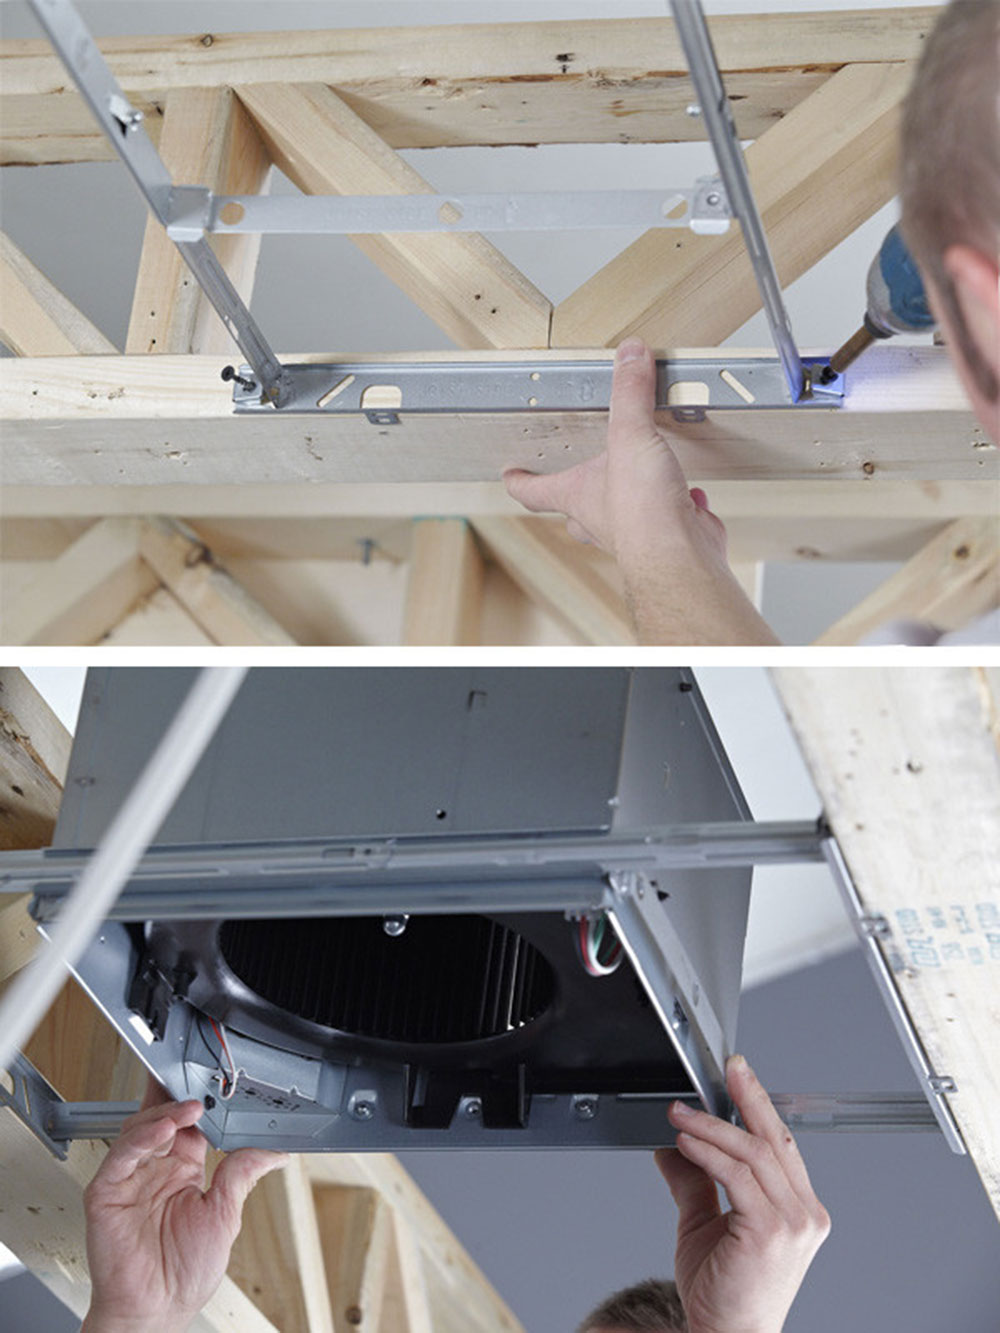
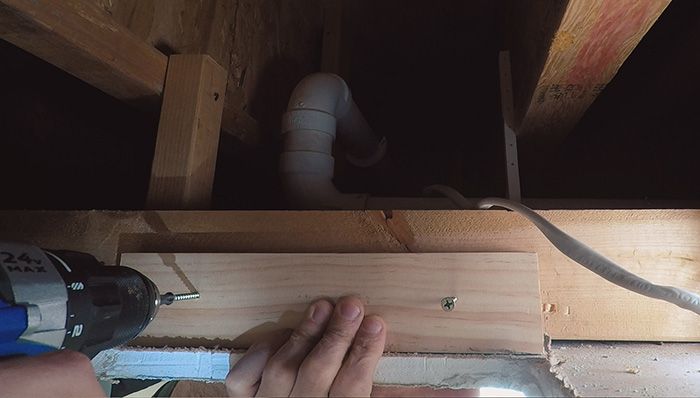
If you have already bought the extractor, you must first install it by preparing the hole in which it is located. The best thing is that it rests on a beam so that it can be screwed on. If this is not the case, you should first install the beam and then continue the process.
After supporting the extractor, you should make sure that it has the correct dimensions to place it. Fans larger than the hole are easier to install because you only have to cut out parts of the wall to fit them.
Otherwise, for a fan that is smaller than the available space, you must fill in the excess so that it does not move out of place. Some inexpensive ways to do this include fillers such as foam or plaster. However, the final decision will depend on the type of wall or ceiling you are accommodating.
Prepare the cables
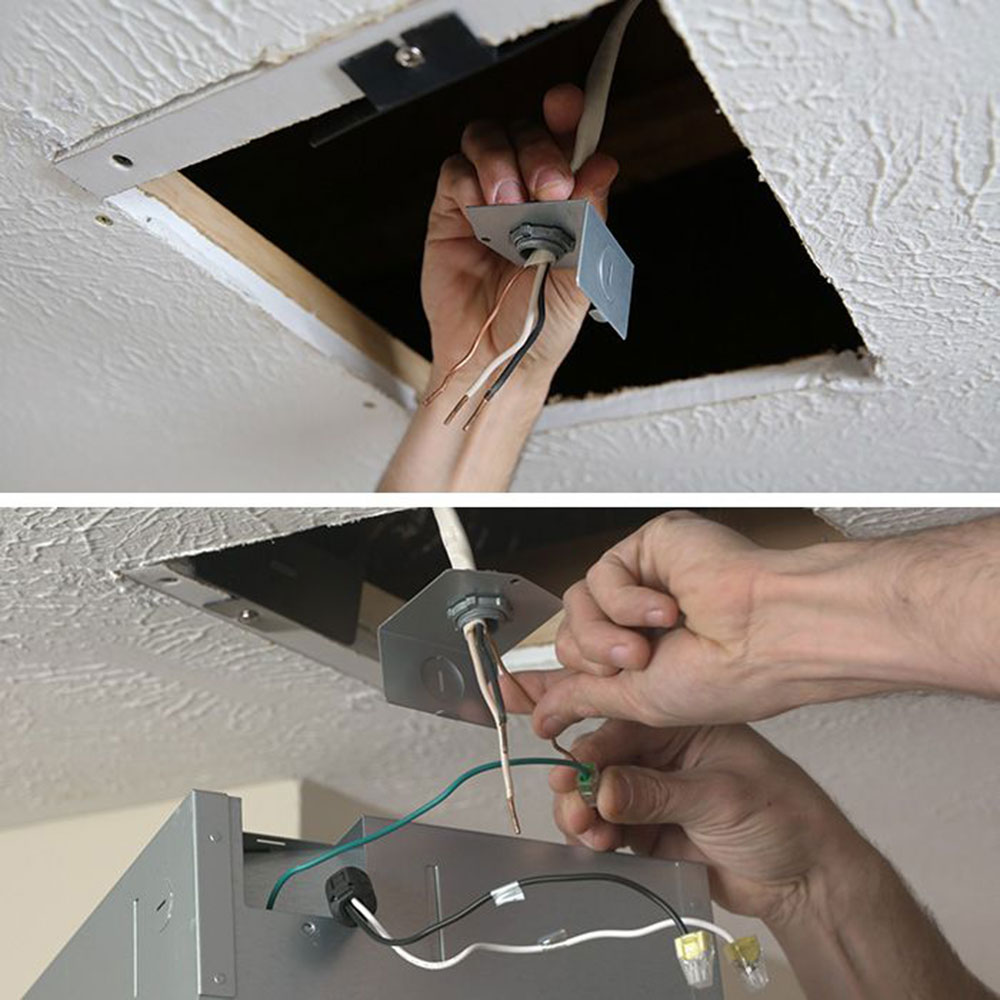
When space is no longer a problem, it’s time to do the preparatory electrical installation. Most of these devices have a similar installation, but some may require additional cables for accessories.
Most bathroom fans come with a lamp so that the cables that illuminate the lamp can be used for the fan. This is one way to make the device more practical.
If you don’t want the fan to use the same switch as the lamp, you’ll need to install another box that allows you to split the connectors into three parts so that you can use a special cable for the extractor.
There are more extreme cases where the bathrooms have no electricity. In this situation, you need to install an electrical line that reaches the main switchboard of the house, otherwise the puller will become unusable.
It’s time to assemble the channels
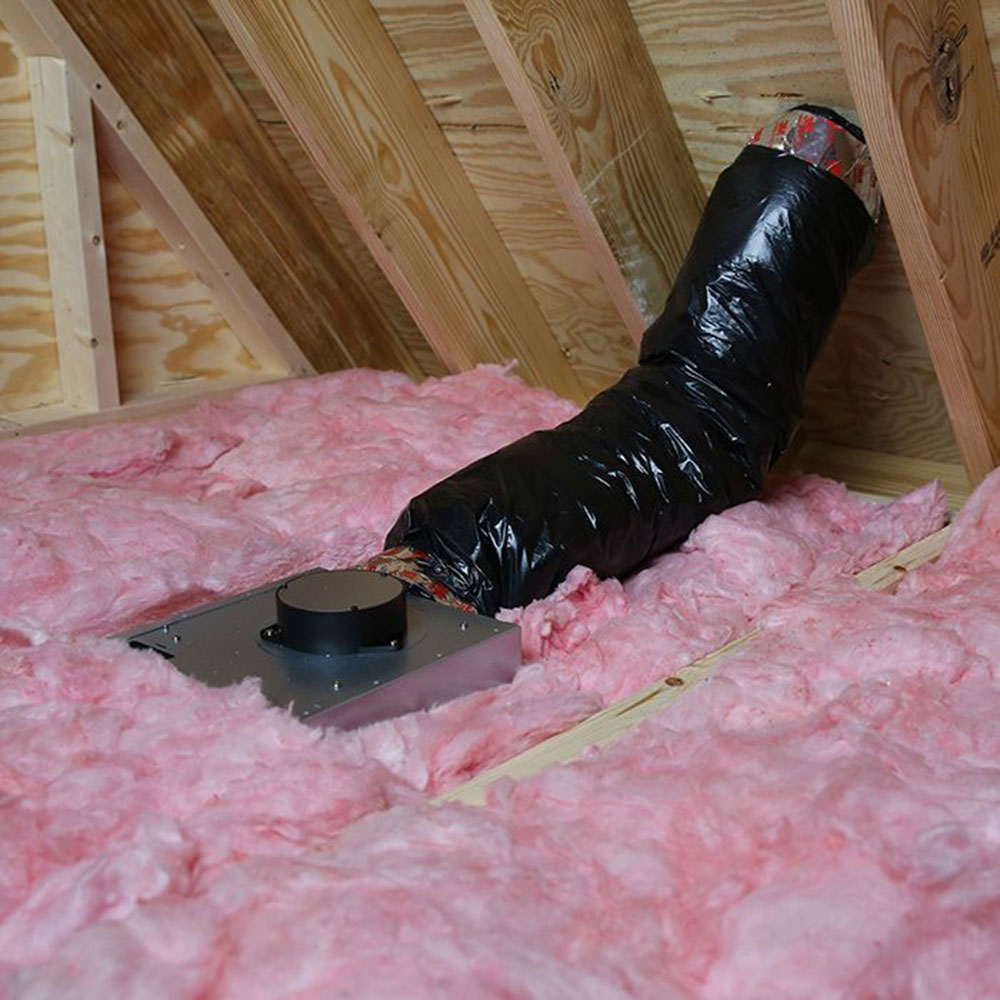
After installing the fan, you must connect it to the ventilation duct so that it can vent air. If you are replacing an old bathroom fan, it may already be in the direction in which you should place the fan. However, if it is a new installation, make sure that the housing is facing the channels.
The connection is made with a special HVAC tape or according to the manufacturer of your extractor.
It’s time to make the electrical connection
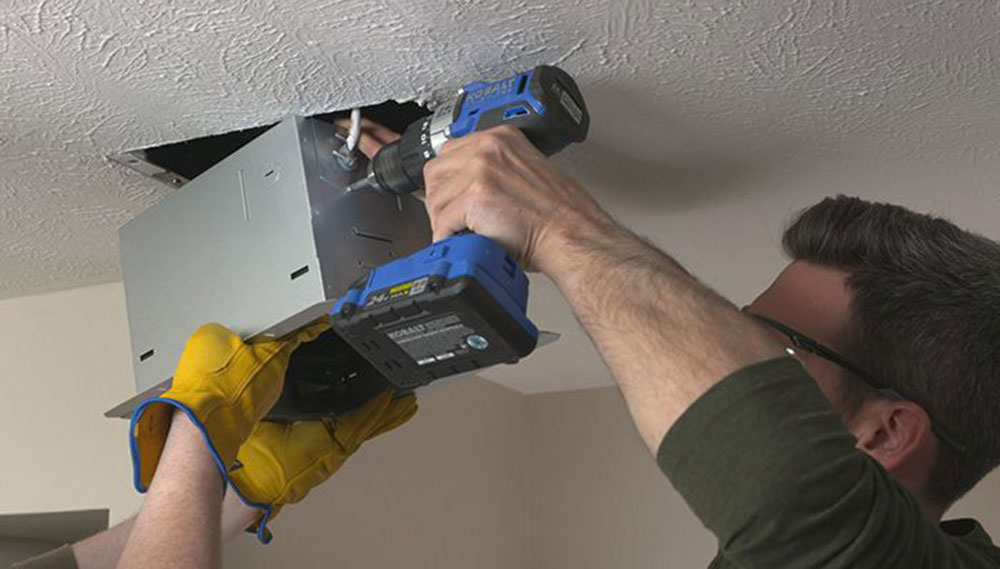
An important part of installing a bathroom fan without access to the attic is to integrate the wiring into the system. These should be in a switch box in the housing.
Attach cables to the wall or ceiling to prevent them from being damaged by sudden movements. The best thing for that is a pair of brackets. This way you can keep them tidy and it will be easier to connect them to the house wiring.
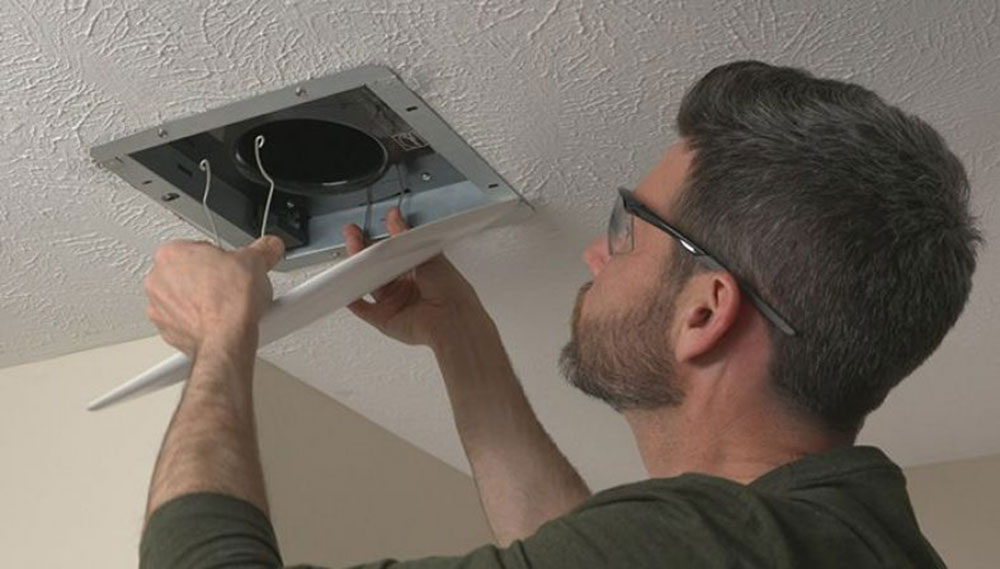
Have a screwdriver ready as you will need to screw cables into plugs and other objects.
Complete the installation by picking up any loose cables. If possible, place them in the fan housing. In order to avoid future problems, it is recommended to fix everything to a wooden beam or a wooden column or to a plaster wall if there is no alternative.
Do the last test
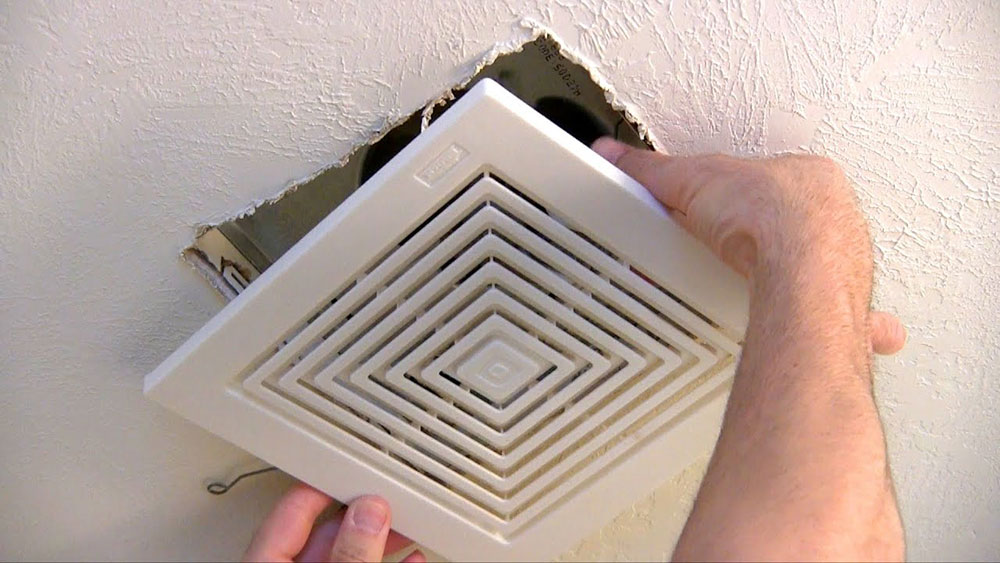
Now all you have to do is test your new extractor to find possible errors. Although these devices are simple, there is always the possibility that they are defective. You can test it before installation to avoid disassembly.
Check that the fan is working and place the protective grille in the appropriate place to avoid accidents with the blades.
If the building process was rustic and damaged the environment, correct the imperfections with paint and wall paste.
If you liked reading this article about installing a bathroom fan without access to the attic, you should also read this:
 TopsDecor.com Home Decor Ideas
