TopsDecor.com Home Decor Ideas
The bathtub is an accessory that allows you to enjoy the relaxing effects of water for hours. As long as you have the space, it might be a good idea to install one. The downside is that this job is not easy due to its size and connections. If you have no experience in the construction and plumbing industries, it is best to have it done by a specialist. However, if you trust your skills, you may want to learn how to install a bathtub.
If you don’t know how to start this project, this guide is perfect for learning the basics you need to know.
Prepare the soil

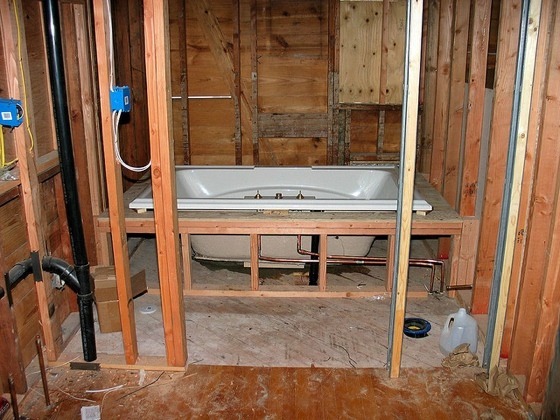
The first aspect to consider when installing a bathtub is the space in which it is located. The niche or niche must have adequate measures to prevent it from performing incorrect work. In addition, the floor must be properly leveled, otherwise the bathtub can become unbalanced.
The niche tub should be slightly larger than five feet long and 32 inches wide so that most tubs can be easily set up.
The unevenness can be corrected in different ways. If the niche contains ceramic, you may need to remove it to reapply and smooth the glue. Another alternative is to obtain a leveling compound and apply a surface layer.

The last aspect to consider in relation to the space in which you are installing the bathtub is the position of the pipes. It may seem unnecessary because of the symmetrical construction of the bathtubs, but they have the drain openings on the left or right. If you have already bought the bathtub and it does not fit the pipes, you will need to change the installation.
Avoid accidents
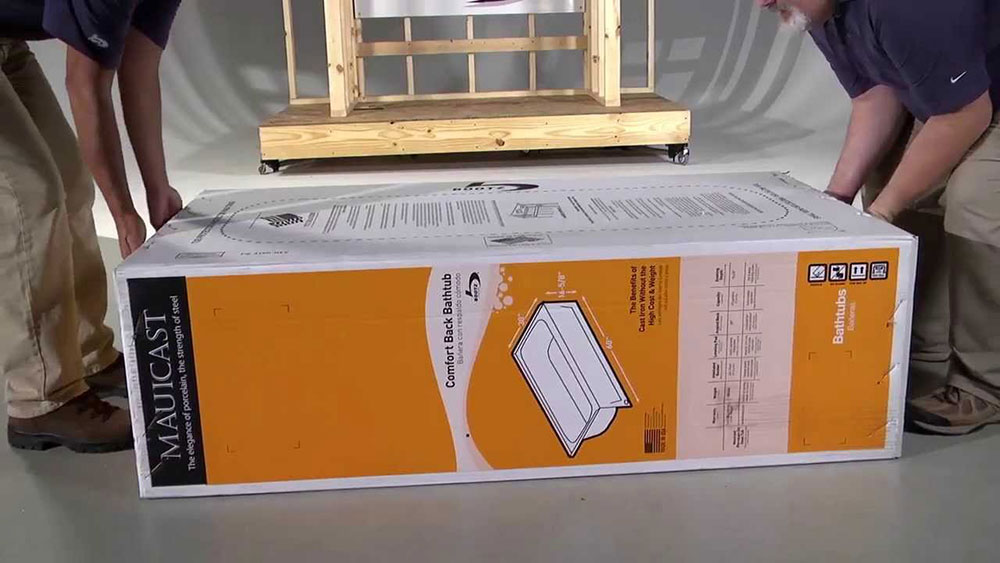
Do not remove the tub from the packaging until you are ready to install it. Both metal and porcelain bathtubs are prone to impact. To avoid dents or breaks, it is best to leave it packaged.
When installing the bathtub, you should also take care not to damage it. To do this, you can cover the walls and floor of the alcove with cardboard to cushion the blows. You can even use the box that the bathtub was packed in.
In addition, a linen fabric can be useful to protect the bathtub on the floor, and you can move it around without scratching the floor.
Interrupt the water supply

Another step you need to take before you start replacing the bathtub is to close the waterways.
A stopcock in an adjacent room should let water flow into the bathroom. Close it and check that the water does not get into the bathroom. If water is still flowing when you open the tap, shut off the water from your home’s main tap and try replacing the damaged stopcocks.
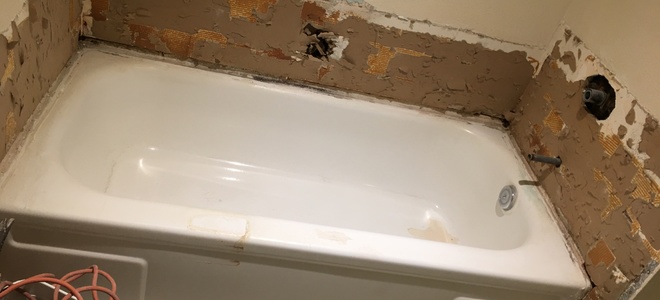
Place the bathtub in place
The best way to check if the bath fits into your niche is to locate it in it. The wooden frames on the walls cause most problems. If these strange angles cause the bathtub to move, you’ll need to hit the beams with a rubber mallet until they’re level.
As already mentioned, the floor is an important factor that must be perfect. How a bathtub is installed largely depends on this aspect. The bumps hinder the process and can seriously damage the bathtub.
The nail flanges on plastic tubs are not resilient, so you should try as much as you can to make your feet the main support. If, like a table, you find that one of the legs of the bath does not touch the floor, it is best to place a wedge that balances it. Any hard material is suitable for this purpose, with the exception of softwood, which can be damaged by moisture and weight.
When leveling, remember that the drain is aligned with that of the bathtub. You can also not forget to have the appropriate accessories and pipes for installation.
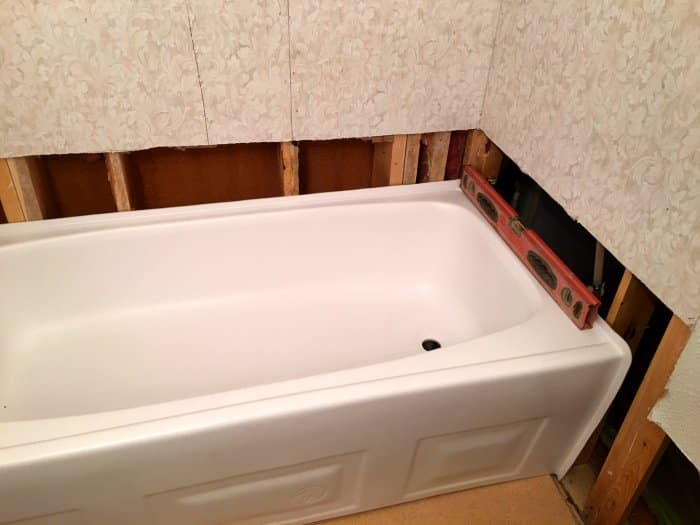
Create a general ledger card for additional security
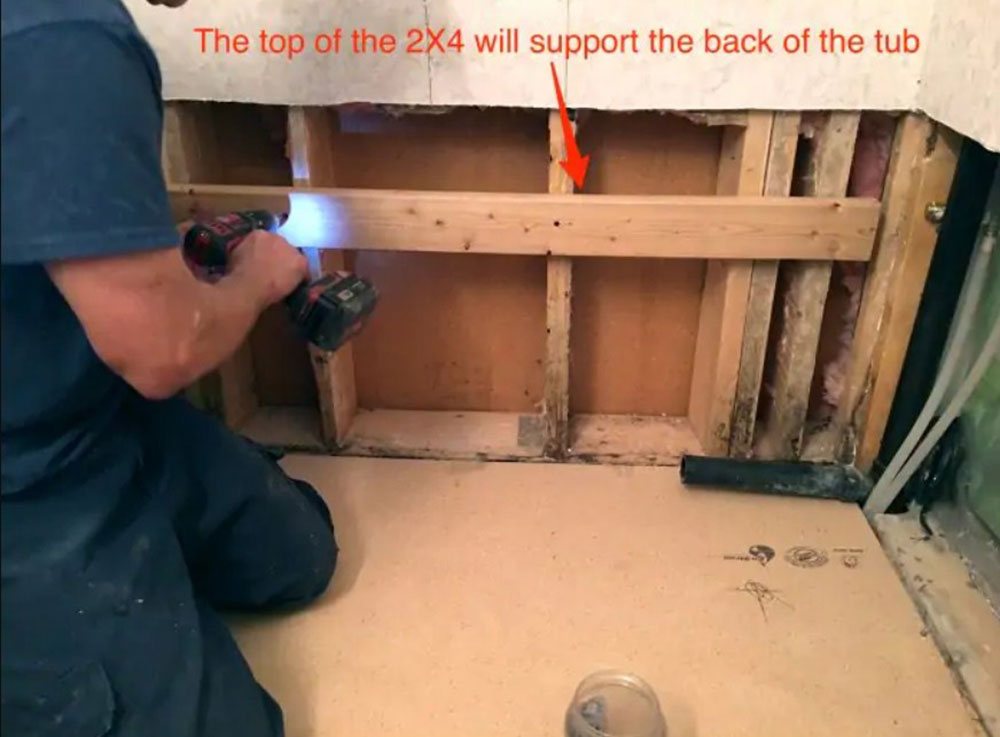
During your new bathtub installation, you can create additional support with a main book board on the side walls. To do this, you need to mark the top edge of the longest side of the bathtub on the longest wall with a pencil or marker. You can use a tape measure or by placing the bathtub in the alcove.
Install a 2 × 4 inch wooden board below this mark. Repeat this process on the back wall. You now have support to put the bathtub on. If the wooden boards are placed correctly, you can place the bathtub on top of it and it will continue to touch the floor.
Have the drain ready
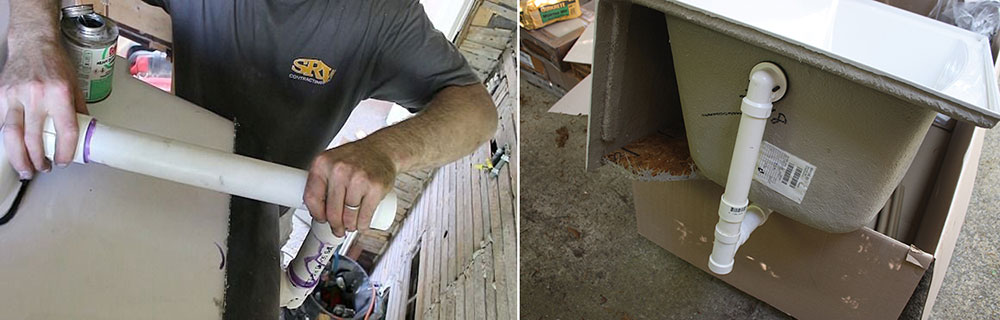
The tub drains to the lower connection. This must be connected to the house’s sewage system via a short pipe called a shoe. To prevent bad odors from leaving the drain, you also need to make sure that the pipe has a siphon or P-trap.
The previous job in the niche tub is to align the drain with that of the tub. For this simple process, you only need to measure the distance between the side of the bathtub and the center of the drain. For proper work, the measurement should be taken from exactly half of the side. This allows you to prepare the tubes without having the bathtub in the niche.
The foam prevents noise
What you need to know about installing a bathtub is that it is best to apply a layer of foam that seals the floor, even if it is not completely on the floor.
Foam is a perfect material for many situations. Thanks to its texture, it adapts to every shape, creating a perfect filling that prevents the bathtub from moving. This not only mitigates the impact on the floor, but also reduces the noise that occurs when it is used.
The only downside to the foam is that it dries quickly (around 20 minutes), so you can only put it on when you’re ready to install the bathtub.
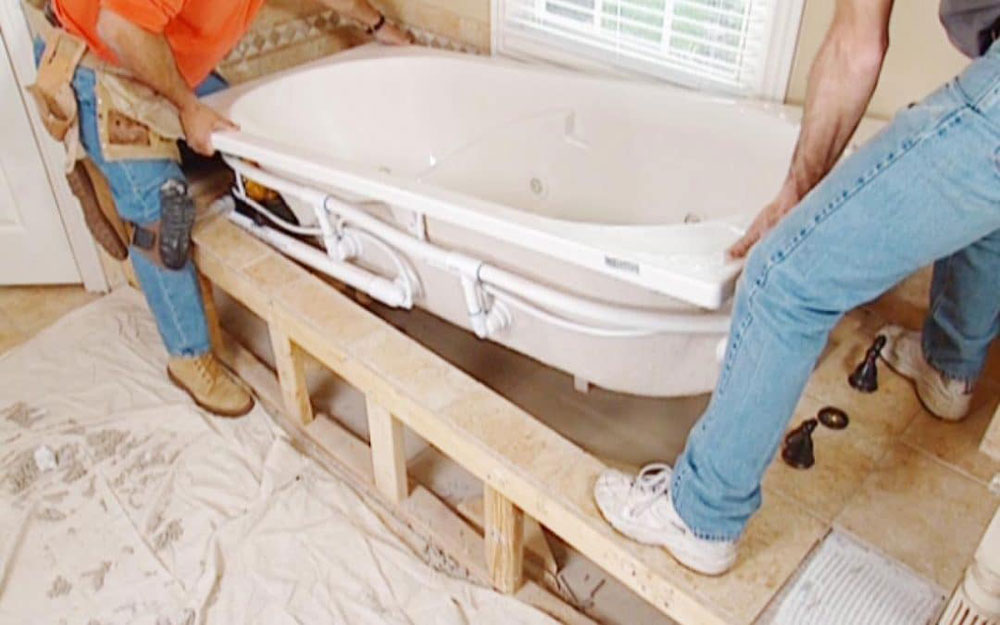
It’s time to install the bathtub
After all the preparations are done, it’s time to install the bathtub in its place. It is recommended to place it directly as it should be. However, if you need space to complete a previous process, e.g. B. Applying the foam, you can have it next to the niche.
Place the tub edges on the previously installed ledger boards and always make sure that the tub drain and your house drain are aligned.
To ensure that the bathtub is level, use a spirit level on all four sides. Since everything is ready at this point and bumps appear, the best way to solve them is with wedges.
How to install a bathtub: plumbing
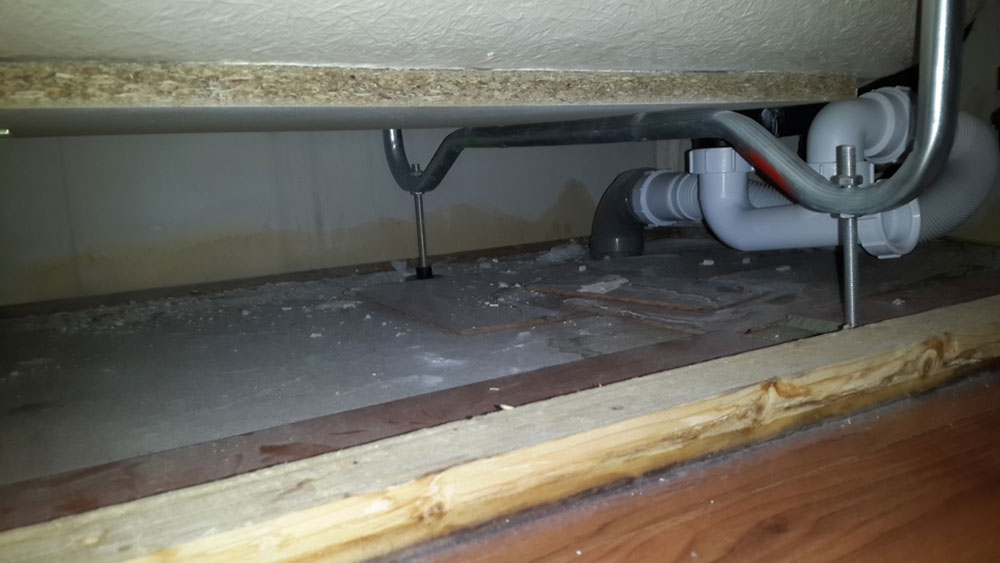
If the bathtub is installed in your bathroom unit, now is the time to connect it to the plumbing in your house. With the measurements noted above, you can align the tub drain and the overflow holes with your house drain.
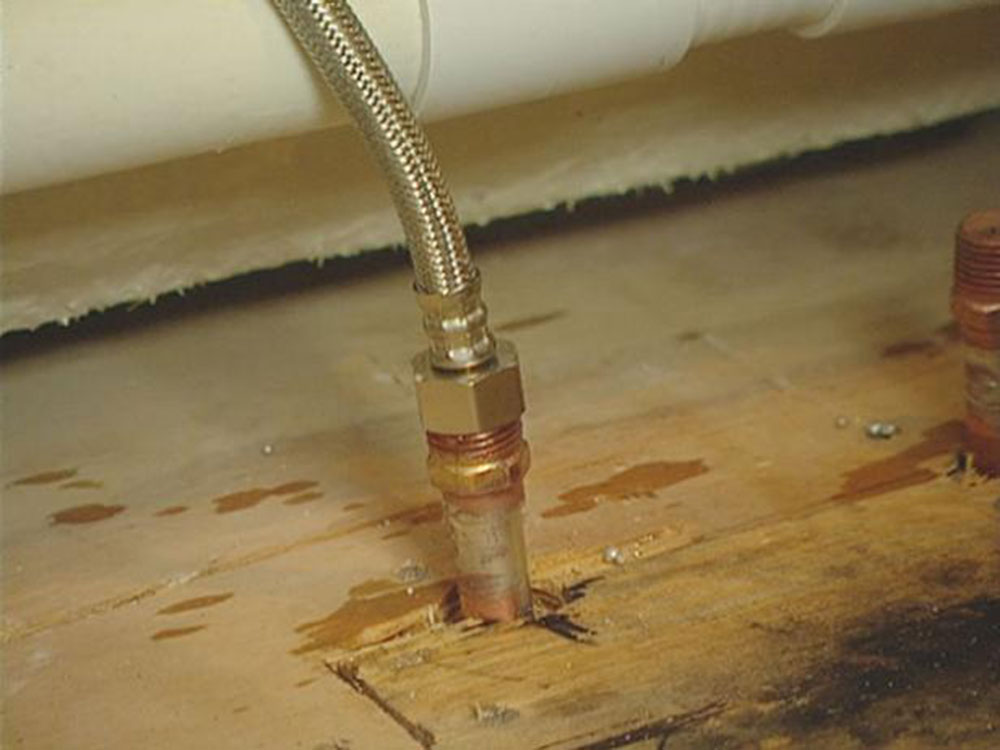
To avoid leaks, the tub drain is wrapped around the small pipe that leads to the house drain. Coat this pipe with some plumber spatula and then insert the drain by applying pressure to the tub.
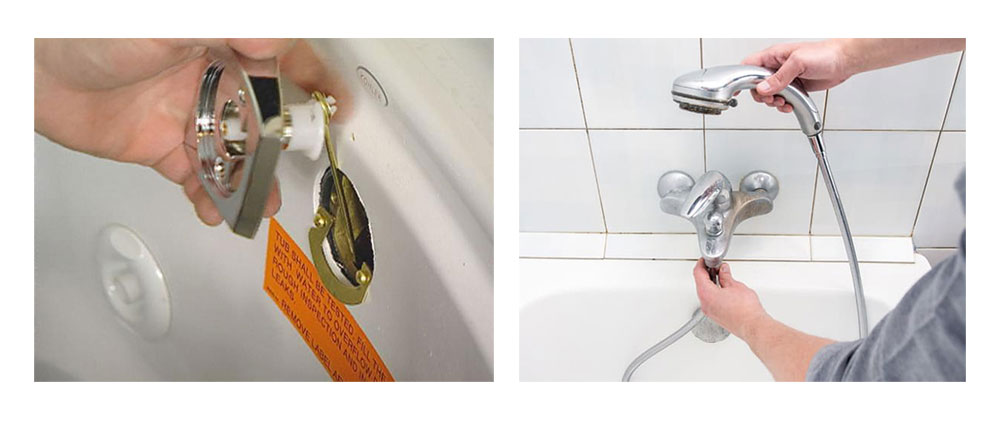
From the outside of the bathtub you need to locate the strainer and place a gasket on it. Now you need to screw the strainer to the drain chute near the overflow drain. Once that’s done, remove the excess putty from the drain.
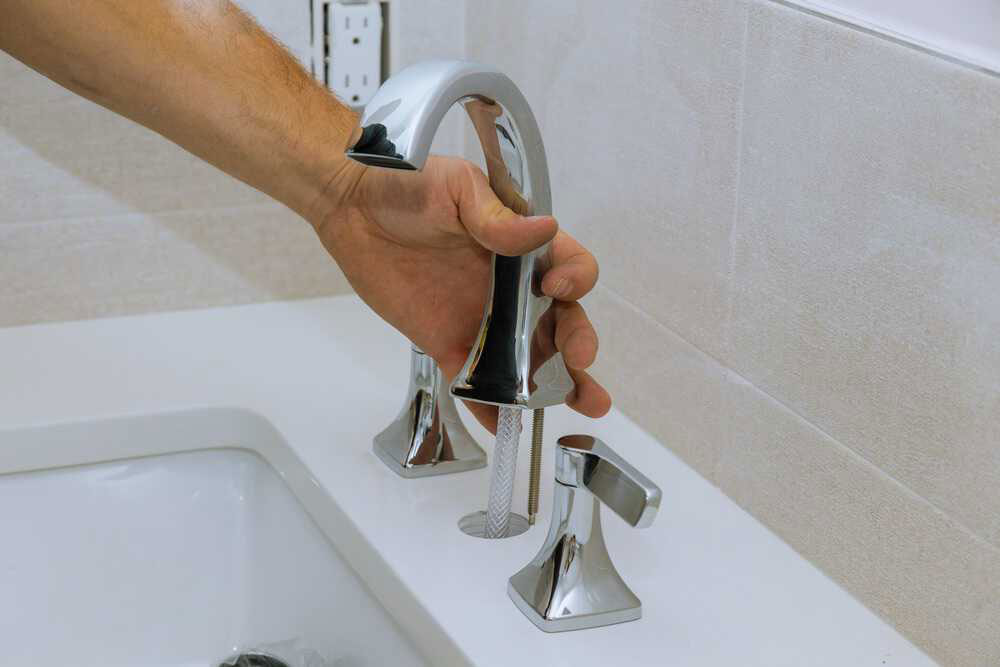
Finally, seal each hose connection with silicone. You can now install your faucet and seal the drain on the bathtub with a bowl. To prove that everything is fine, simply pour water into the bathroom 24 hours after installation and look for possible leaks.
In the event that you want to attach your bathtub to studs, it is best to do the plumbing first. This way you can move the bathtub as many times as necessary during the process as it is very difficult to bend the pipes if they do not fit.
Last adjustments
With this, you already know how to install a bathtub, but there are a few additional steps you can take to achieve a professional appearance.
You can attach the flanges to the stud with 1-inch galvanized nails. With fiberglass tubs, you may need to drill holes to use screws. For metal bathtubs without holes, it is best to use the nails as a support for the flanges.
If desired, you can decorate the side walls with plaster and paint so that they look as if the bathtub was installed in your house from the start.
If you enjoyed reading this article about installing a bathtub, you should also read this: