TopsDecor.com Home Decor Ideas
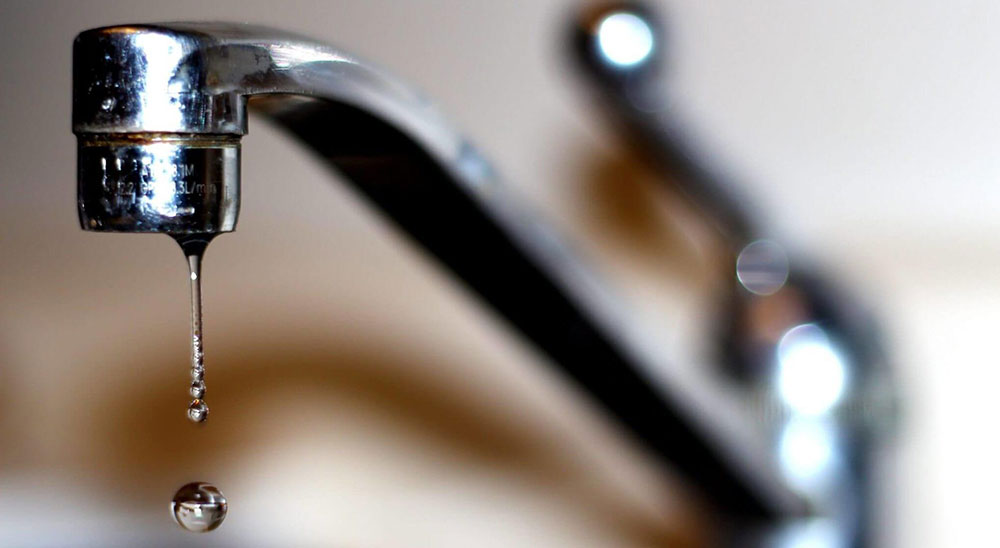
One of the most common problems in kitchens these days is leaky taps. It does matter what quality the faucet is or what type of faucet you have, but you will probably still encounter this problem at some point in your life. Fortunately, fixing the problem is very easy and only a few simple steps are required. Here we will talk about how you can repair a leaky kitchen tap quickly and easily.
Sometimes taps can leak because they are not installed properly. This can be your fault or the fault of the person who installed it. In other cases, it is just that an old and worn tap is leaking. If you have a leaky faucet, hang around and read on if you want to learn how to fix it.
Tips before you start
Before you start making corrections, there are a few things you need to know about your faucet.
What is the type of your faucet?
Taps come in different shapes and sizes, and some work differently than others. Some taps also have different and specific components for their type, while others have a different type of installation. To learn more about your faucet type, remove the handle and watch. These are the most common types.
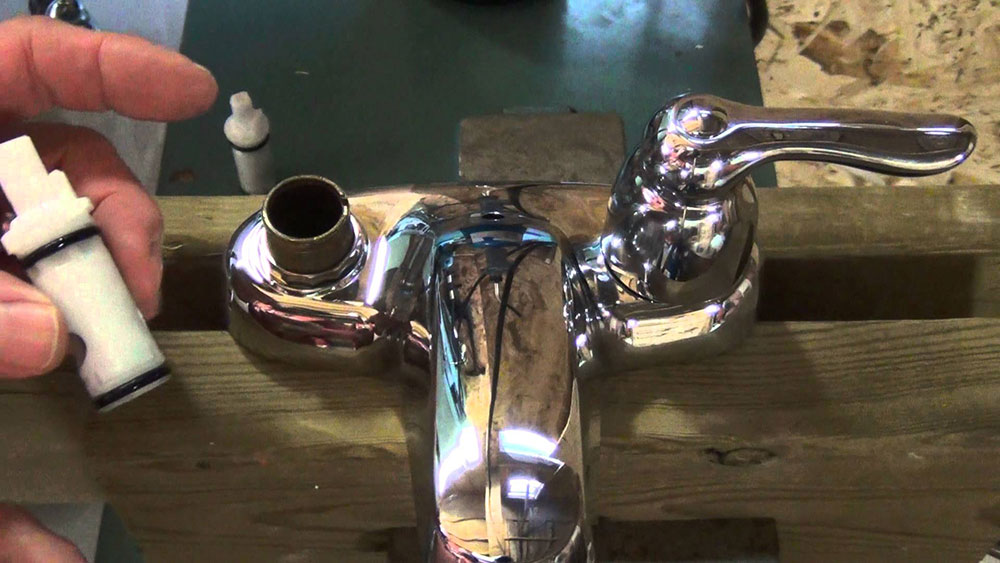
Cartridge valve is a kind of faucet that has a cartridge under the handle.
Ball valve will have a ball under the handle.
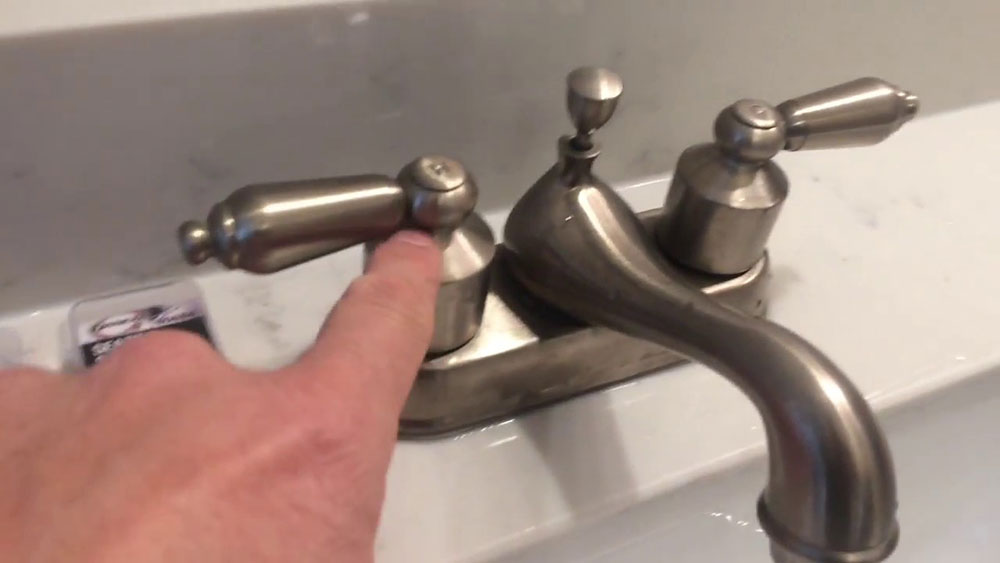
Compression taps have two handles, so determining this type of faucet is pretty easy.
Once you’ve determined the type of faucet, it’s easier to do the repair.
Find the leak
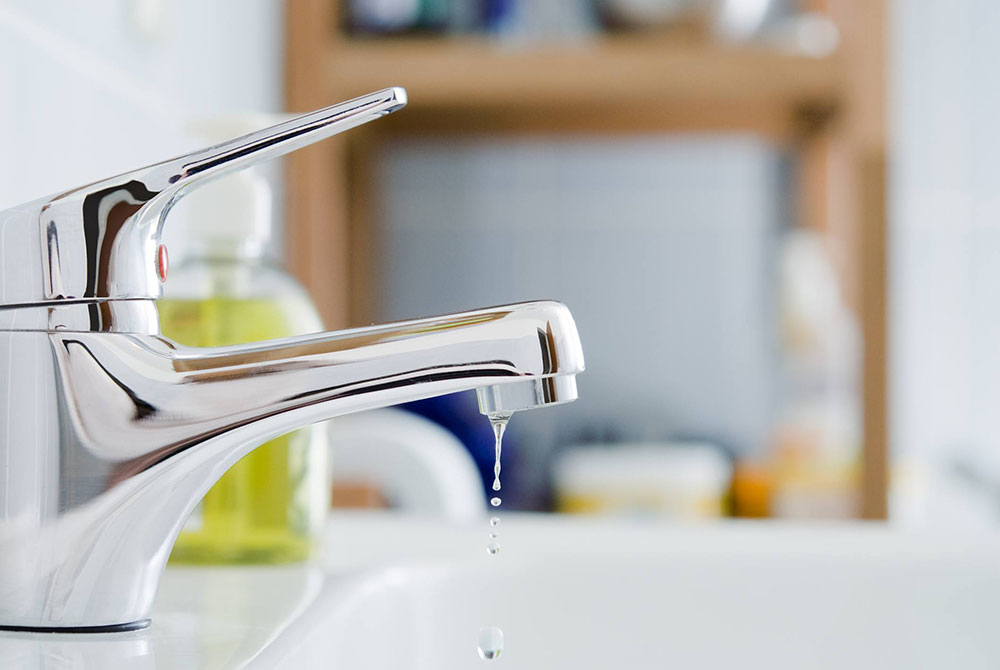
Next, you want to find out exactly where the tap is leaking. Your faucet may be leaking at the end of the spout or at the base. These types of leaks require different corrections. Therefore, investigate the cause of the leak.
If the tap is leaking at the end of the spout, this may indicate that one of the internal parts is damaged. If you find that the faucet is leaking at the base, the seals on the housing may be damaged. Once you’ve identified the cause of the leak, it’s pretty easy to know how to fix a leaky kitchen tap.
Don’t forget to turn off the valve!
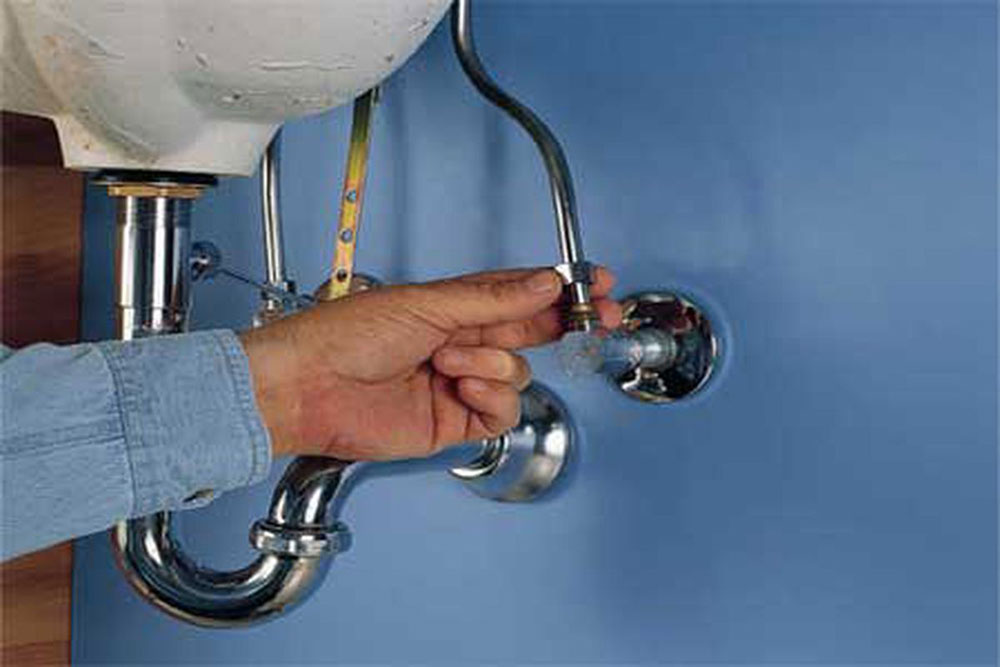
Certainly this step should be self-explanatory, but some people forget to turn off the valve, which can lead to confusion. You can do this very easily. Typically, the faucet valves are located directly under the sink. In some cases, users don’t have valves under the sink, which means you have to close the main valve for the entire household.
When you have switched off the valve, open the tap and relieve the water pressure built up in your tap by opening the tap in the middle position. Also cover the sinkholes with baskets or rags to prevent small parts from falling into the drain.
How to fix a leaky kitchen tap
There is a different solution for each type of faucet and we will go through each one individually. Let’s start with ball valves.
Fasten ball valves
The role of the ball under the handle is to control and regulate the flow of water and the temperature of the water flowing through the tap. The ball is attached to a socket and is made of either brass or plastic. The first thing you want to do is buy a repair kit if you don’t already have it. Ideally, this kit should include the ball (preferably stainless steel), springs, seals, O-rings, and a small repair tool. Then you can start with the repair.
Manual:
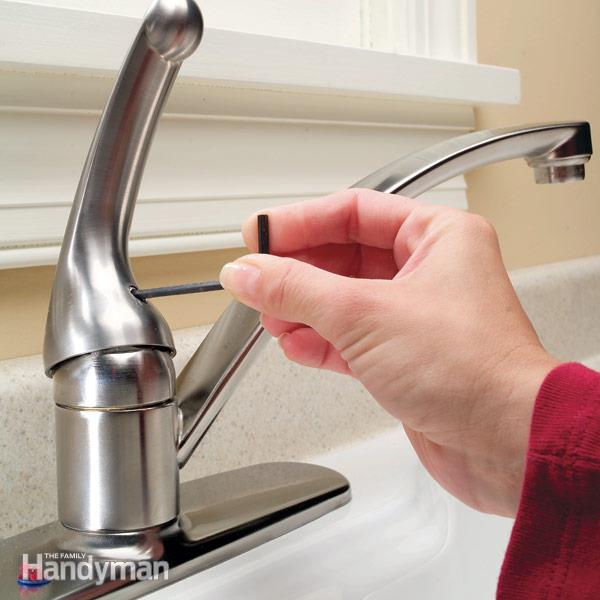
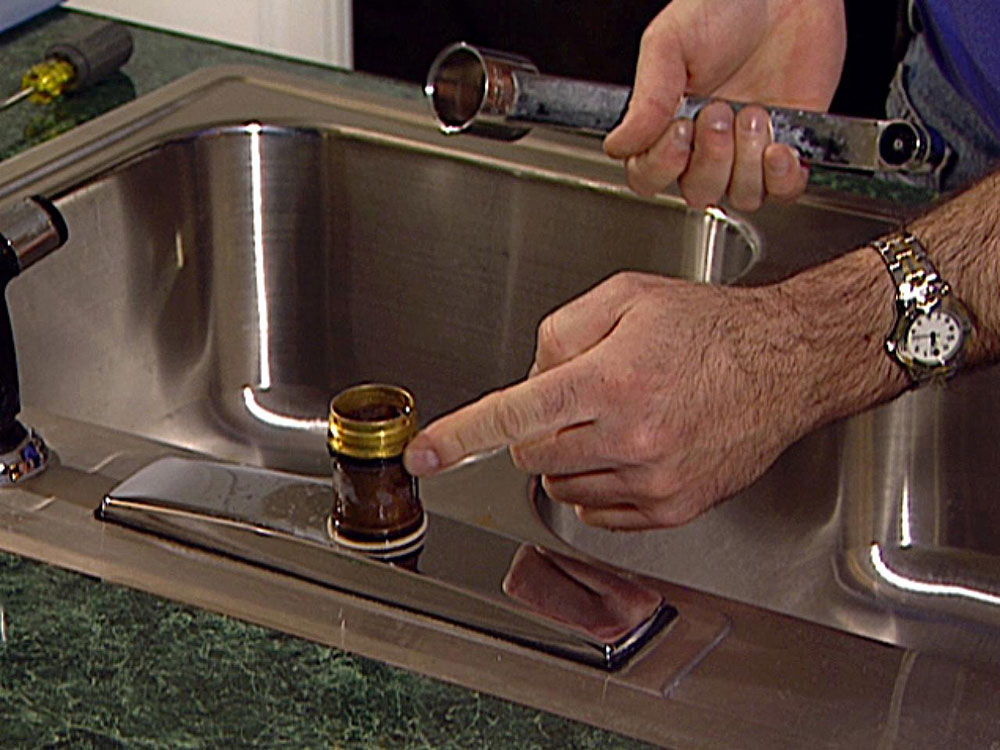
- The first step is to take the faucet apart.
- Use an Allen key to remove the screw on the bottom of the handle and remove the handle. Don’t forget where to put the screw as you’ll need it later.
- Use a pair of slide pliers to loosen and lift the dome assembly to expose the bonnet, ball, and cam. Then remove the cam and the ball with needle-nose pliers. You should examine the ball and look for signs of wear. If you notice anything, you should replace the ball immediately.
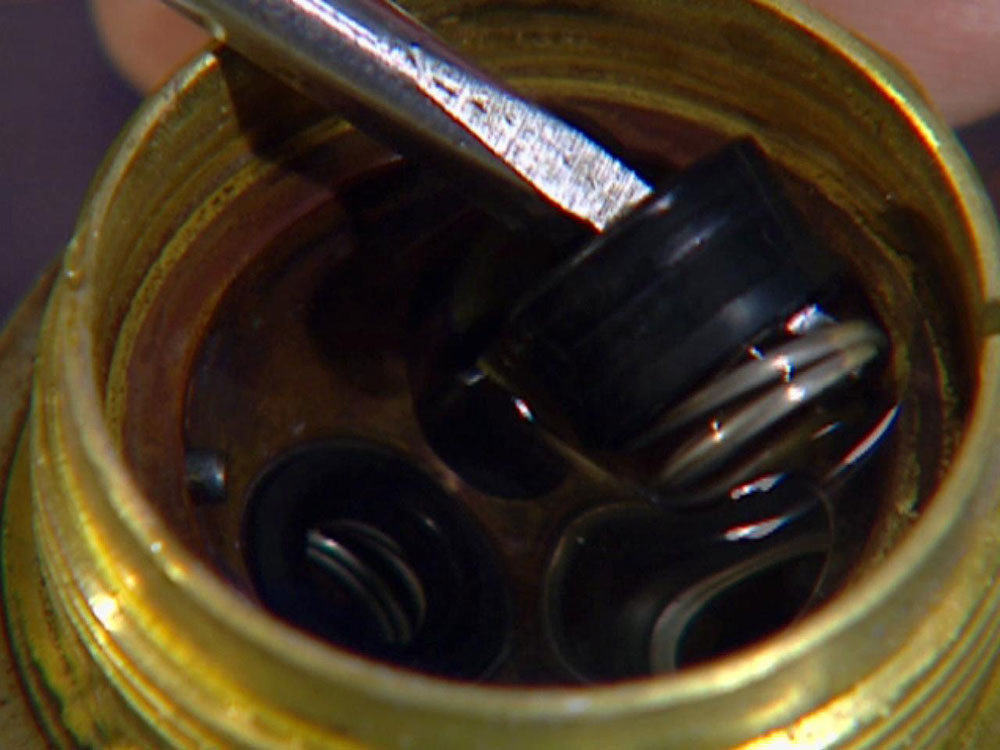
- Remove the O-rings and springs using a flat-blade screwdriver. You’ll also want to replace the springs, but remember how the springs were aligned before you removed them. Use the springs in your repair kit and place them in place of the old springs.
- Watch the aerator for possible damage. If it appears damaged, you need a new one. However, removal can be difficult. You will want to use a towel.
- Also look at the valve seats. If you think they are worn out, replace them with a screwdriver. These seats are designed to prevent leakage at the end of the spout.
- After removing all parts, take some time to observe the inside of the valve. If you notice damaged seals or mineral deposits, remove them by cleaning the valve. Mineral deposits can be easily removed with vinegar.
- When you’re done, put everything back in the same order.
Of course, the assembly must be done correctly to avoid future problems. Remember how you disassembled the tap in the first place. How to fix a leaky kitchen tap for ball valves.
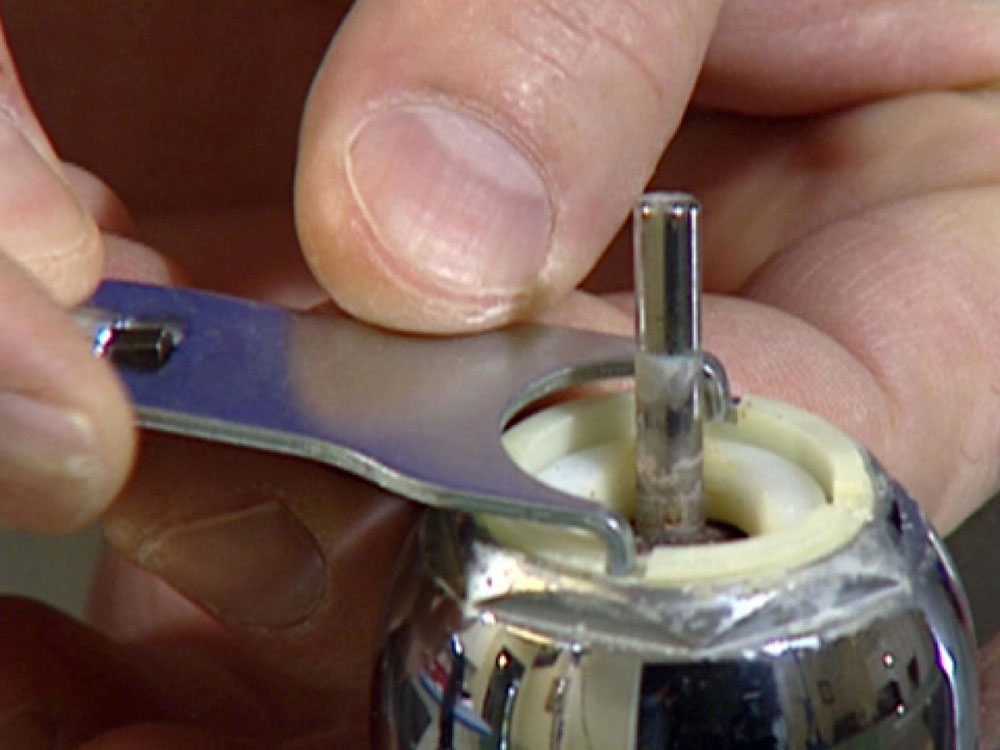
Fasten the cartridge taps
Attaching cartridge taps can be a bit more complicated. This is because they tend to be more durable and the installation is usually much more robust. They use O-rings and a retaining clip that regulates water flow and temperatures. If you want to repair this type of tap, you may need to replace the clip or the entire cartridge as a whole.
Finding the parts is pretty easy; In fact, they can be found in most stores that sell this type of equipment. The only thing you have to consider is choosing the right spare parts. For this reason, it may be a good idea to disassemble the faucet first and then take the parts with you to the store to see if you are buying the right one.
How to repair a leaky kitchen tap with a cartridge.
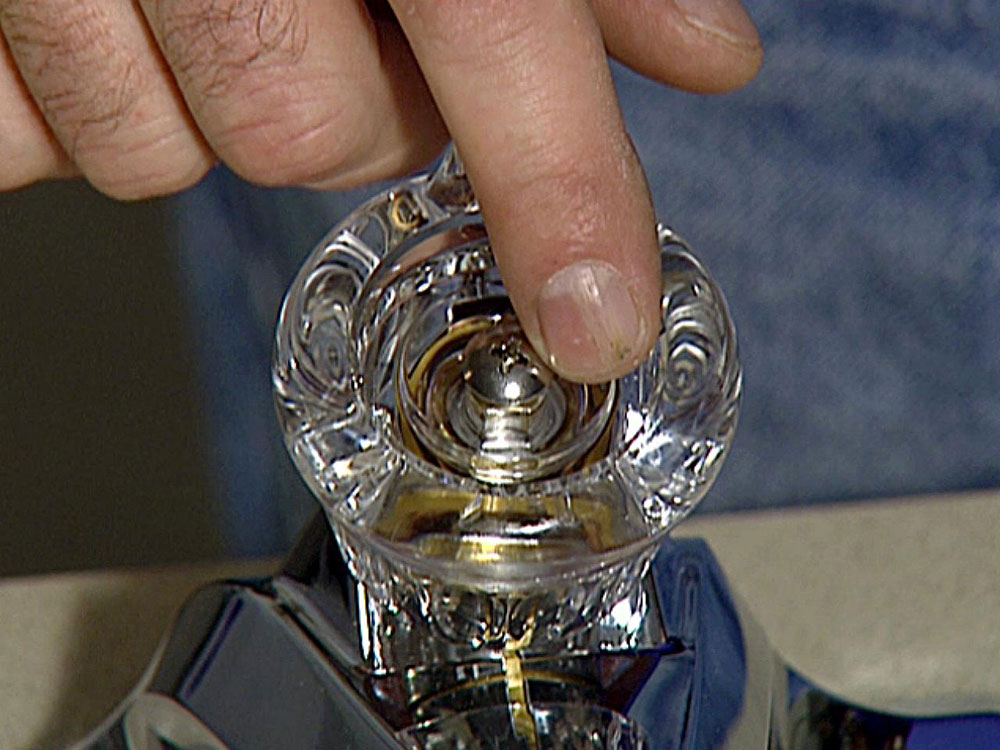
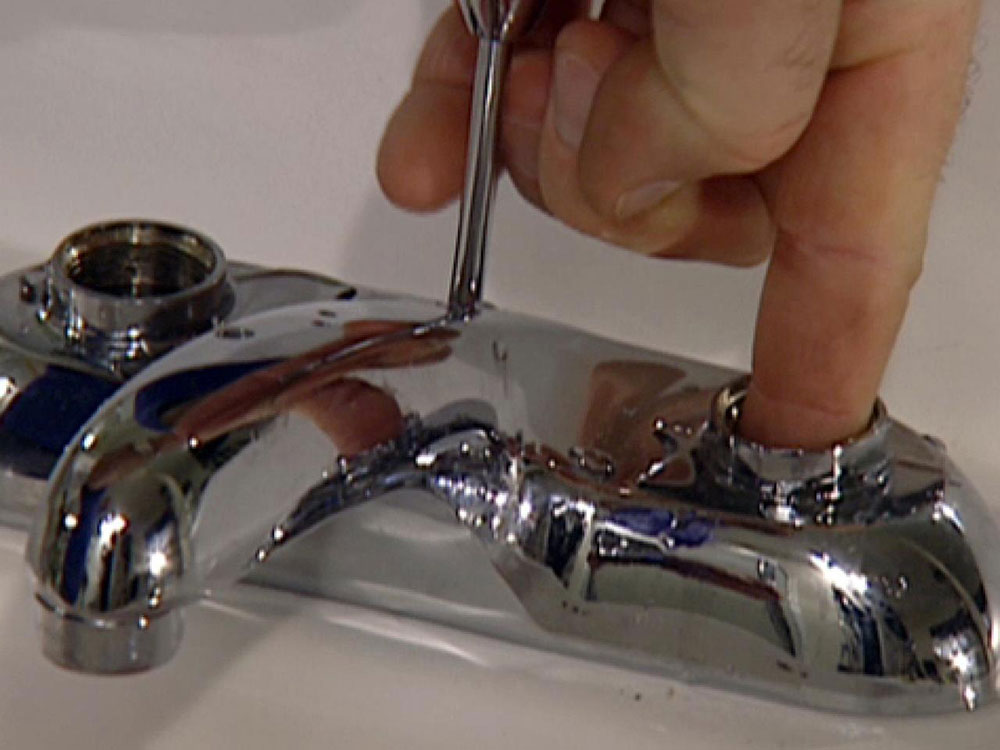
- First remove the handle.
- Use a flat-blade screwdriver to remove all of the decorative parts of the tap.
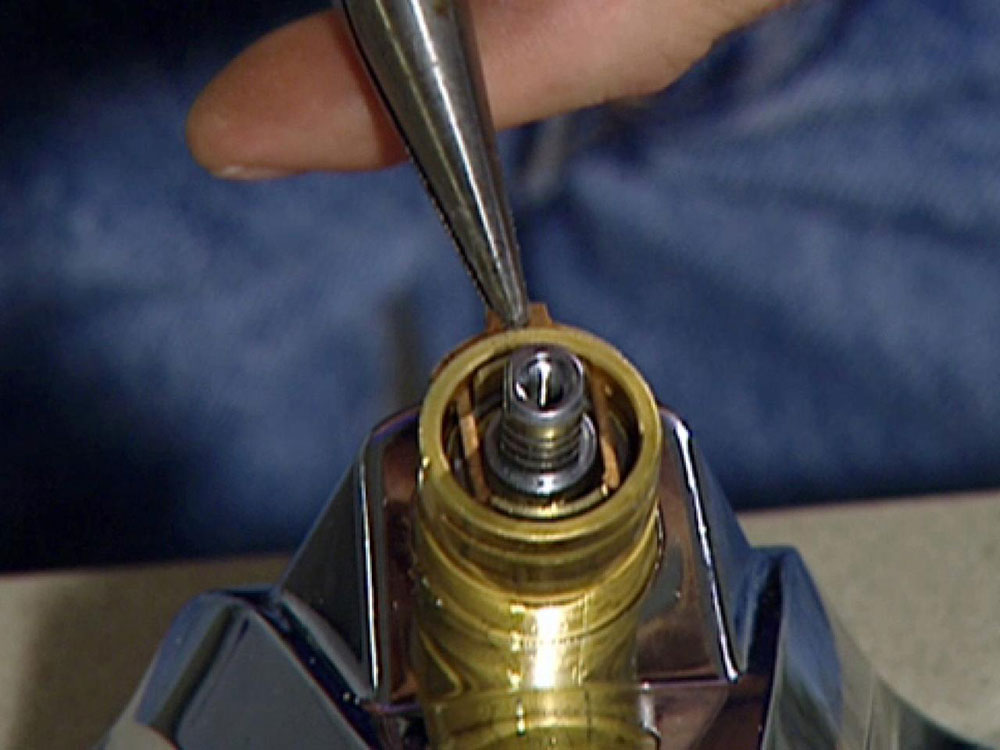
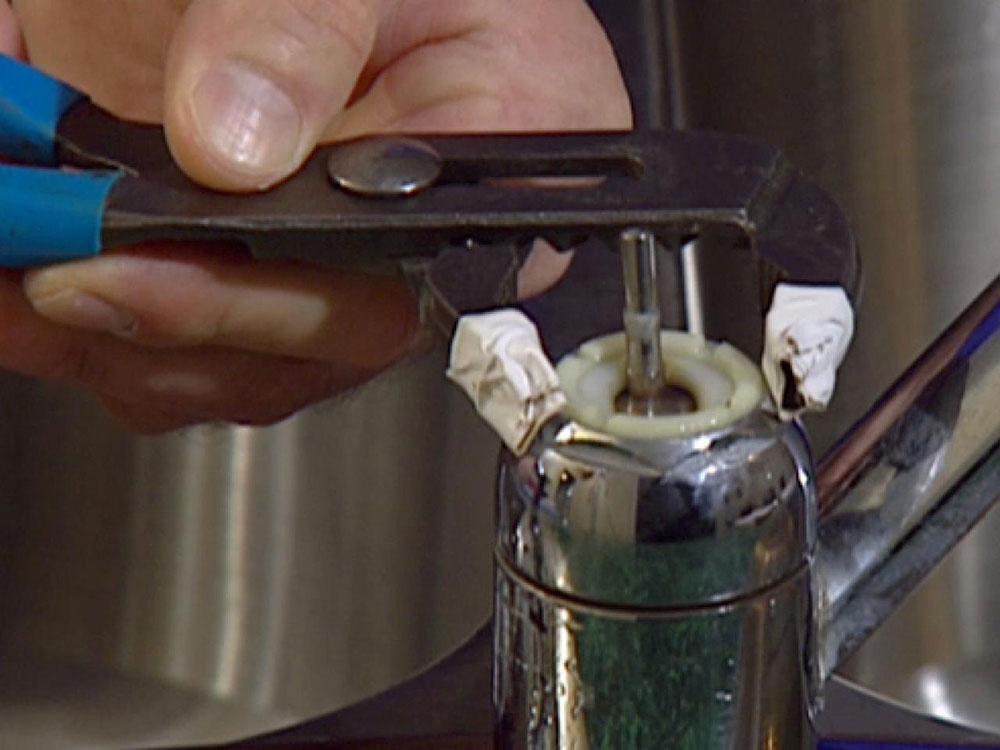
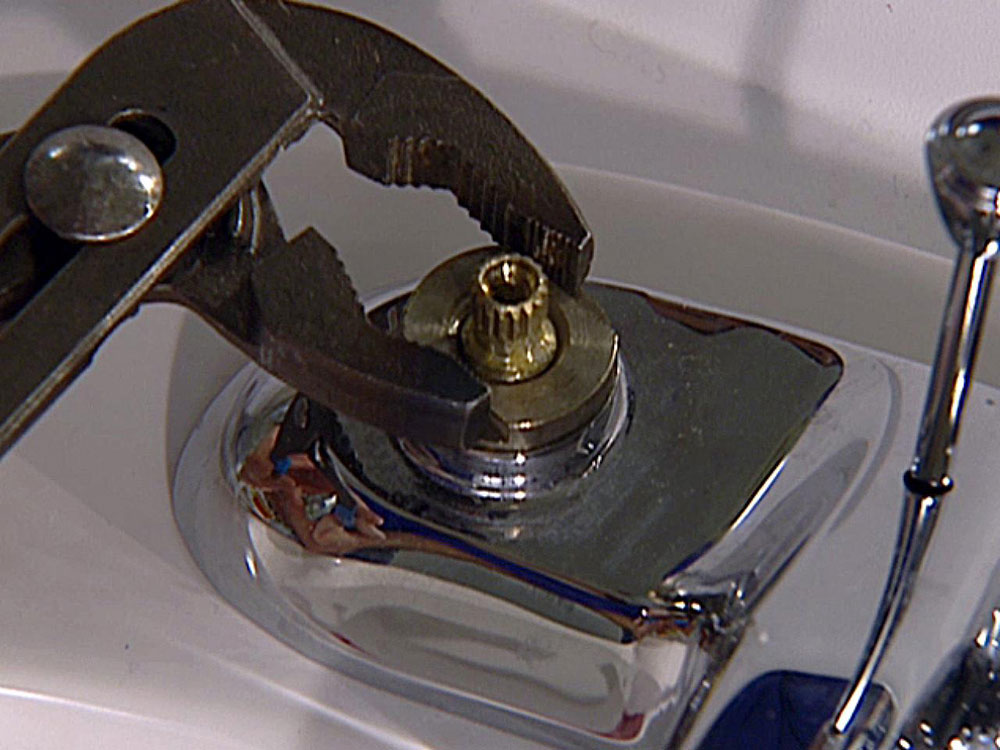
- Next you see the retaining clip – remove it with a pair of pliers. The clip is circular.
- Then the cartridge comes. You can use pliers to remove it from its place. Once you’ve done this, place it on a rug or tape it over. Note the orientation of the cassette so that you can reinstall it later. Also remove the old seat and spring.
- Remove the tap with a wrench. You should now be able to see O-rings.
- The O-rings are usually the hardest to remove. You will probably need to cut them with a thin knife. Once you’ve managed to remove them, insert the new O-rings (grease them beforehand with petroleum jelly or plumbing grease to make installation easier).
- Look at your cartridge. If it has a lot of damage and is in poor condition, it will ask for a replacement.
- Use the new cartridge and insert it.
- Reinsert the retaining clip and the sleeve and reattach them.
- Reattach the handle and screw it tight.
- Reassemble the handle.
Check that you have installed the cartridge correctly. Check the water flow and temperatures to see if it is working properly. If hot water comes out when the tap gets cold, turn the cartridge 180 degrees.
Fasten the compression cocks
Finally, we have compression taps. Here’s how to fix a leaky kitchen tap when it comes to compression taps.
They use a washer that is compressed by tightening the tap handle and regulates the flow. Over time, this washer will wear out and may need to be replaced. It is usually cheaper than a cartridge, for example, and relatively easy to repair.
- Remove the decorative cap on the handle, remove the handle screw and remove the handle. Loosen the packing nut with a wrench.
- Remove and replace the seat disc, which is held by a brass screw.

- Coat the washing machine with plumbing grease (non-toxic). Coat the new O-ring with grease for easier installation.
- Put the tap back together and tighten the packing nut. If the tap is still leaking, you may need to sand the valve seat smooth with a valve seat dresser.
If the problem persists, it may be due to the corrosion that is causing the problem or worn seals. Other problems are loose parts and even broken lines. In some cases, you may need the help of a professional.
Final thoughts on how to fix a leaky kitchen tap
So there you have it, so fix a leaky kitchen tap. It is relatively easy to repair if there is no significant damage. It takes some DIY practice, but everyone can do it at some point. You can always consult a professional if you still cannot resolve the problem yourself.
If you’ve enjoyed reading this article about repairing a leaky kitchen tap, you should also read this: