TopsDecor.com Home Decor Ideas
When looking at the interior of a room, the doors and walls usually get all the attention. For this reason, most people don’t learn how to structure a ceiling. Decorative objects such as pictures and paintings can make the walls attractive.
Flower baskets, letter monograms and wreaths also embellish doors. These make the ceiling an insignificant part of the interior. Most homeowners do not go beyond coating their blankets with white paint.
To be honest, your interior will not be complete without paying special attention to your blankets. For most homes, a structured ceiling is all that is required for an excellent home decor. Ceiling defects such as water damage and cracks are easier to hide with ceiling textures.
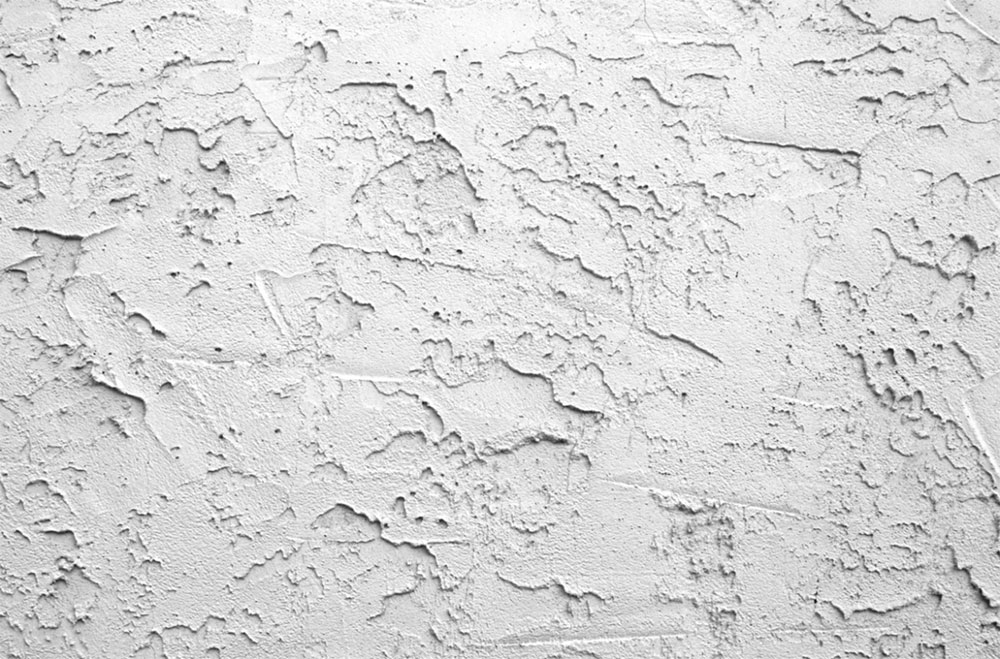
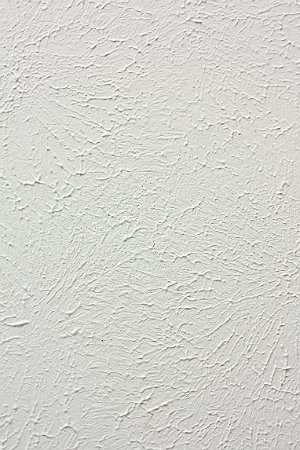
Since this is a DIY project, there are several options to choose from when deciding how to structure a ceiling. One type of ceiling texture that most people are familiar with is the popcorn or stucco ceiling. You also have orange peel, knockdown, French lace and many more options.
With so many options available, you’ll need to choose a ceiling texture that fits your home decor. If you already have a choice, the next step is to learn how to structure a ceiling. You can find out in this article. So read on for more information.
Make plans for texturing
There are certain steps you need to follow if you want to create a textured ceiling. This includes:
Attach protective covers

Doors, windows, and floors are areas that you need to cover before trying to create a ceiling texture. Make sure you use old bedding or heavy canvas and no plastic when covering the floors. Plastic covers are slippery, which makes them dangerous.
Plastic film is an excellent option for your doors and windows. Finally, use an adhesive tape to cover the bases, panels and sockets of the lights.
Seal cracks
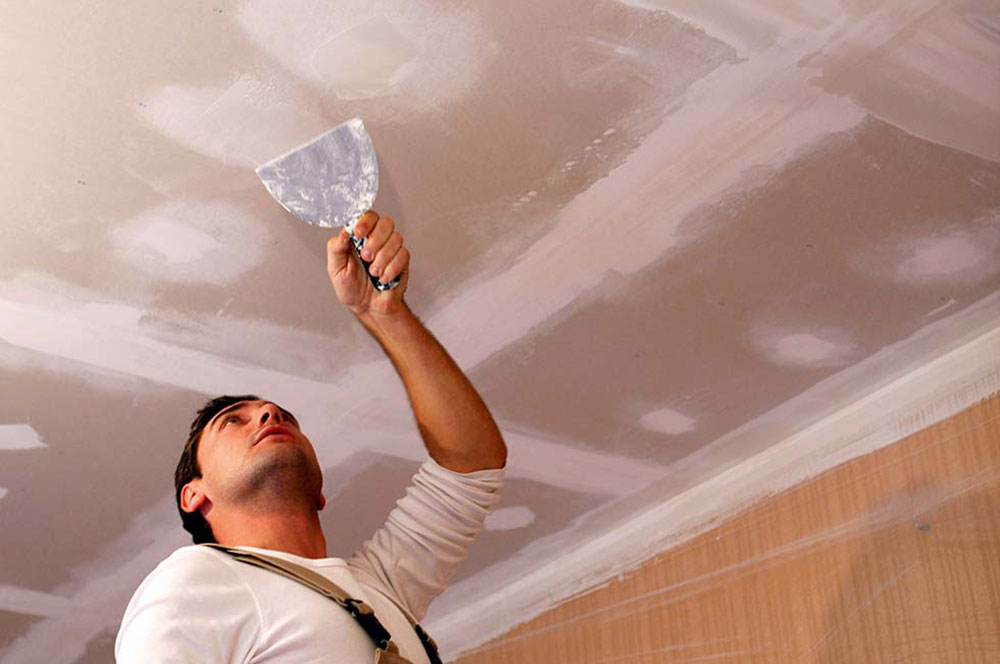
Texturing a blanket can help hide flaws, but sometimes make them more visible. For this reason, you need to take the time to fix any inconsistencies and cracks in your ceiling. Your goal is to smooth the ceiling and use crack-filling pastes like spackle to seal cracks.
If you find a structural problem, ask a contractor or inspector for help. If these problems are not addressed early, they can worsen in the future.
Be sure to prime
Priming your ceiling is an action that improves the quality of the ceiling texture. This makes it easier to apply the texture and extends the lifespan. The structured ceiling color determines the primer to be used.
If you want to use light paint, choose a light primer and vice versa. When priming, make sure the layer is thin and even. The can should contain information so you know how long it needs to dry.
Mix your connection
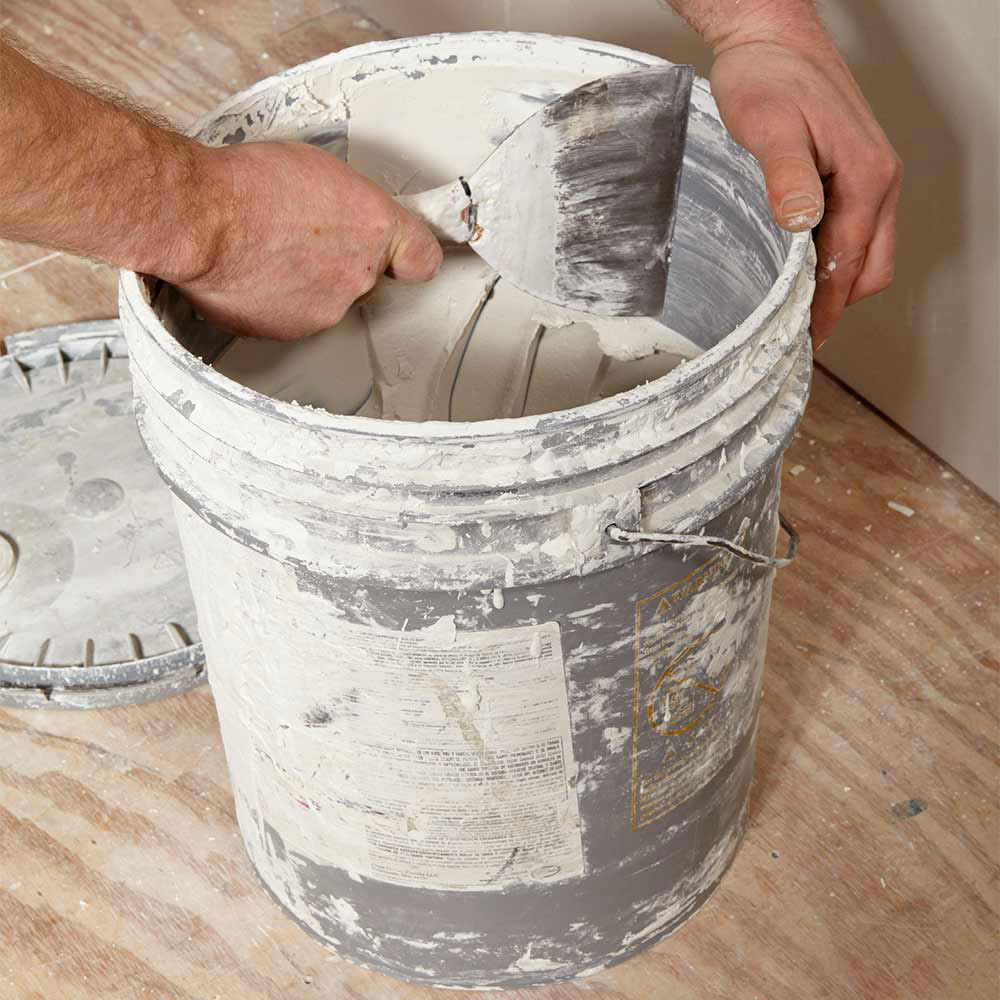
To make the grout thinner, you need to mix it with water. You can do the mixing manually or using a knife mixer and drill. The drill you need is a ½ inch, variable speed drill.
You will need a 5 gallon for manual mixing. Color stir bar that paint shops offer free of charge. Get an empty 5 gallon. Bucket and add half of the content of the pre-diluted grout. Now add the right amount of water to both and mix.
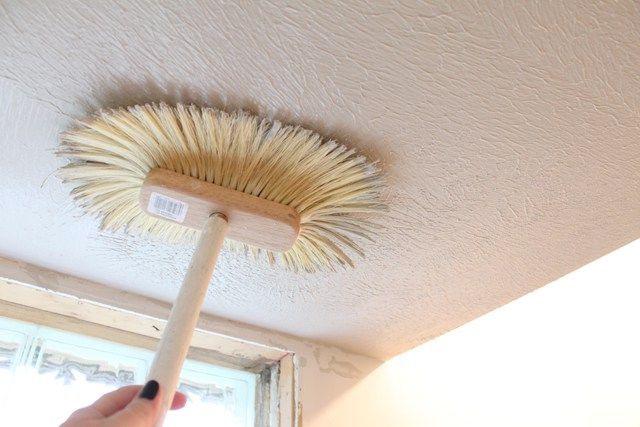
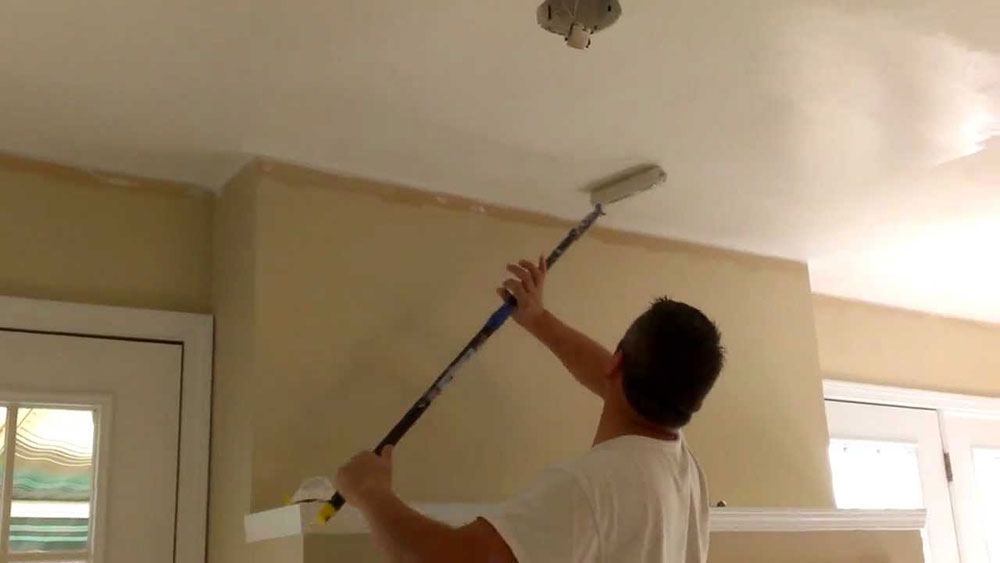
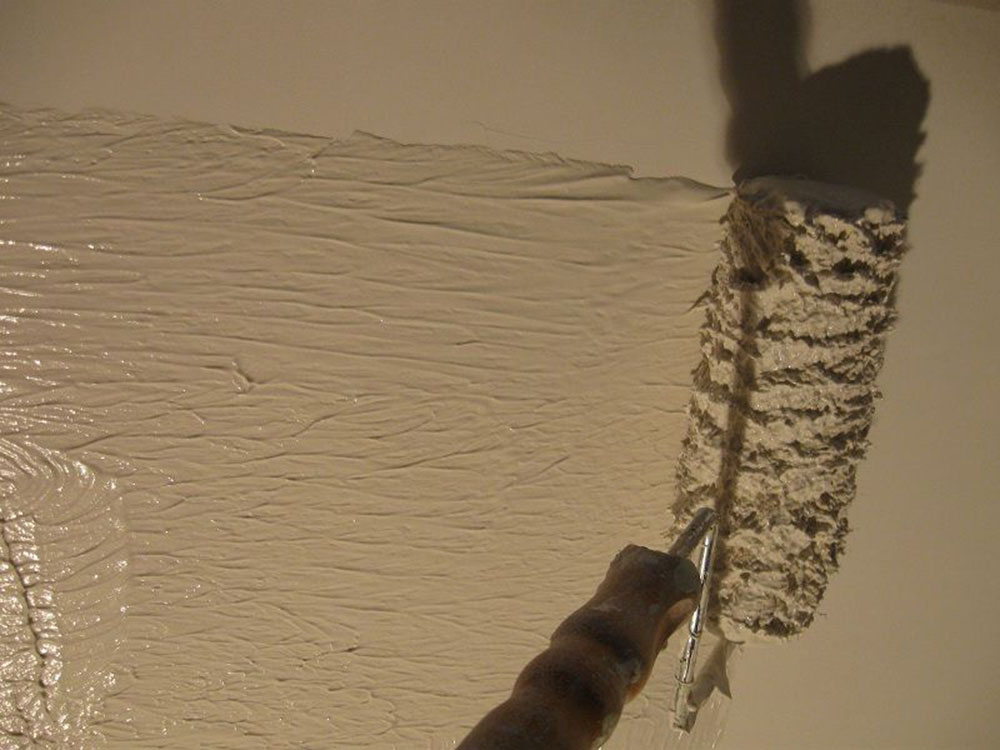
Use a texture brush and grout for texture ceilings
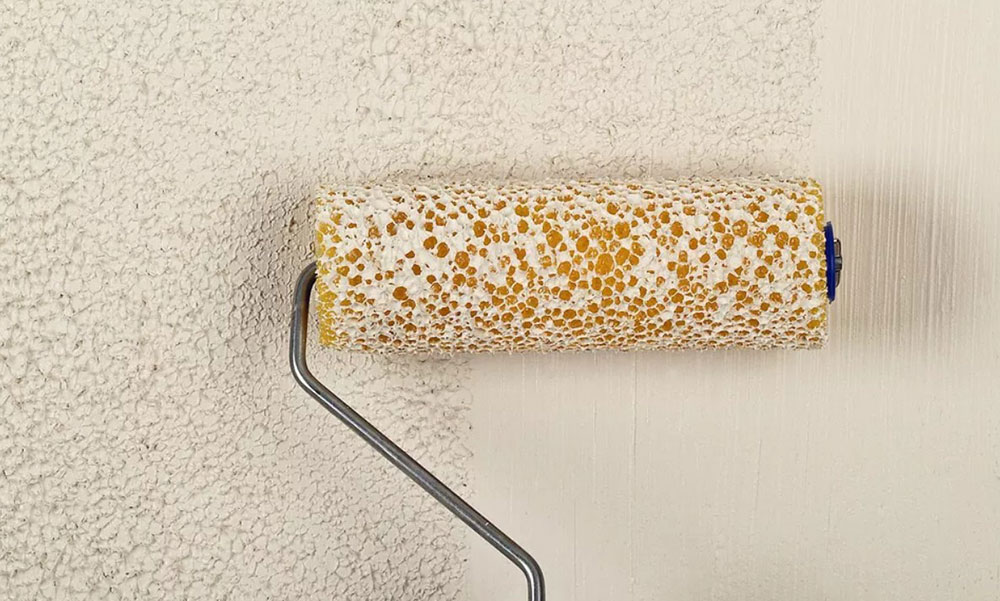
To comfortably reach the ceiling while working, you need to attach a long bar to a paint roller. Now dip the roller into a bucket of the mixture and cover it completely. Pull it out and roll it over the ceiling surface.
Limit yourself to a 3 × 3 section using your current position as the center. To improve your work, apply the mixture from the edges and pull the roller towards you.
The thickness of the mixture depends on how deep the desired texture is. However, you still need to achieve a minimum thickness of ½ inch. If you cover half of the entire blanket, do not immerse the roller in the mixture.
Now ensure the consistency of the mixture on the ceiling by rolling in the opposite direction. If you want to achieve a uniform pattern design, make sure that there is no mixture on the roller. The next step is pulling out the ceiling texture brush.
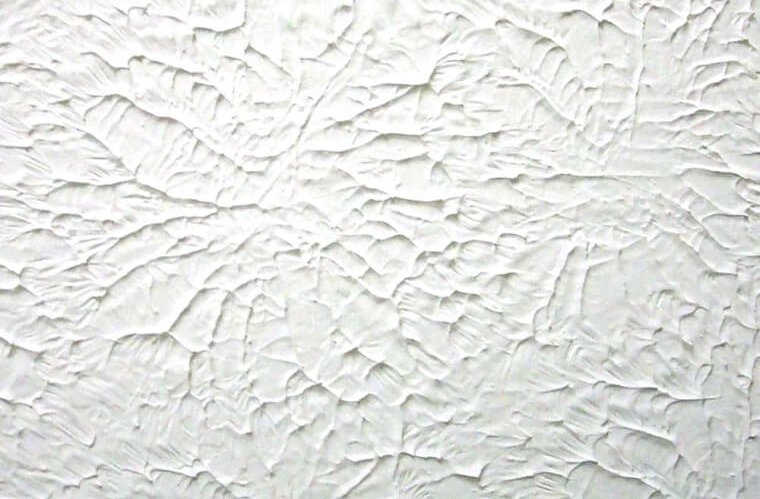
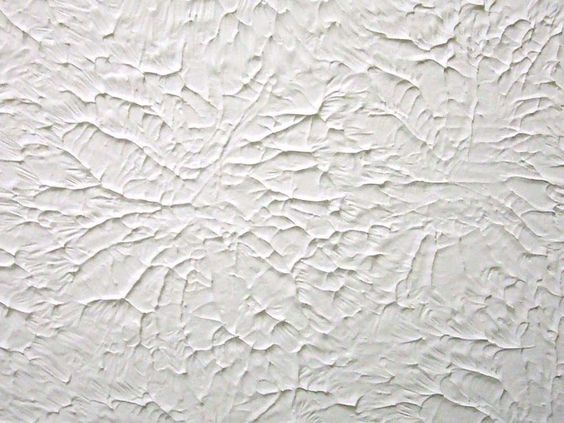
Although the “crow’s foot” and “star pattern” are common, there are other ceiling structure patterns and styles. It all depends on the type of brush you are using. The good news is that there are hardly any differences between the techniques you use with any brush.
To texturize the blanket with the brush, you must first brush it with the mixture. To do this, you can carefully apply the mixture to the brush with the roller. As with the roller, you need to attach the texture brush to a long pole.
You create a pattern on the ceiling by pushing the brush into the mixture or “stamping” and pulling it out. The good idea is to be the only one who creates these patterns. Too many people working on it lead to differences in the “signature”. This is due to unique stamping techniques.

You can stamp the mixture randomly or in a pattern to achieve a desired texture effect. You can make adjustments while the pattern is still damp. Because of this, after creating some patterns, you have to stop to see if you get what you want.
At the edges where the walls and ceiling meet, you need to use a smaller brush. A 1-inch or ½-inch brush is a great option for a neater look if you’re still an amateur in texturing a blanket.
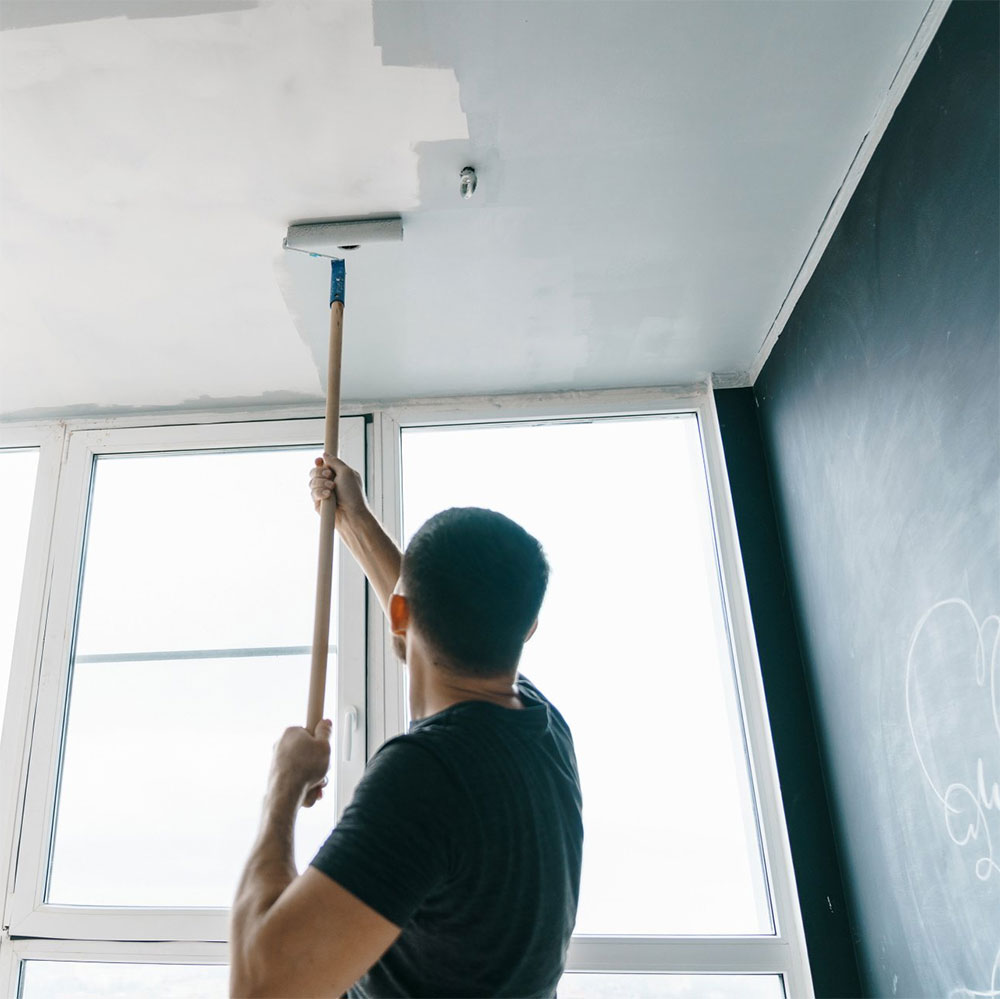
How to structure a ceiling with a roller
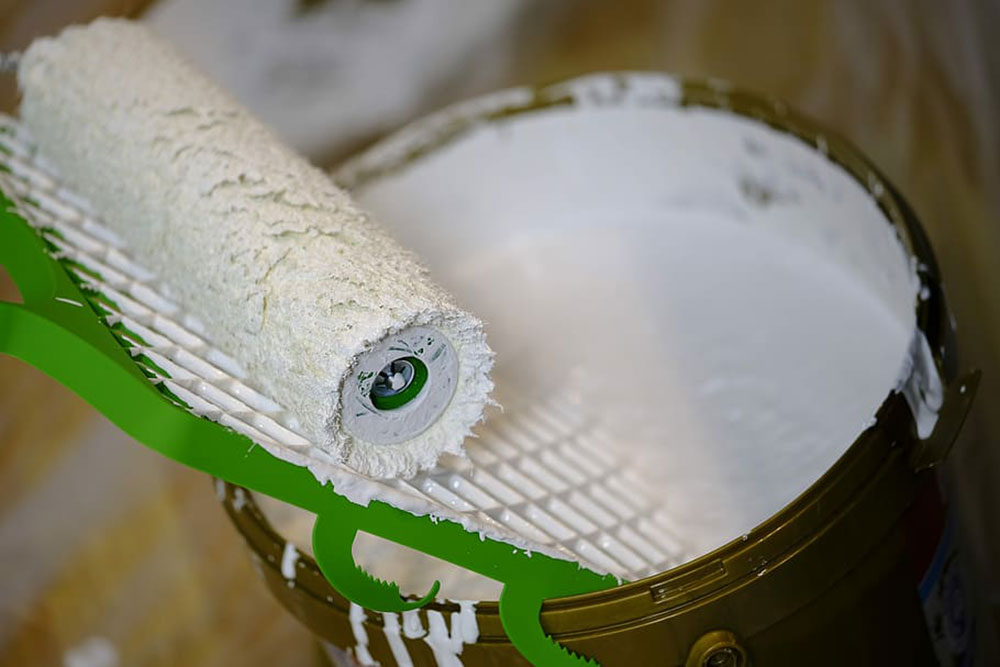
You can roll on the ceiling with a roller if you don’t use a texture brush. First you need a 5 gallon. Bucket for mixing latex paint and dry texture ingredients. This creates the desired texture color.
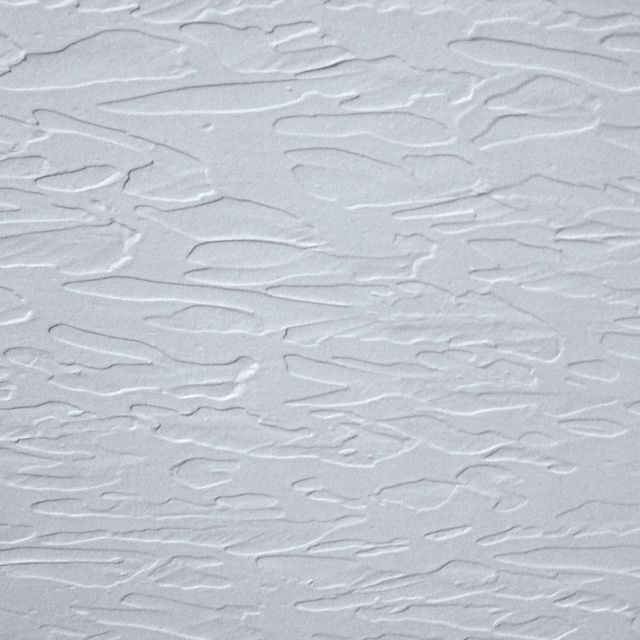
When using a roller, a roller screen is an important addition to the bucket. This helps control the amount of texture on the roller. If you want a deeper texture, you need a roller with a long nap.
First push the paint roller into the bucket of the mixture. When pulling out, roll the roller over the screen to remove the excess mixture. Now you can start texturing the ceiling.
An excellent idea is to avoid getting on the wall with a roller. You can leave at least 2 feet between the wall and the wet edges on the ceiling. Repeat the rolling process, being careful not to put much pressure on the roller.
With overpressure, you have flat areas when the roller slides over the ceiling. If you want to complete the process from the ground, using an extension handle on the roller is critical. A key benefit of working from the floor is a better view of the ceiling when trying to identify places where you need to roll again.
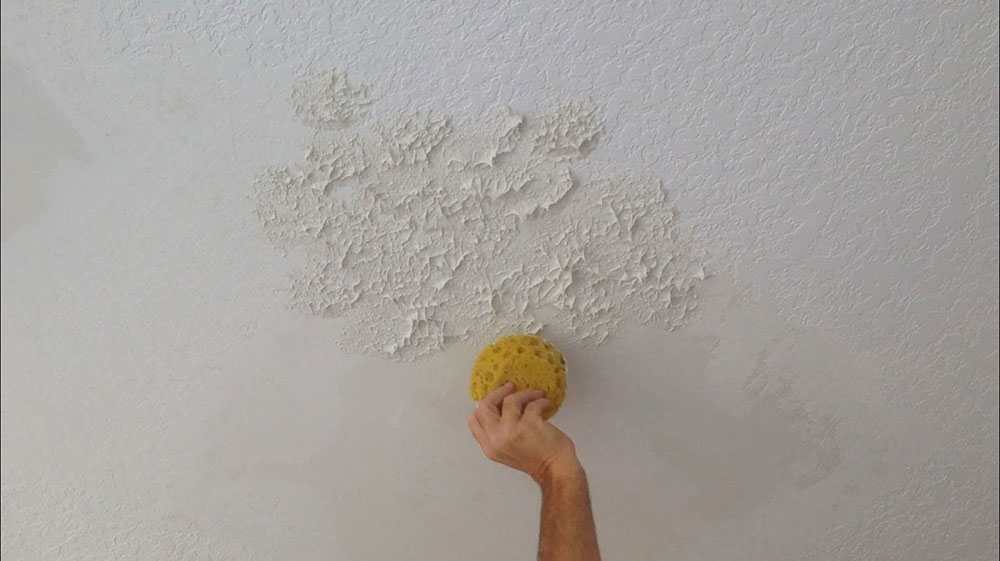
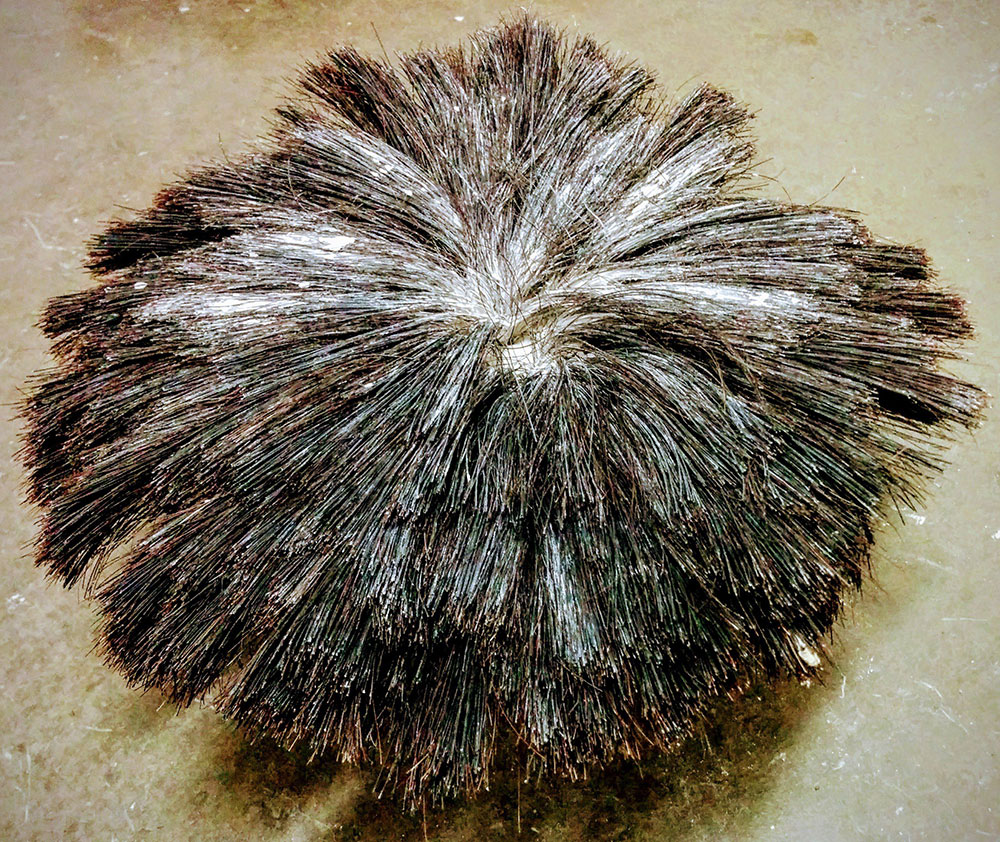
The texture colors usually harden quickly, so you need to take this into account when working. If you have crumpled paper, sponges, combs, whisks, or a trowel, you can create unique patterns and designs on the ceiling.
Use a rag for texturing
When deciding how to structure a ceiling, you can use a rag. To do this, you must first wash or soak the rag. You can use an old t-shirt or a soft cotton rag for this process and wring out the rag to keep it moist.
You need to use a roller to apply a paint / glaze mixture to the ceiling. This mixture usually consists of a one-part color and four-part glaze mixture. With the damp rag you can tap or dab the ceiling.
This creates a unique pattern on the ceiling. You can also try making a long rag roll by rotating it. Once you have this roll, you can roll it over the ceiling to get a textured pattern. Using a rag is an excellent example of texturing a blanket by hand. You can replace the rag with a sponge.
The popcorn blanket
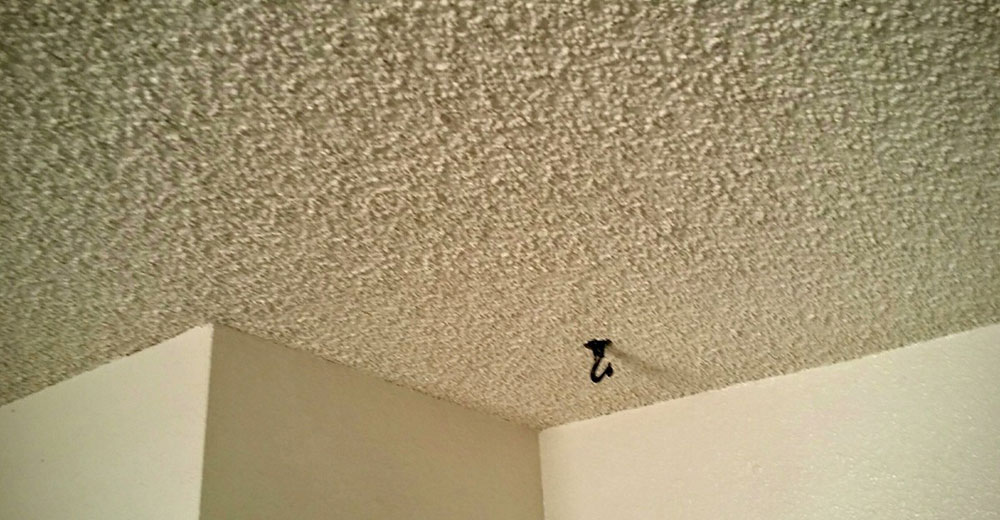
Popcorn blanket is a slang that many people use when referring to the acoustic ceiling, stucco ceiling, or dotted ceiling. The popularity of this ceiling cladding is based on its cost efficiency as a finishing technique. This was during the rise of the suburban housing estates. It was necessary to hide imperfections and cracks that occur during construction.
To create a popcorn blanket, it is crucial to prepare the blanket for painting. You must first use a dirt-repellent primer to coat the surface. You then need to mix a bag of popcorn ceiling spray with 2 gallons of water.
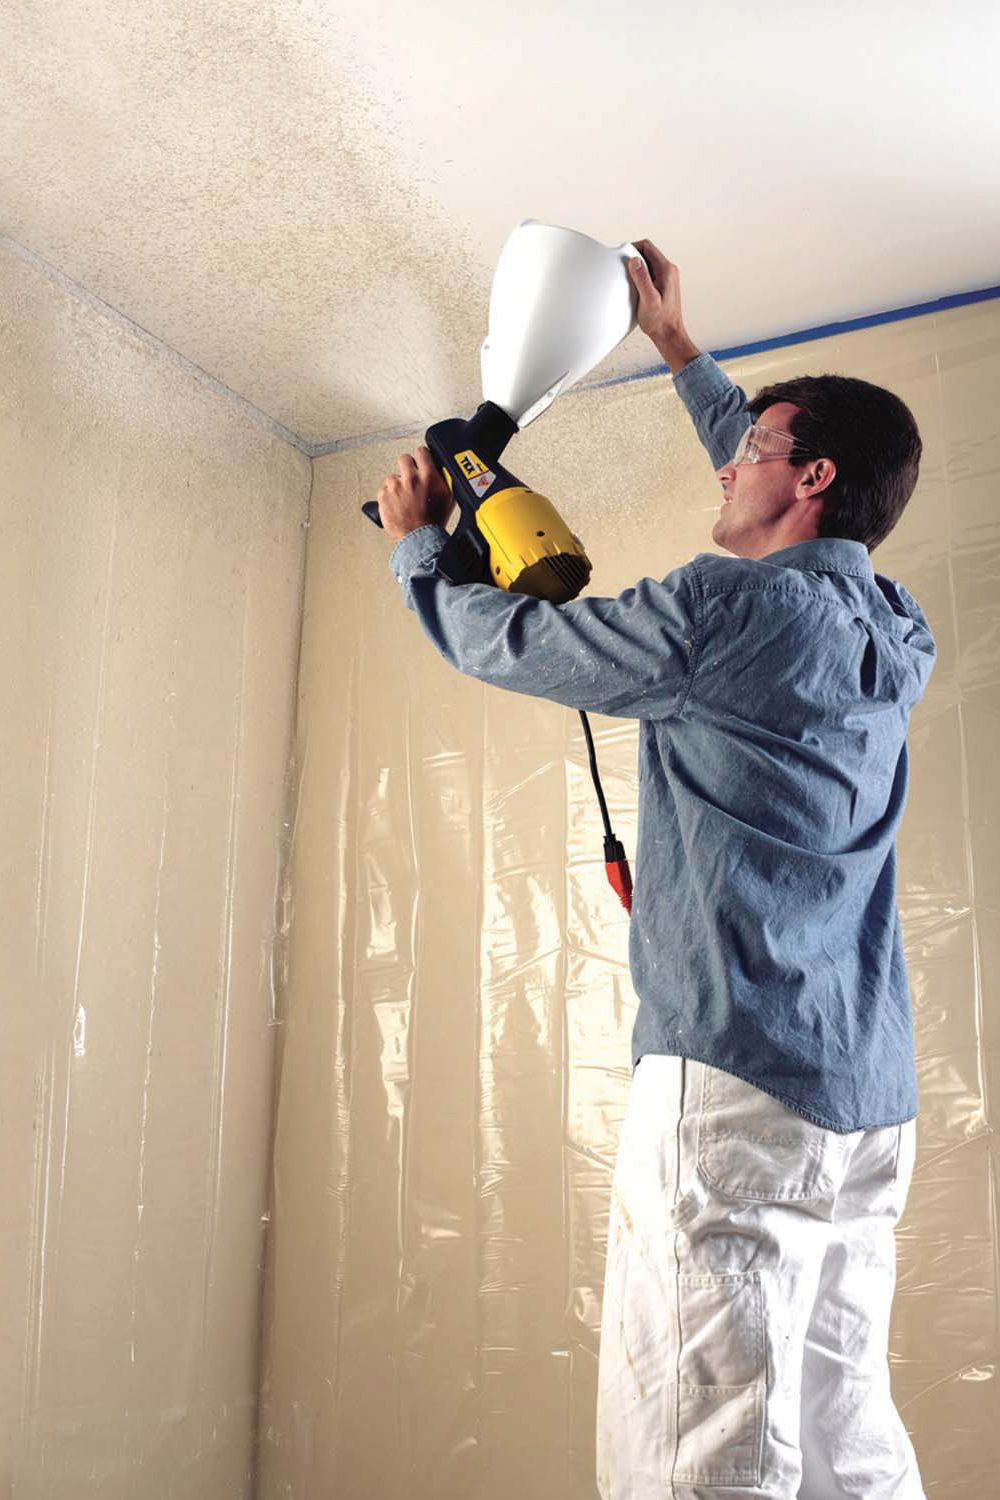
For people who read a lot about how to spray a blanket with texture, this information is helpful when creating a popcorn blanket. The mixture of popcorn ceiling spray and water is usually liquid and requires the use of a texture gun.
Final thoughts on how to structure a ceiling
If you want to learn how to texture a ceiling, keep in mind that there are several options available for the ceiling texture. Your room style is usually a key factor in determining the type of ceiling texture to choose.
The aim of the structured ceiling is to make the room visually appealing, attractive and warm. While it can help hide imperfections, it also gives the room style an organic feel. If you choose to remodel the walls in your home, texturing the ceiling can help blend it into the existing walls.
There are so many effects and colors that you can use to create ceiling textures. It gives your room a unique personality that makes itself felt with every visitor.
If you’ve enjoyed reading this article on texturing a blanket, you should read this too: