Speculation Grows Over Possible Meaning Behind King Charles and Donald Trump Interaction
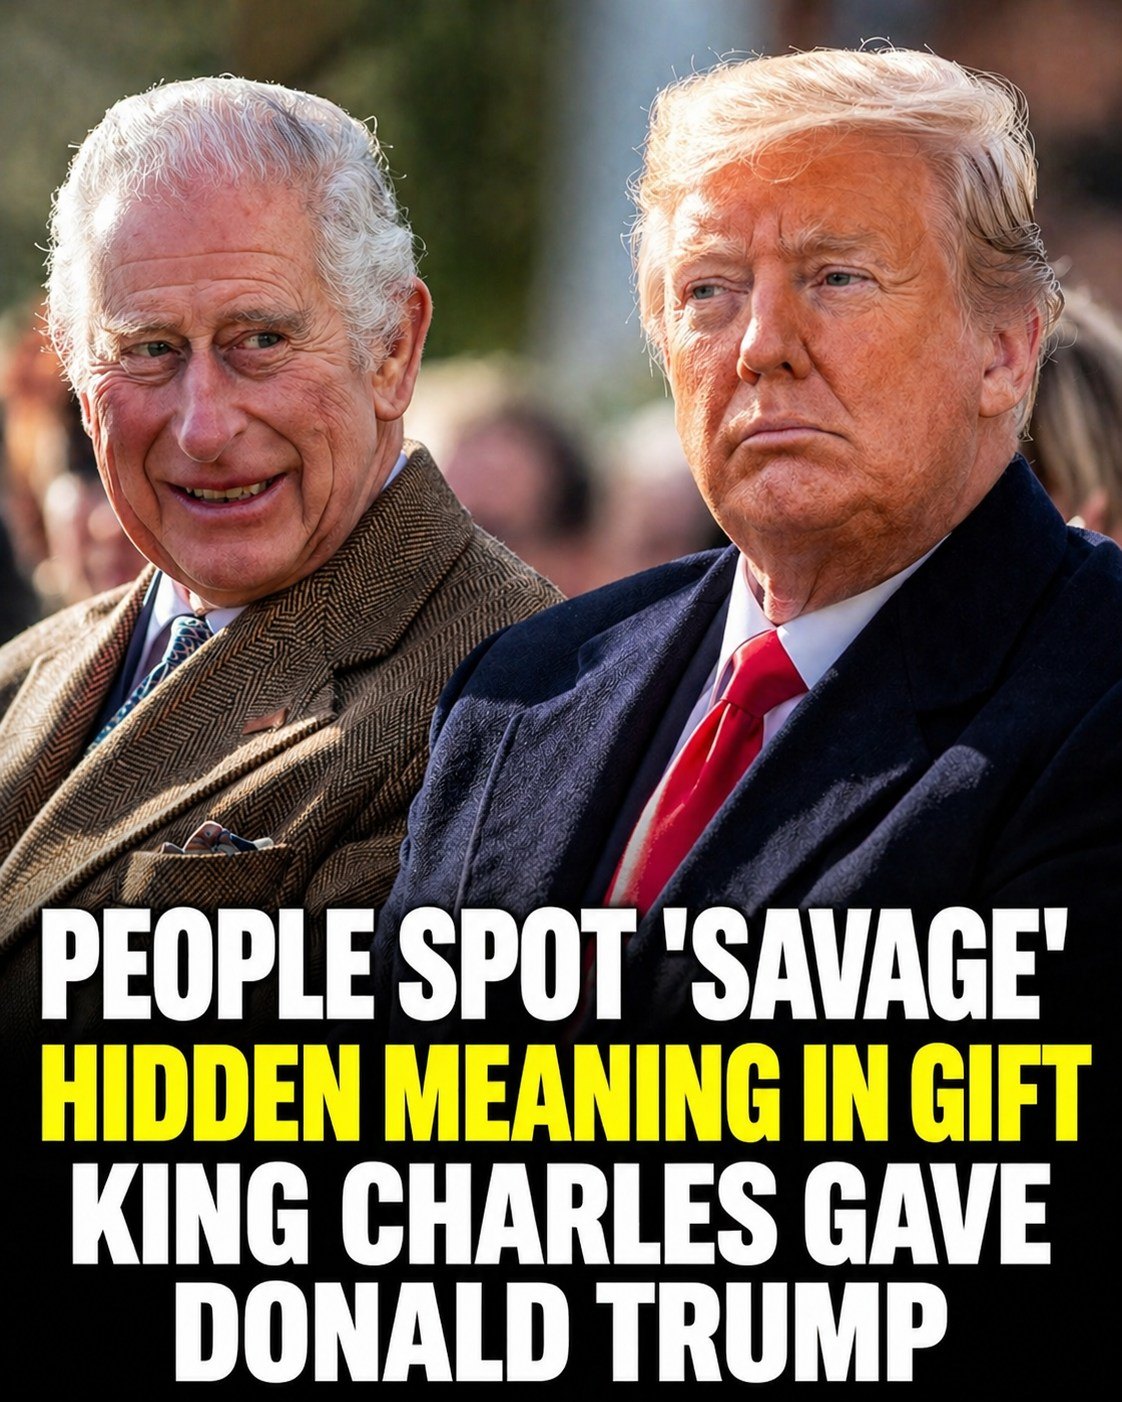
At a White House state dinner, an interaction between King Charles III and Donald Trump became a widely discussed moment online. During the event, the King presented Trump with a brass bell reportedly connected to HMS Trump, a British submarine associated with World War II history. The official purpose of the gift was symbolic, intended…