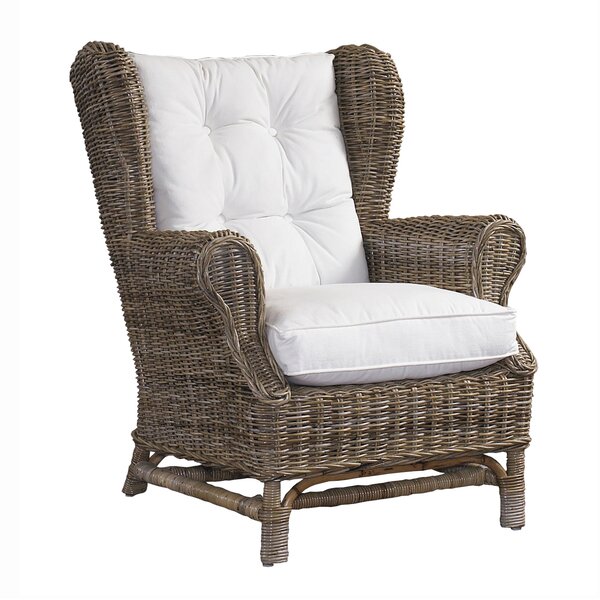
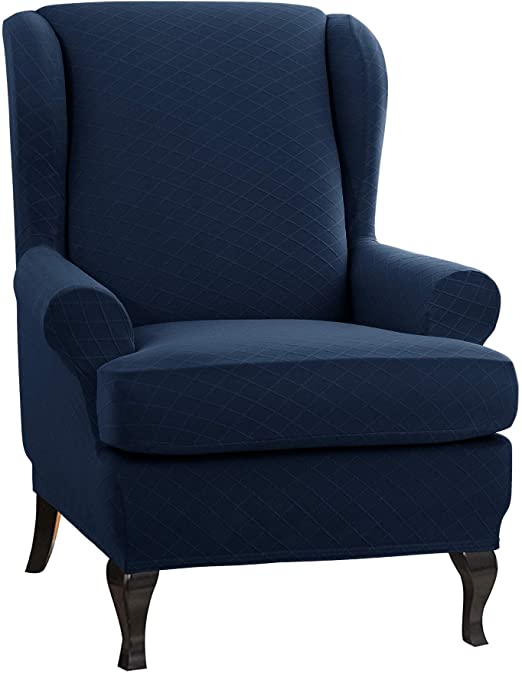
The wing chair is the type of chair that was first introduced in England in 17th Century, easily recognizable by the “wings” that extend to the armrest to provide comfortable protection against drafts.
We have been in use for hundreds of years and today we have many different types and styles of wing armchairs that can be used in a variety of ways in your home.
You can buy them almost anywhere from the modern day stores (Ikea accent chairs) to yard sales where you might be lucky enough to find a true vintage wing chair for sale.
So let’s take a look at some of the most popular ways to use an wing chair.
Near a fireplace
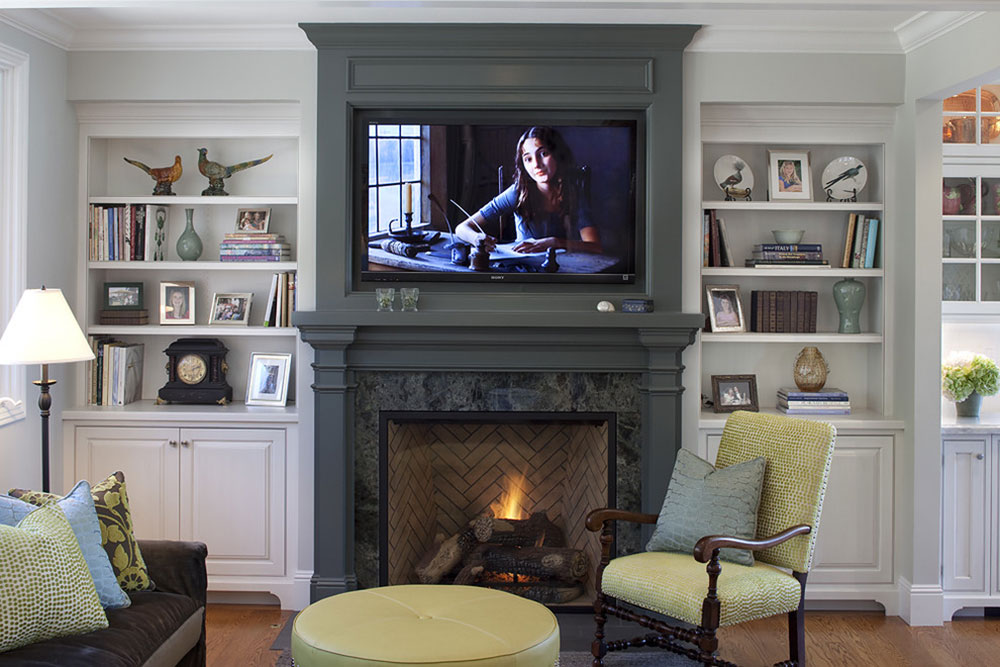 Image source: Julie Williams Design
Since their invention, wing chairs have been commonly used next to a fireplace to protect the person sitting in this type of high back chair from the direct heat of a fire. Even today, hundreds of years later, the space next to a fireplace is reserved for a wing chair in many homes around the world.
In a foyer
Beautiful Ikea chairs are often used to warm up the entryway of the house for both practical and aesthetic reasons.
A beautiful leather wing chair in a foyer not only gives the feeling of stepping into a cozy and stylish house, but it’s also great to have a nice place to sit while putting on your shoes. Choosing an Ikea leather armchair is a good choice as the leather ages very well and never goes out of style.
Mixed with the dining room chairs
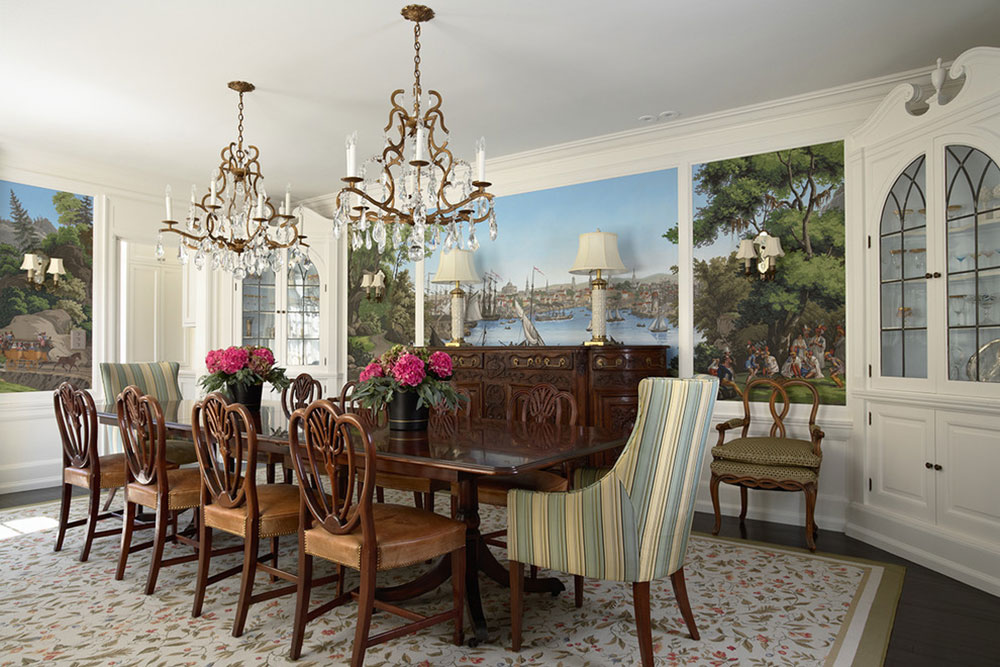 Image source: RLH studio
Mix-and-match chairs are one of the latest trends. So placing a modern wing chair at the head of the table will look stylish and create the illusion that the room is wider than it actually is.
Choose an Ikea chair that will go with the rest of the room, but don’t make everything go with the other chairs in the room. A bit of pleasant contrast is a good thing.
In a bedroom
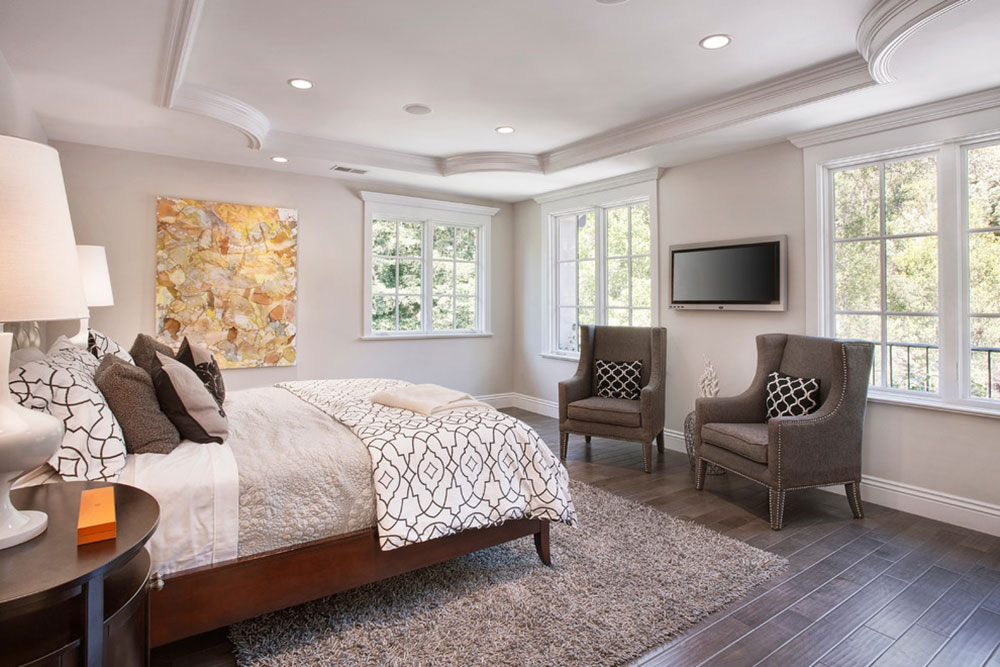 Image source: KCS, Inc.
High-back chairs have something inherently classy about them, so you can use them to decorate a room as well. Adding a lovely Ikea lounge chair to your bedroom looks chic and is also an ideal place to curl up with a book or just sit on it when you put on shoes.
In a living room
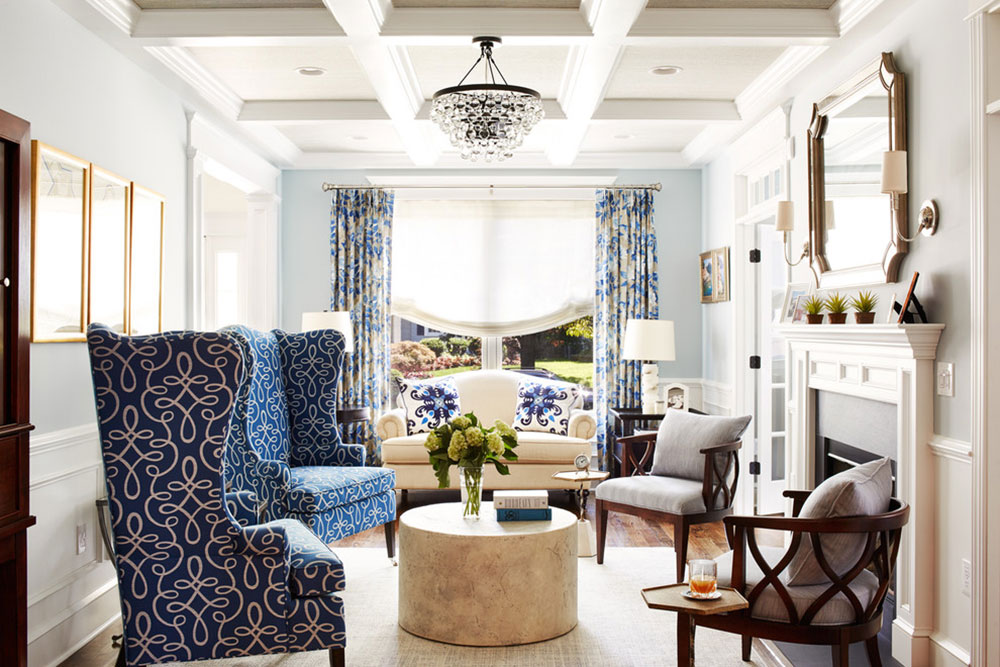 Image source: The McMullin Design Group
One of the most popular ways to use Ikea accent chairs is to place them in your living room. and if you want your living room to be even more unique, place two wing armchairs side by side, complement them with a pair of pretty cushions and let them take the elegance of your TV room to a whole new level.
Instead of a desk chair
When you work long hours behind your desk, you want your chair to be as comfortable as possible.
For this reason, choosing a comfortable Ikea armchair may be the perfect solution for you if you are looking for a chair that will make your office both comfortable and stylish.
A wingback chair reading corner
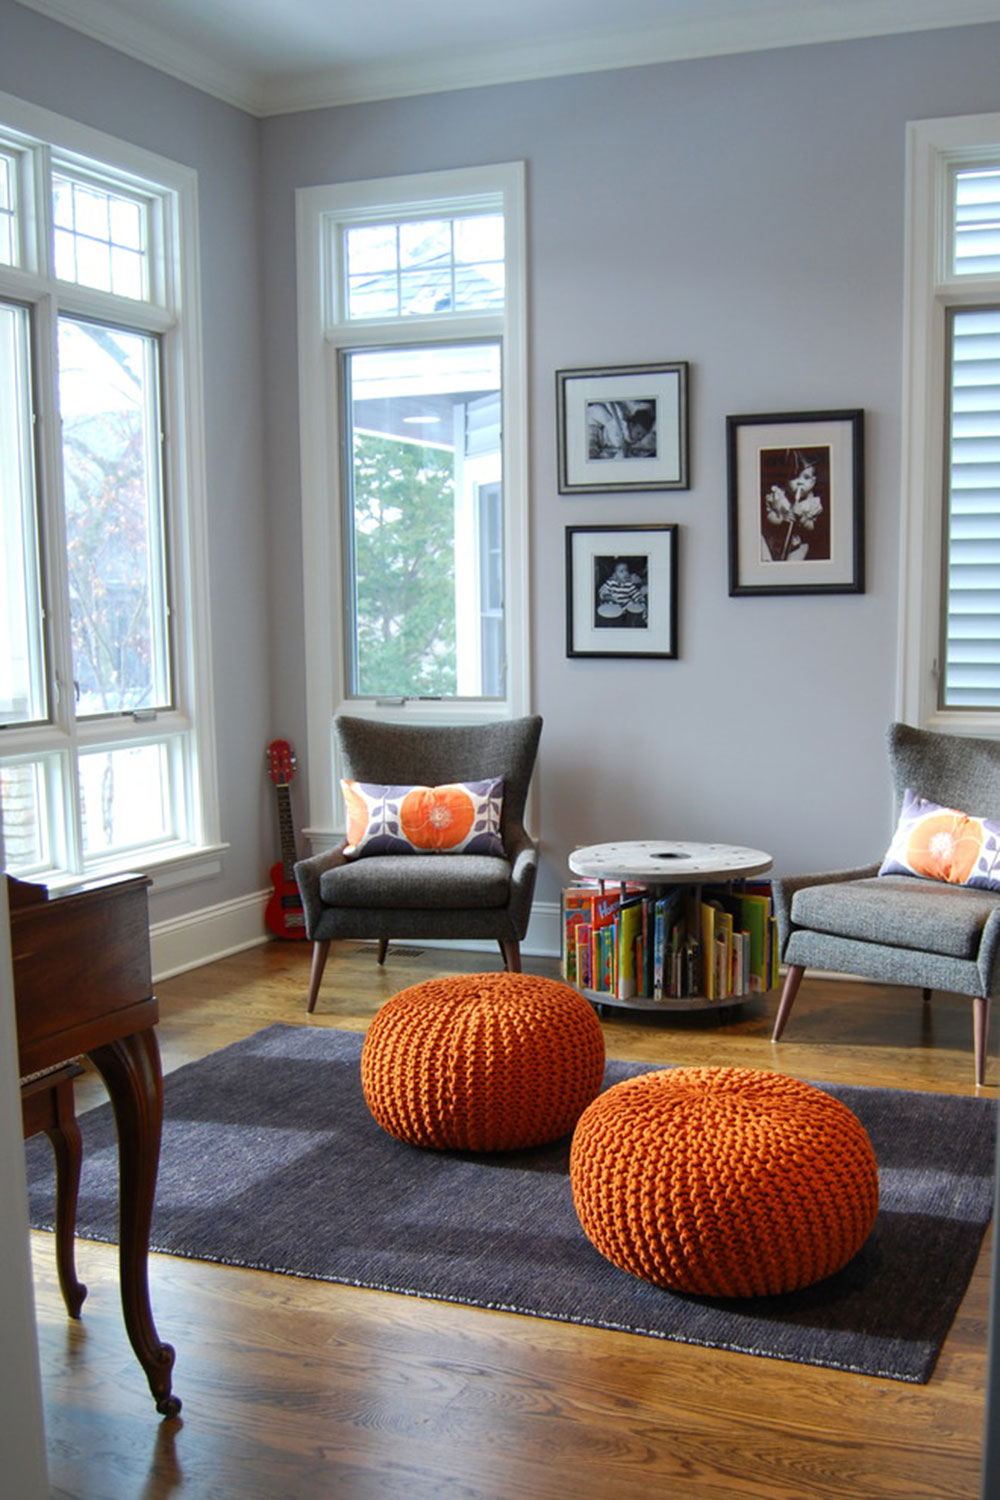 Image source: M. interiors
If you’re a book lover, you probably want your little reading corner to be a place of comfort and tranquility while being visually appealing.
Turning an Ikea rocking chair into a personal reading corner is both! Combine it with a retro lamp that matches the overall style of the room and enjoy your favorite books in a romantic and modern atmosphere.
Upholstery of a wing chair
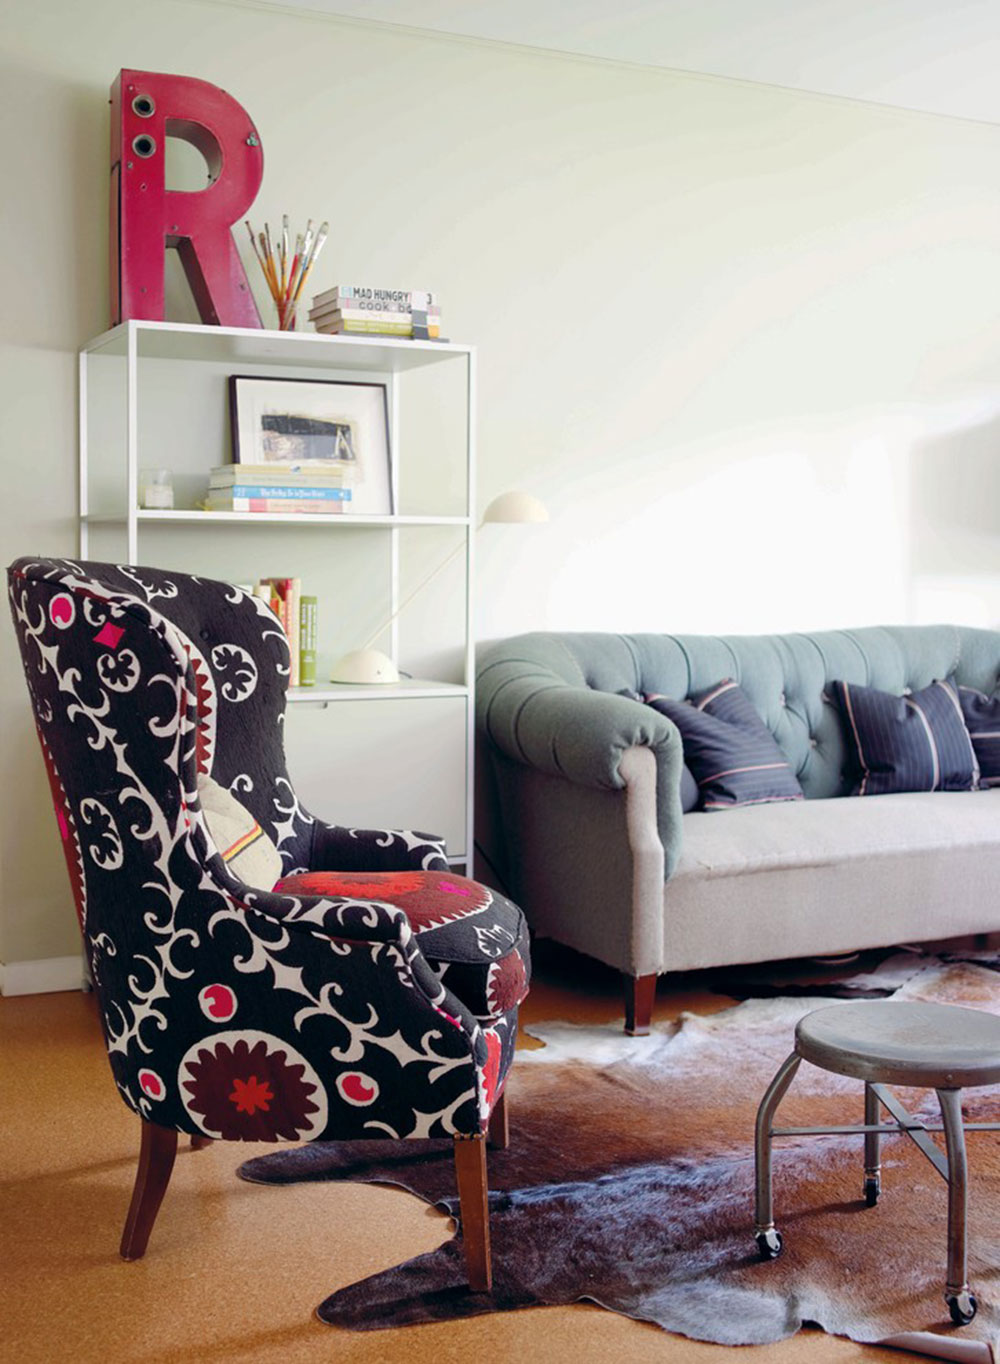 Image source: Emily Chalmers | Caravan Style Ltd.
High-back chairs have something almost vintage about them, and if you want to keep their retro look nice and fresh, you will eventually have to reupholster them. Fortunately, it’s not as difficult as it seems.
You will need:
- The winged chair
- Material with which you can relax
- The smallest screwdriver you have at your disposal
- A sewing machine
- A stapler
- A hammer
- Gloves
- A sheet or something else to put on the floor
- A container for the removed staples
Before the upholstery
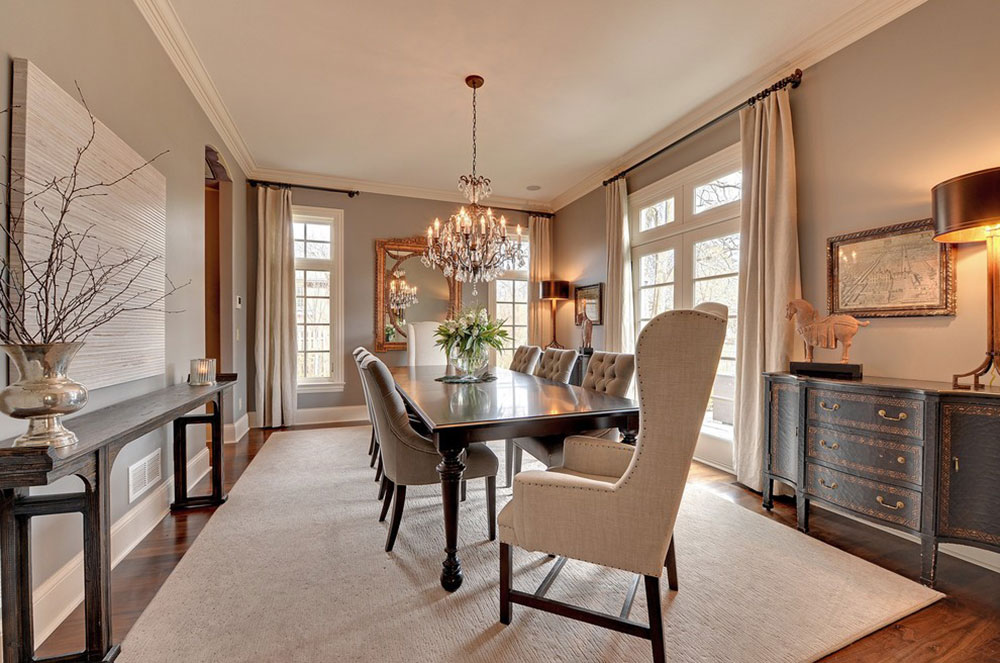 Image source: Space travel / architectural photography
Before you start re-upholstering your Ikea Wingback Char or any other wingback armchair of your choice, you need to consider which upholstery will suit the style of the room in which you plan to place your Strandmon.
Choosing a color that shows any small stain (e.g. gray chair) and a material that doesn’t fade easily is a good way to go. After all, you don’t want to reupholster your chair so often.
If you need to switch the foam on your high back wing chair as well, make sure you choose the right density. Upholstery foam comes in different densities and you can recognize them by their color.
Dark blue or black is usually the densest type of upholstery foam, purple is medium, while light blue is the softest.
New upholstery: step by step
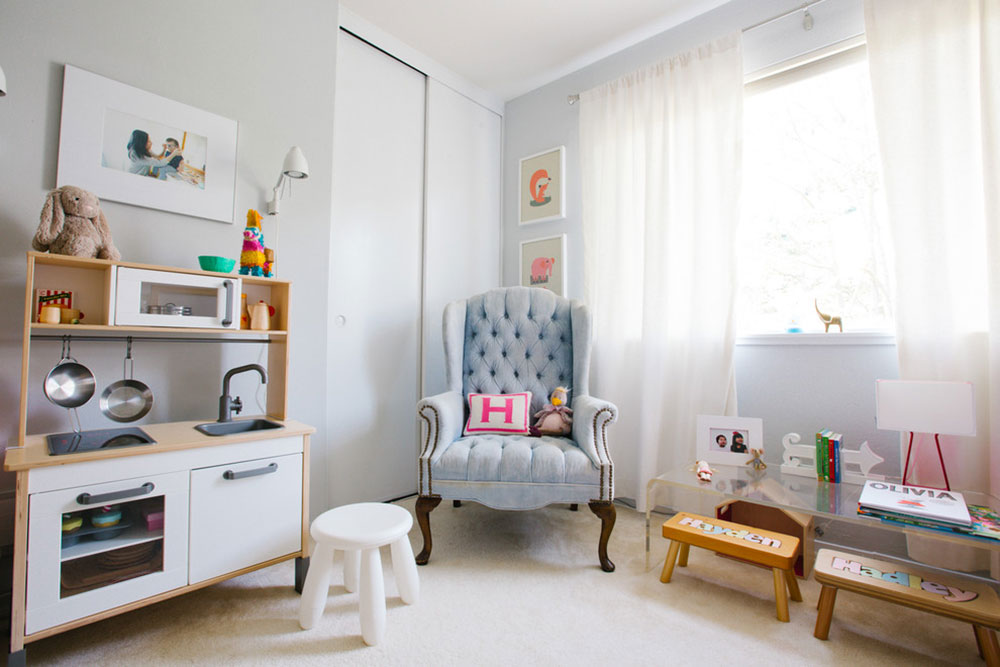 Image source: Nanette Wong
Let’s start with a simple tip that will save you a lot of trouble later. When you start to take apart your Ikea Strangmon, label each piece with its position and number. It is important to keep these parts organized as you may need to put them back in place.
Ok, now that we know, let’s take a step-by-step look at the upholstery process:
Step 1
Use a sheet or something else to lay it on the floor as there will be a lot of clutter when you start taking your back chair apart. Rotate the Strandmon wing chair so the legs are in the air and remove the staples from the bottom of the chair. Do not be discouraged if it is not as easy as you expected. Take your time and take out any staples you can find.
When you have removed all of the staples from the bottom, remove the dark netting that would normally be present, as well as the cardboard and piping (if any). Then put the Ikea armchair back upright.
step 2
The next thing to focus on is the back of the high chairs. Using the screwdriver between the edge of the fabric, pry the tacking board (the part that looks like a strip of metal with metal teeth called the ply grip) off the chair. Take out all of the staples along the way.
step 3
The 3approx They will work to remove the pages. The process is basically the same as for the back of the high-back wing chair. You’ll likely find some strips of cardboard too, so try to hold the pieces together as you remove them.
Step 4
Remove the filling and label which side it goes. Remember that if you want to reach all layers but want to keep track of the order of the layers, the sharp teeth will need to be removed. You also need to reuse the teeth so you don’t lose them.
Step 5
There are likely some decorative elements nailed to the armrests. Use the screwdriver or hammer to pry it off. Then remove the fabric pieces from the armrest. Once this is done, your chair should be completely “bare”.
Step 6
Lay out the pieces of fabric you took from your chair and cut the new pieces. Then sew new pipelines (see old pipelines for length).
Step 7
When you place the fabric back on your wing chair, do it in the reverse order of how you removed the pieces. The last piece you took off is the first one going up.
Staple one side of the fabric, stretch it out, and then pull the other side. While doing this, make sure it is firm enough to avoid wrinkles, but not too tight as this can tear the fabric. The pipelines run on the outside.
If you paid attention to how your tiny wing chair was put together before taking the cushions apart, you should have no problem putting it all back up.
If you have a wing chair with an ottoman, you will likely find that upholstering the ottoman is a breeze once you are done with the chair so we don’t get too many details about it.
Step 8
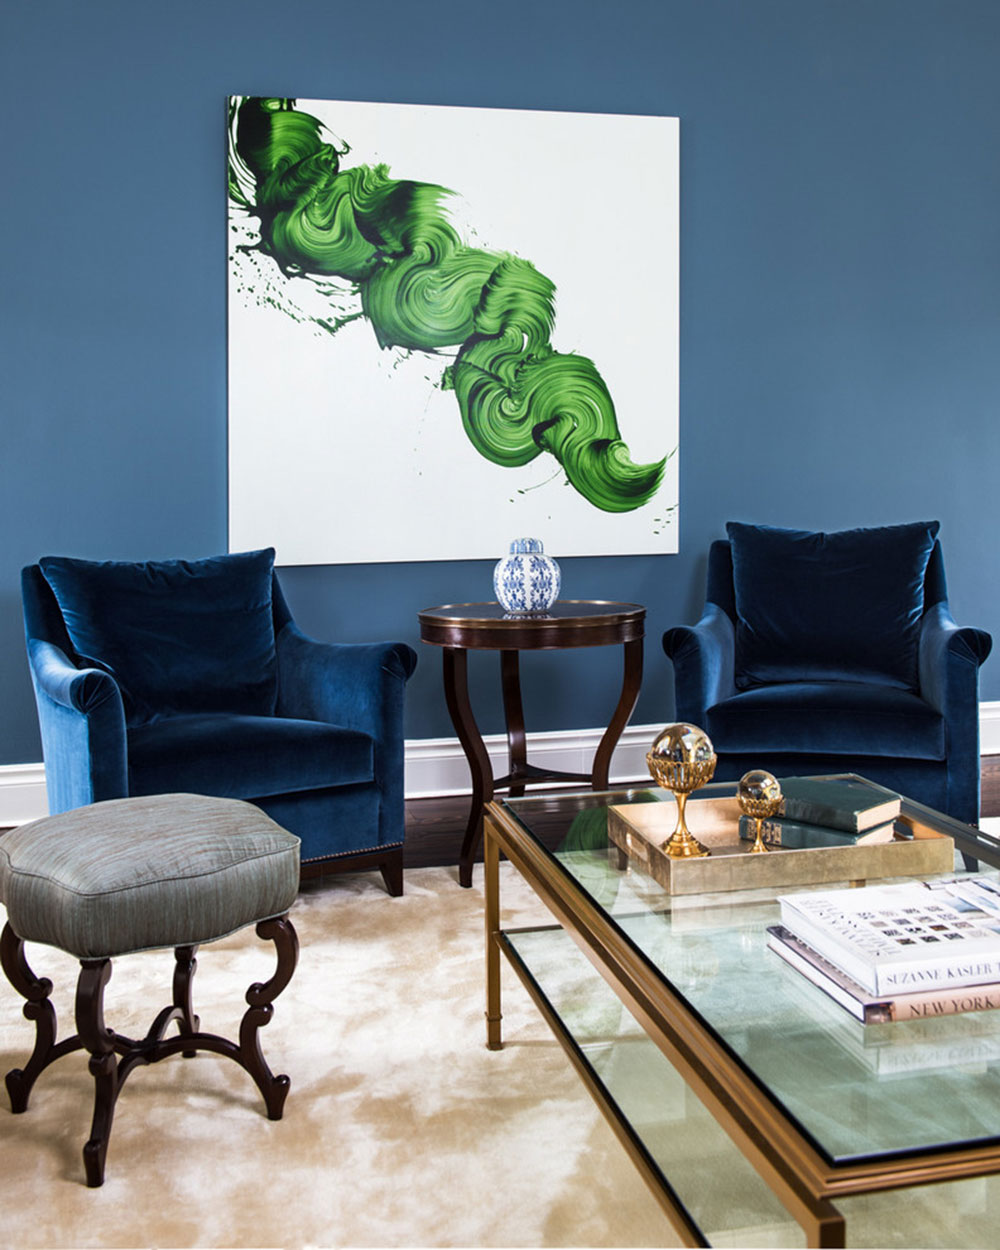 Image source: Nara Callanan Interiors
Take a step back and enjoy the results of your efforts. You should have a nice modern wing chair at this point.
Here are some examples of beautiful interiors with wing chairs:
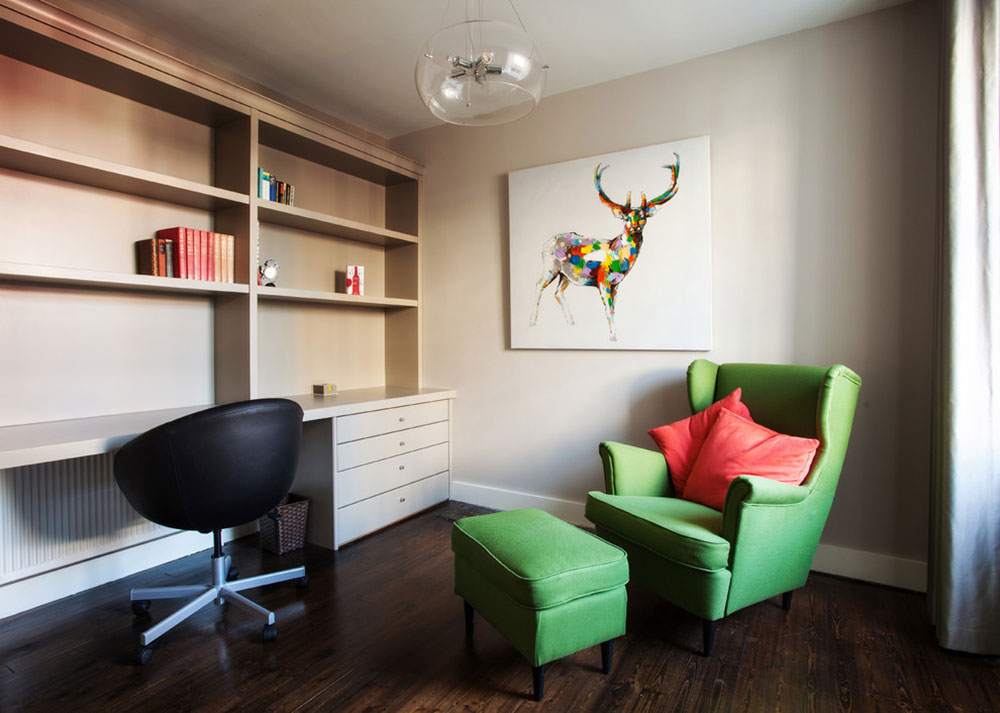 Image source: Optimize design
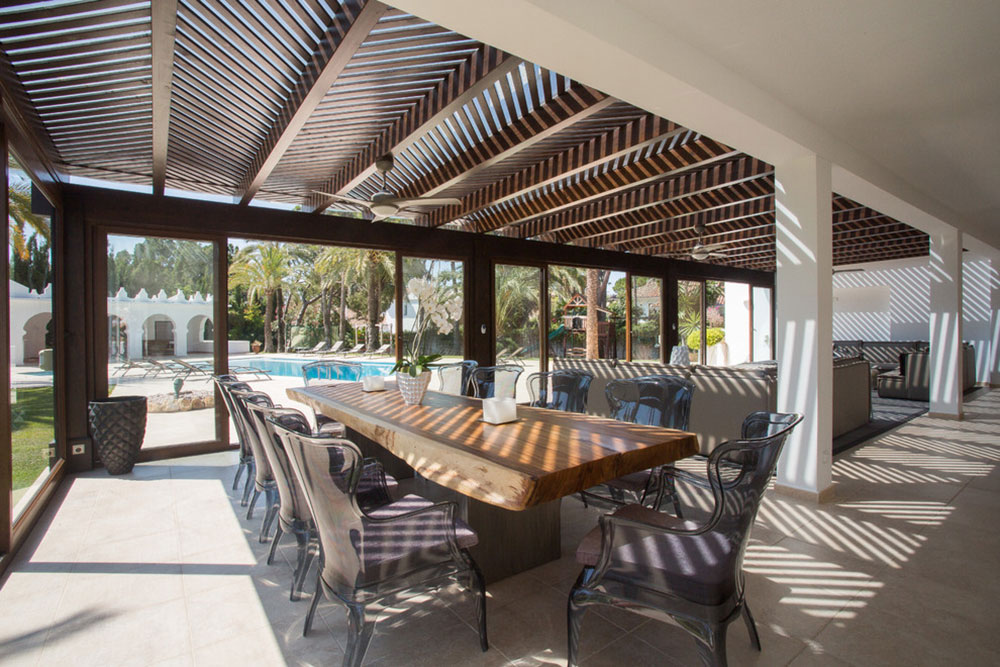 Image source: Ambiente Home Design SL
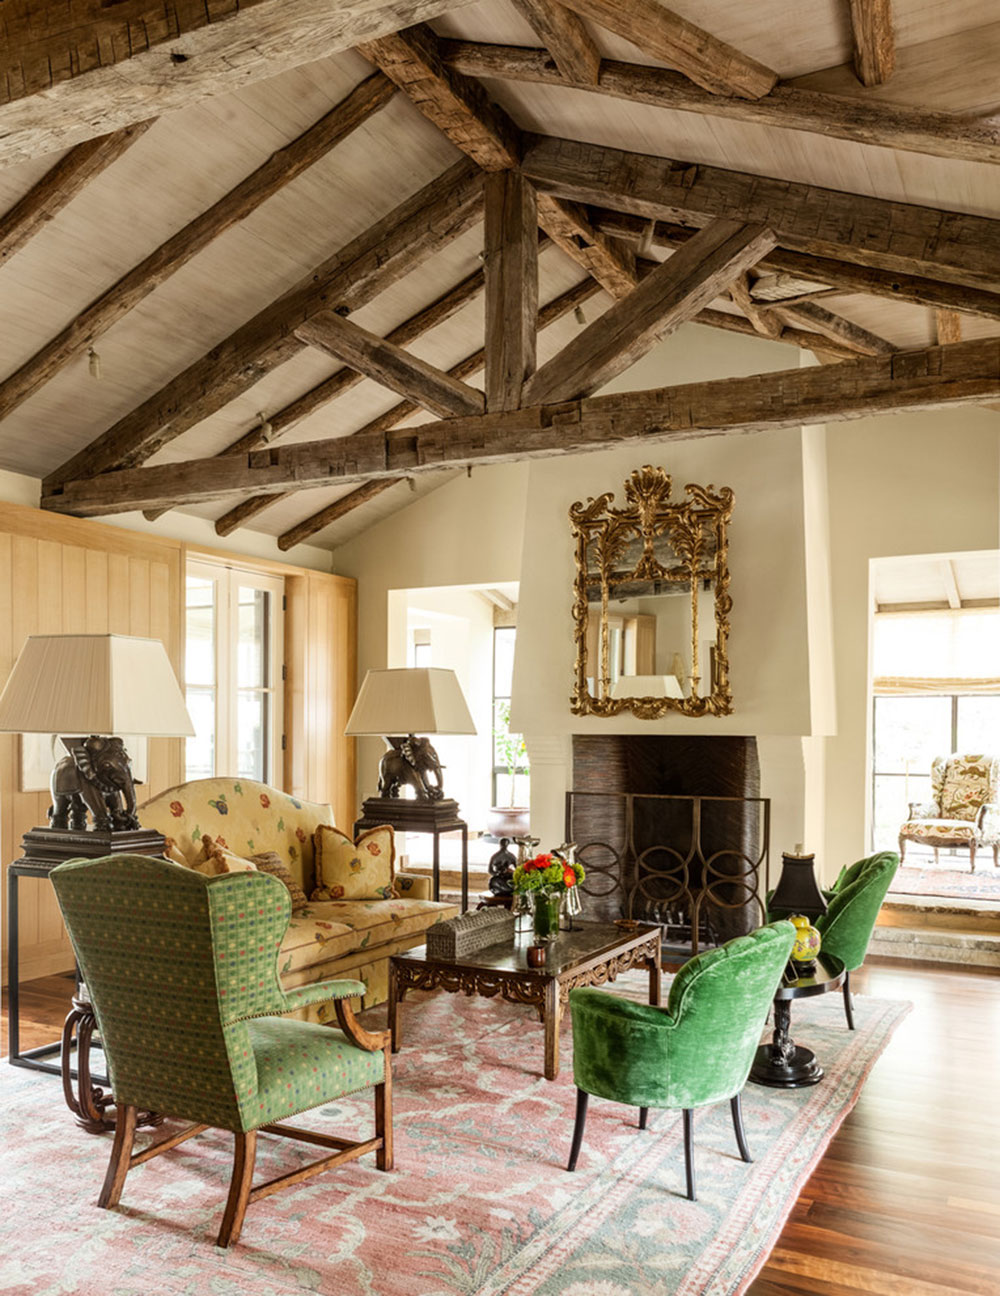 Image source: Stocker Hoesterey Montenegro
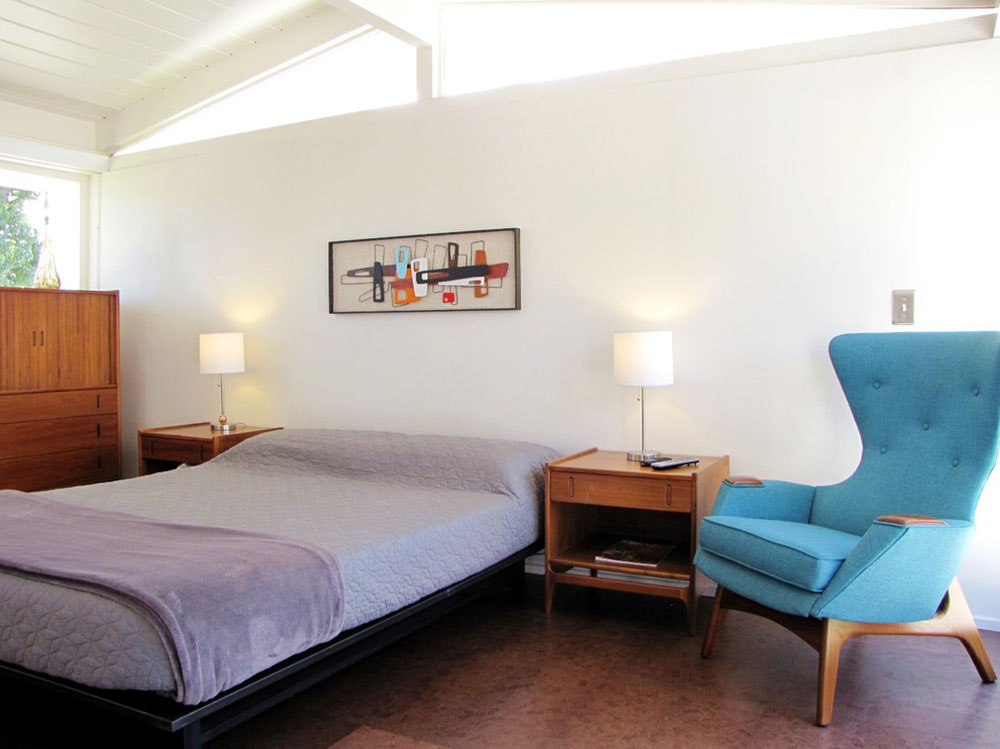 Image source: Tara Bussema
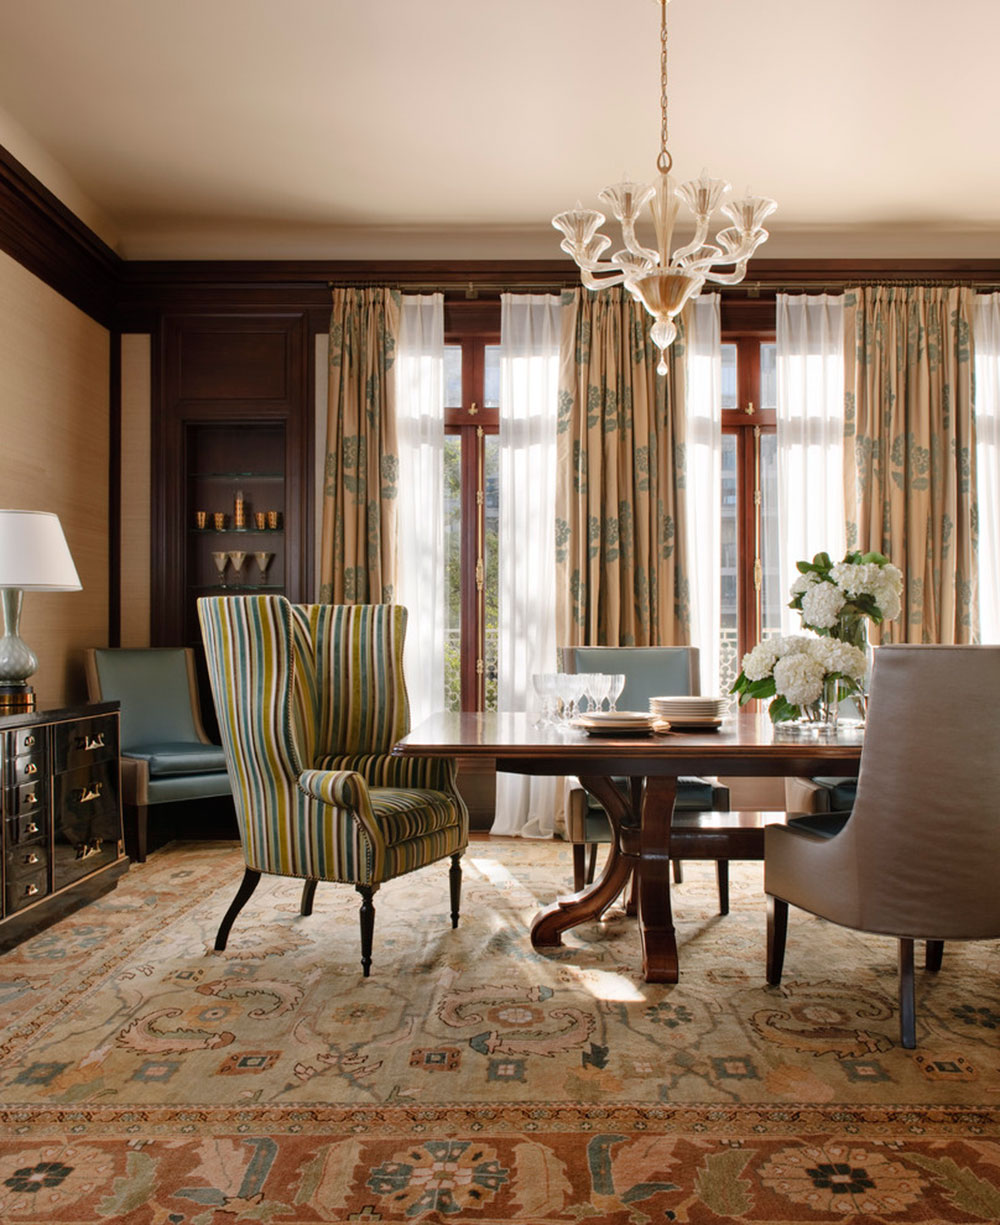 Image source: Kendall Wilkinson Design
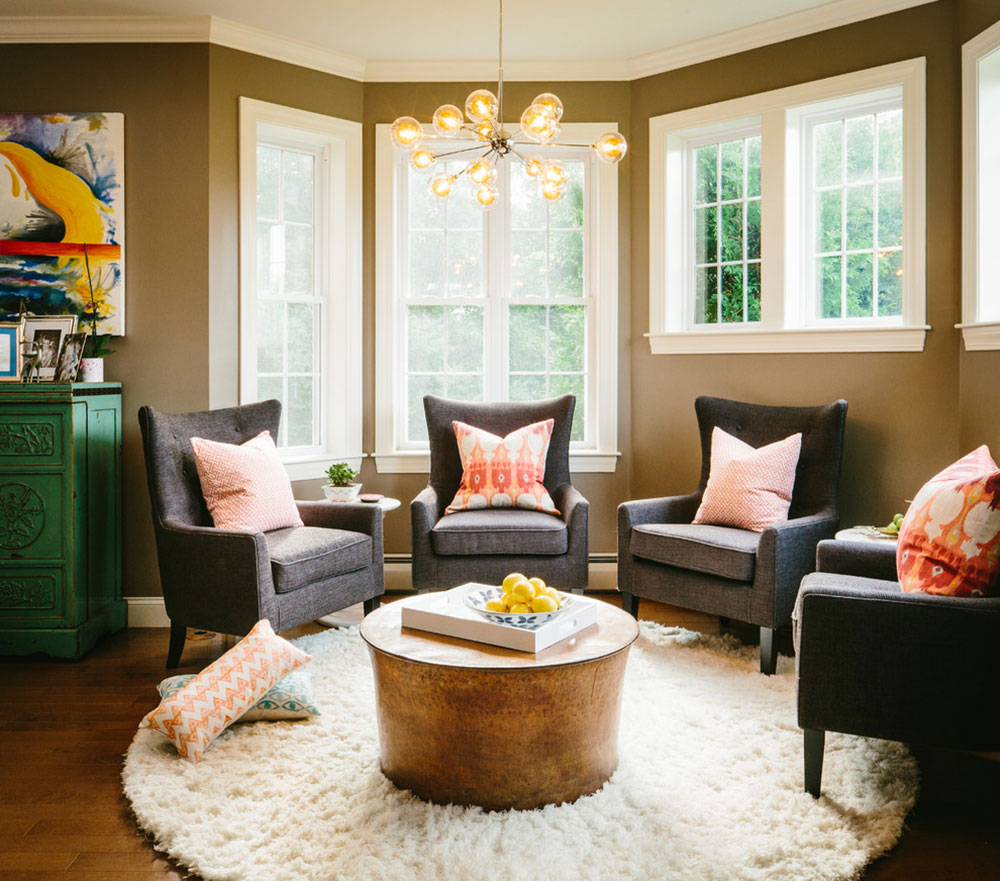 Image source: Holly Hickey Moore
Final thoughts with a trendy wing chair at home
A good looking wing chair is a great addition to any home. From high accent chairs to a stylish leather wingback chair, it’s entirely up to you to choose the type and style of these trendy chairs that will best match the overall design of your home.
If you already own a vintage Wayfair chair that looks old and faded, you can easily get it back in fashion by re-upholstering it yourself and making sure it looks exactly the way you want it to.
 TopsDecor.com Home Decor Ideas
