Do you have outdated cabinets and want to bring them back to life? Great news: We have complete instructions for you here on how to rework and remake kitchen cabinets.
It is an inexpensive way to reuse old cabinets and materials with neat repair and renovation work. Sure, you have to invest some time, but what is more satisfying than reusing old furniture?
The renovation could be as simple as repainting the cabinets or installing new doors, and the result would still be fascinating. You can give your room a whole new look without spending hundreds or even thousands of dollars! All you need are some simple tools, patience and good instructions on how to rework kitchen cabinets that we are here for you.
Be ready to spend a few weekends or a week or two to turn your old, dusty closets into brand new and attractive ones. Here’s how to rework kitchen cabinets to make them look new again.
You will need:
- Basic tools like screwdrivers, a saw, a utility knife
- Sandpaper
- Ammonia, mineral spirits for cleaning the cupboards
- A rag
- colour
Should you do it
First of all, you should know whether this project is suitable for you. Are you ready to spend some time renovating? Usually the work is not that complicated and can be done by beginners. Although it also depends on the material; Repainting wood, wood laminate or metal is relatively easy. However, plastic laminate can be more stubborn when painting. You should check if the color for the plastic laminate works first if you have it naturally.
Consider the material
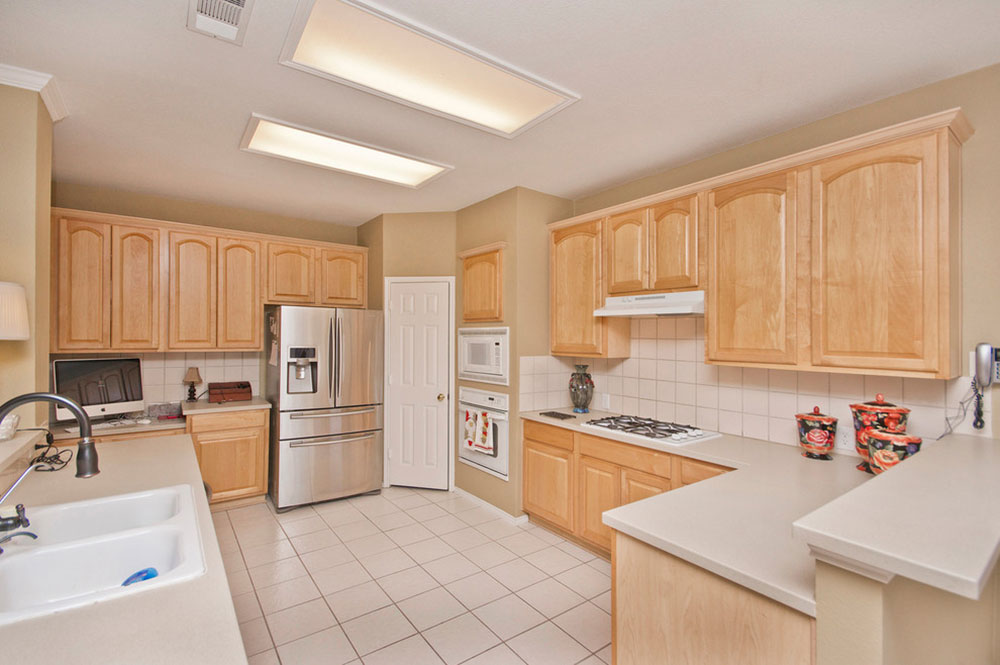
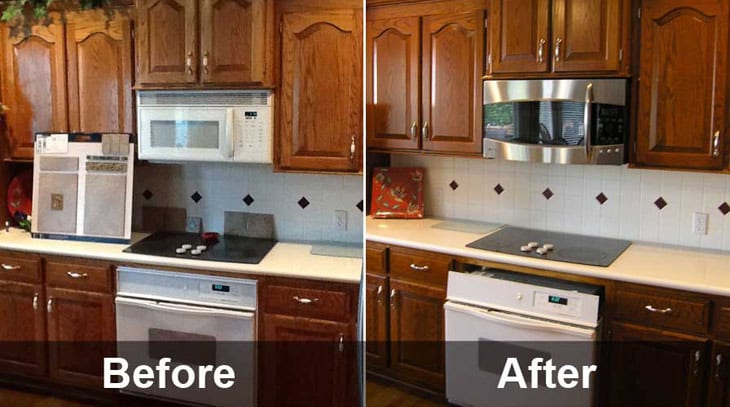
Image source: Fresh coat painter by Allen McKinney Frisco Plano
In addition, some materials pass the time test better than others. High-quality wooden cabinets made of cherry, maple, ash, hickory or oak should be sustainable in the long term. At least more than some others. It would make sense to revise and renovate these types of cabinets instead of spending money on new cabinets.
If the cabinet has a simple design, it is more suitable for reworking. These include cabinets with flat doors and drawers. For example, if your closet has raised panels, much more work is required. The same applies to cabinets in particularly bad condition or to cabinets with routed profiles or other architectural details.
It can be time consuming
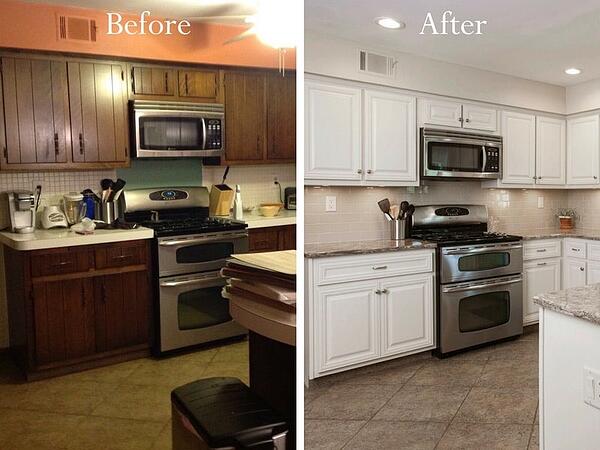
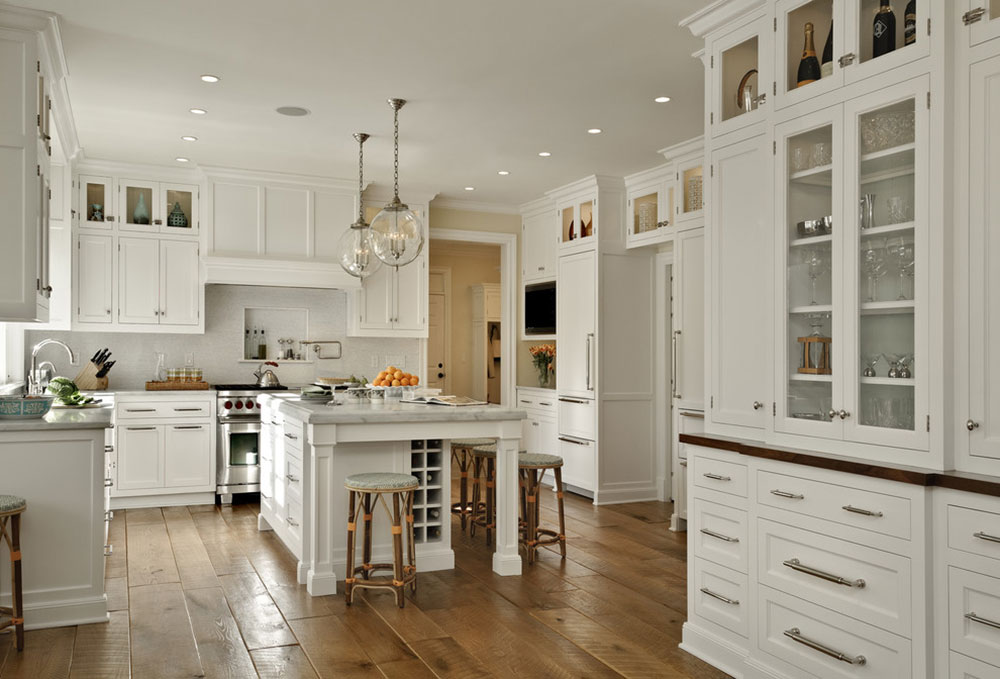 Image source: Clear architects
Again, don’t expect to do it all in one day or in a few hours. Instead, it takes patience and a lot of precision, and that means you have to be prepared to spend three or four weekends revamping the cabinets.
While it may not involve as many complex jobs and carpentry as other projects, and may not be as messy as other renovations, there is still a lot to do. You also need to spend time cleaning, sanding, and preparing the cabinets for your work. Think about it before doing the project and make sure you really want to do it. Otherwise, it may be moved indefinitely to the Unfinished Projects folder.
How to rework kitchen cabinets
Here is a step-by-step guide on how to rework kitchen cabinets as effectively as possible.
Step 1: clean and prepare the cabinets
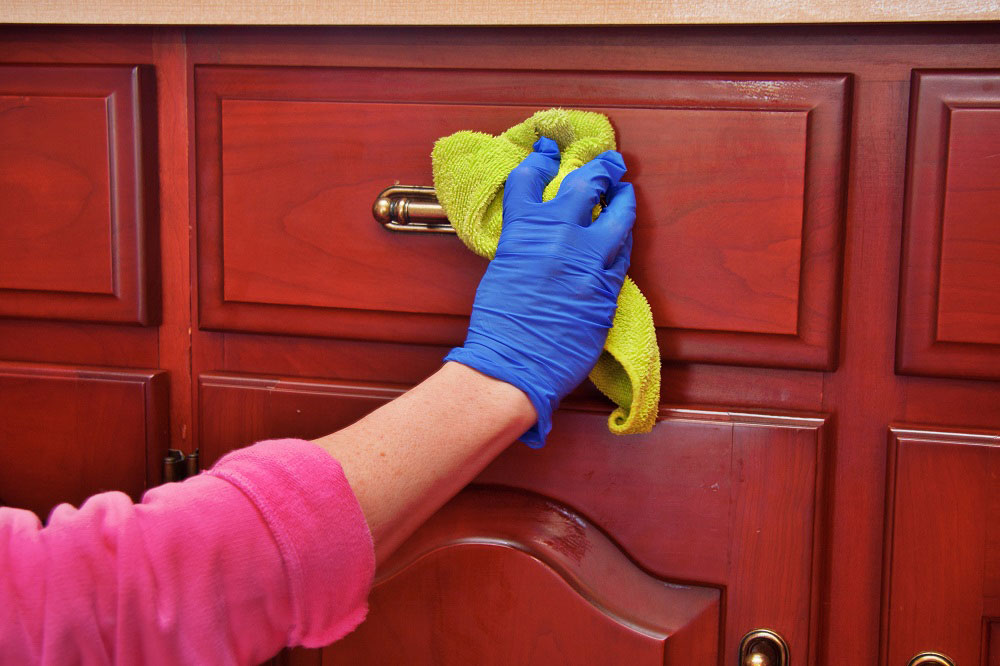
If an old kitchen cabinet has been stranded for years, it has to collect a lot of dirt, dust, dirt and grease. Before you start applying this new coat of paint, don’t just jump in and start painting. Instead, you have to go through a much more boring process – removing dirt, dust, and grime from the cabinets. This includes all surfaces such as shelves, knobs, handles and the rest.
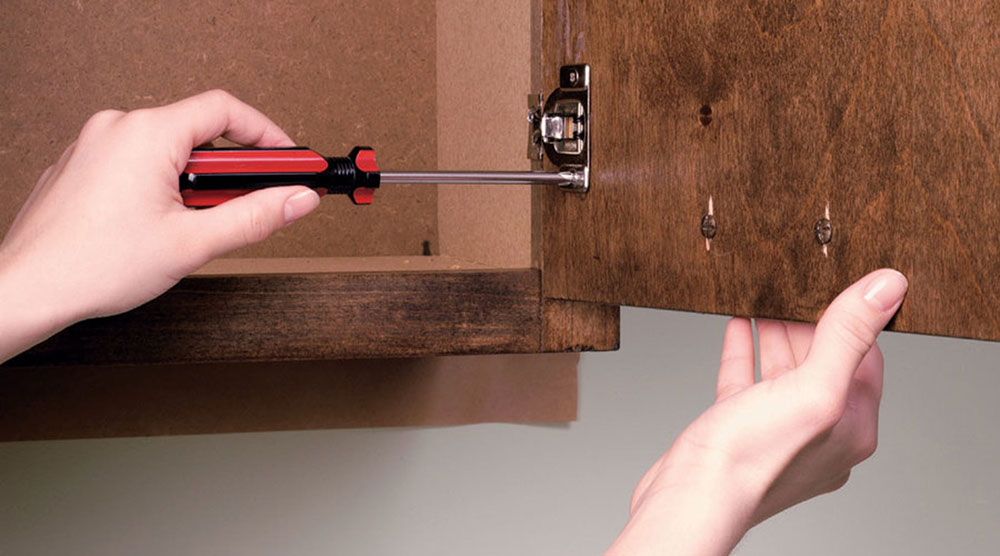
First remove the cabinet from the pens. In some cases you have to unscrew the cabinet from its place. The screws may be painted, which may leave paint residue in the screw holes. Clean them with a small screwdriver. Then remove the screws without damaging the surface.
Use mineral spirits to remove the contaminants from the cabinet. You can use a rag and dip it in the mineral spirits. That should remove most of the contaminants. However, use a 50/50 solution of water and ammonia for better effectiveness. Finally, clean with water and dry.
When you disassemble the cabinets (which you should), mark the doors with stickers so that you can easily assemble them later. Put stickers with names like “front” or “left”. However, after sanding the case, make sure not to remove these tags.
Step 2: sand the wood
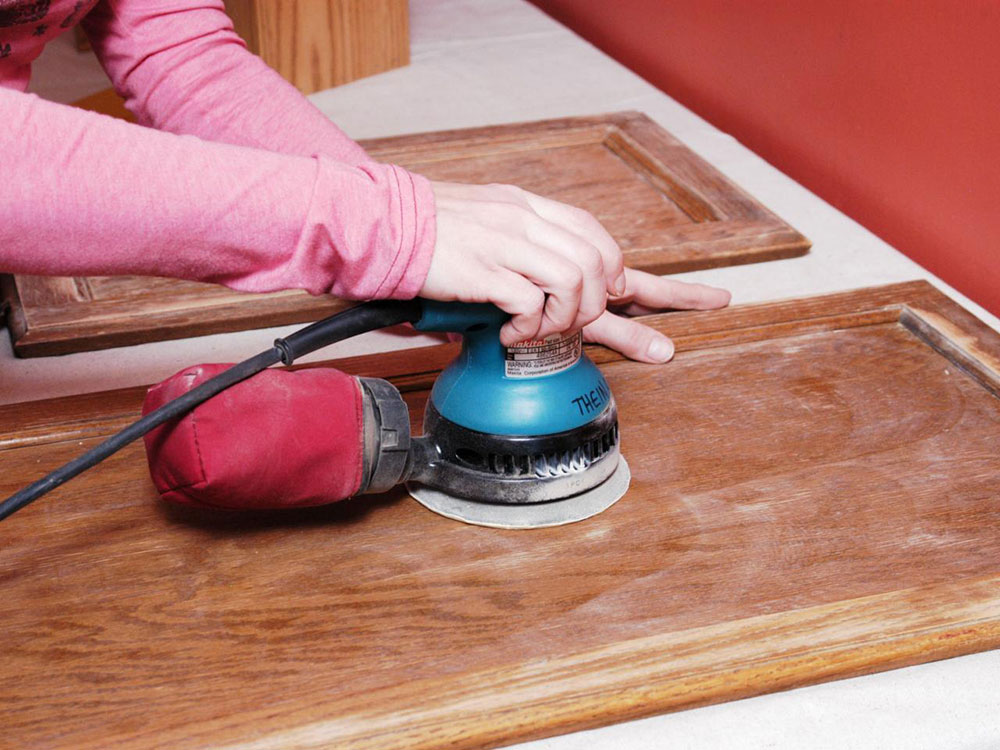
Right, now it’s time to grind the closet. First, use a wood filler to fill in the holes and imperfections in the wood. Let it dry and sand it down.
You can then sand the edges and sides of the doors. You should do this carefully first so as not to round off the edges too much. Use a spatula that is flush with 120 grit sandpaper and apply to the cabinet to complete the sanding process. Let it dry, and you’ll also need a mask for this process.
- Do not completely remove the still flawless color. just roughen it so far that the new color sticks and stays on it better. Deglaze the existing paint and pay particular attention to the worn areas that are used most. If there are stubborn surfaces, use denatured alcohol and rub it over the surface.
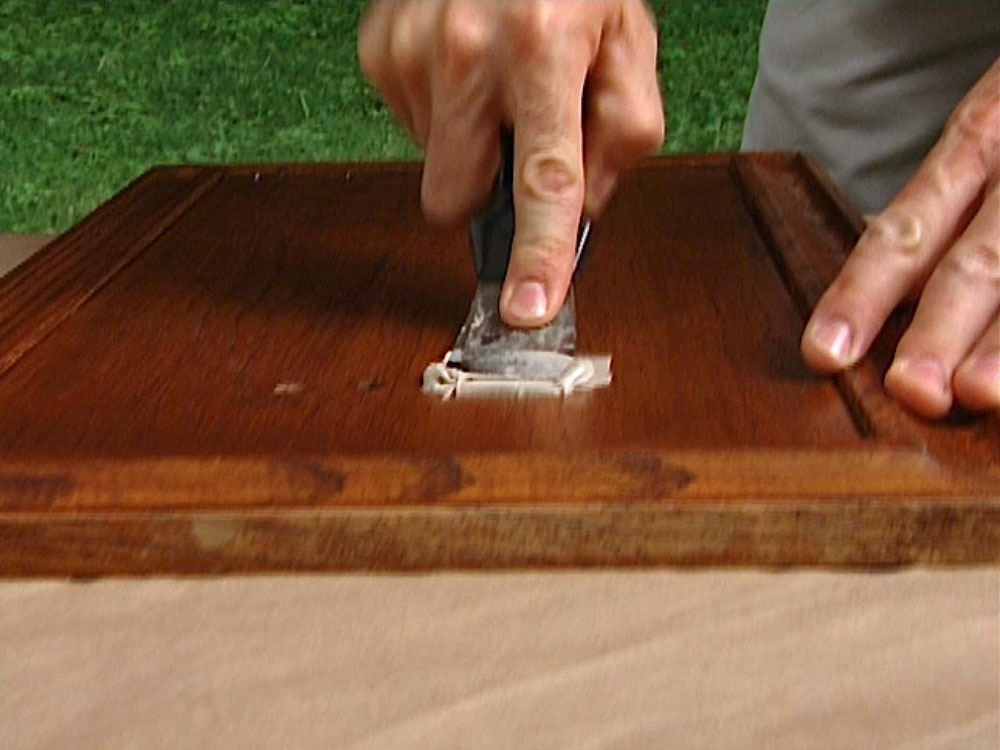
- In some cases, the paint can peel off, which means that it does not adhere well to the wood. This can be due to moisture or there may be a greasy residue under the paint. In this case, you need to sand the cabinet to expose wood. However, be careful not to grind too much, especially around the corners. The finished product should not differ too much from where it started.
- Look for holes and incomplete areas that need to be filled. This way the paint adheres better to the surface. You can also use a primer to better apply the new layer of paint.
- Finally, do this work outdoors as it can produce a lot of dust. Wear a mask and grind off the entire closet. You can then start painting.
Step 3: apply paint
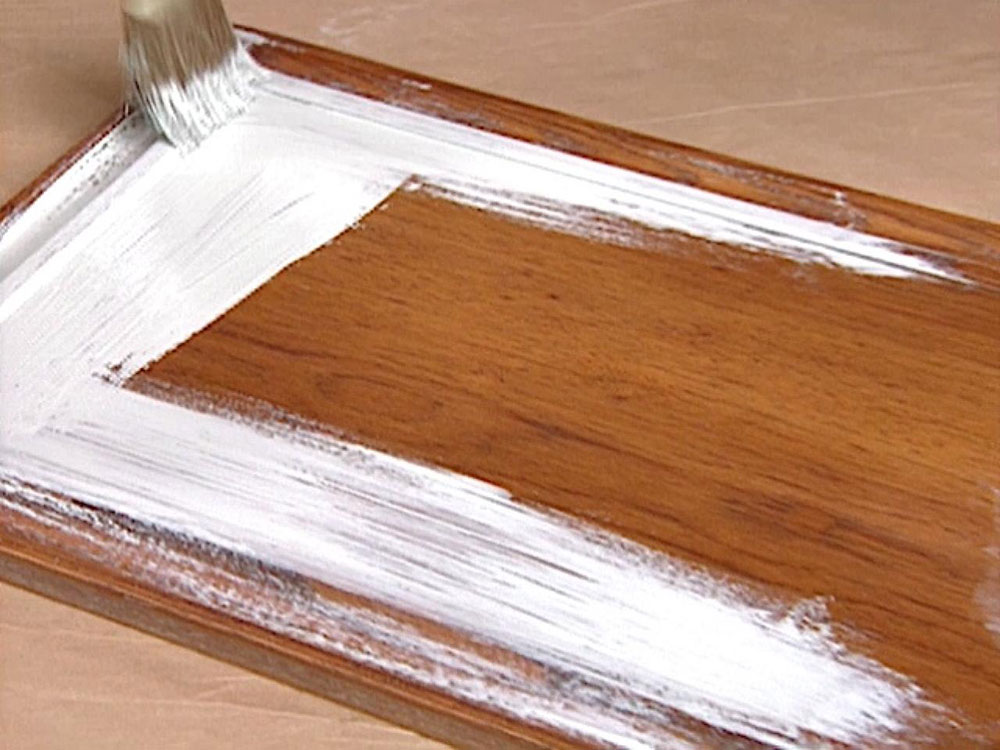
This is the step most people will enjoy – applying the new color. Before you start, the wood should be flawless, free of perfection, sanded and ready for painting. Most importantly, it is free of dust or dirt so that the paint adheres better to the surface.
- Apply a primer or primer sealer first to ensure that the paint adheres better to the surface. A good primer sealer makes it easier to apply the paint to areas where there is still a lot of dust or imperfections or where there is glazing. It is also a great solution if you want to use high gloss enamel colors as they provide a good surface for the color. This gives the cabinet a nice and durable finish.
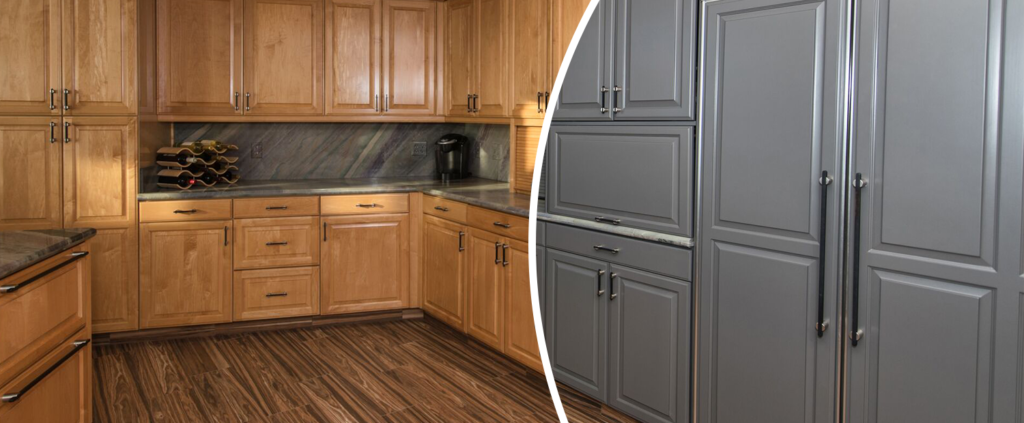
- Choosing the right color is important. Navy blue and gray or light wood colors are very popular for this type of renovated cabinet. You can also simply test the color by applying it to a board or piece of wood, which is possible in the store. You can bring it home and see if it fits your style.
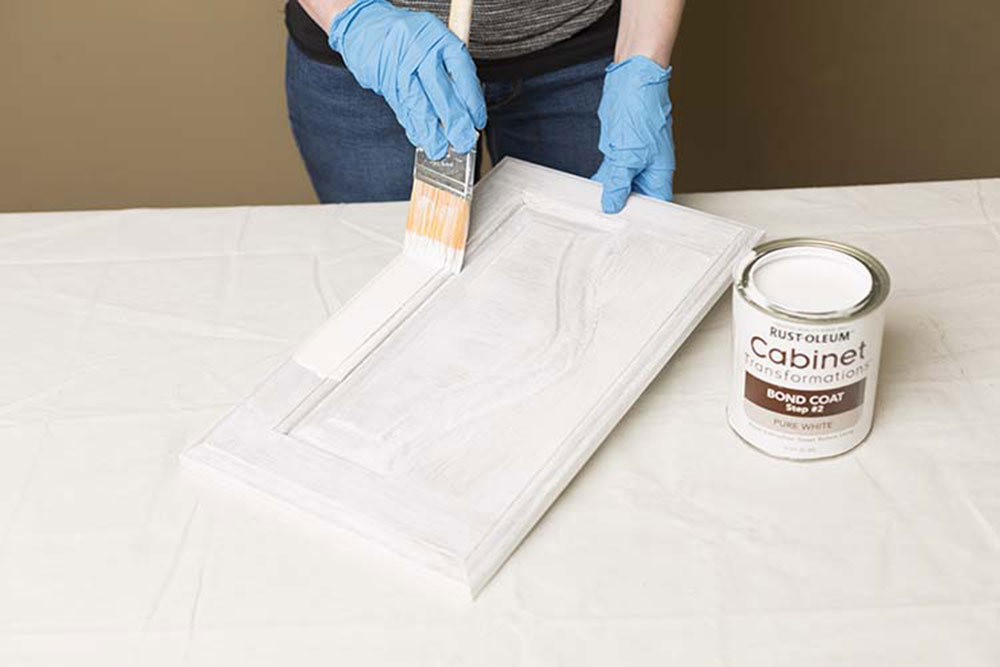
- Use a high quality brush to apply the paint. Then you should also look at the instructions for applying the paint. Paint it within the time limit specified on the packaging.
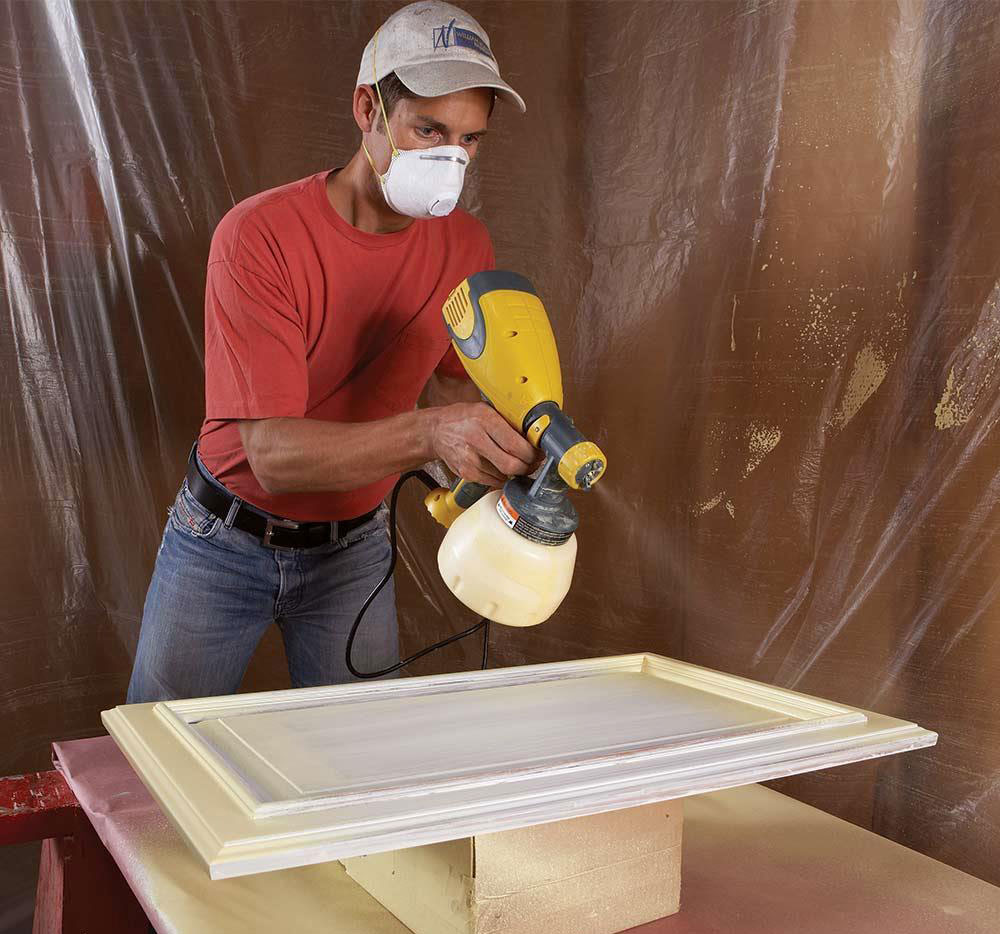
- After finishing the painting, use a spray to achieve a shiny and smooth appearance. However, make sure you use a mask for this.
- Many people also choose to dye the closet to make it look more real. You can use a rag and rub the stain on it and then rub the stain along with the grain on the cabinet. It gives the color a much better saturation and slightly darkens the wood. The more layers you use, the darker the color.
Step 4: hardware
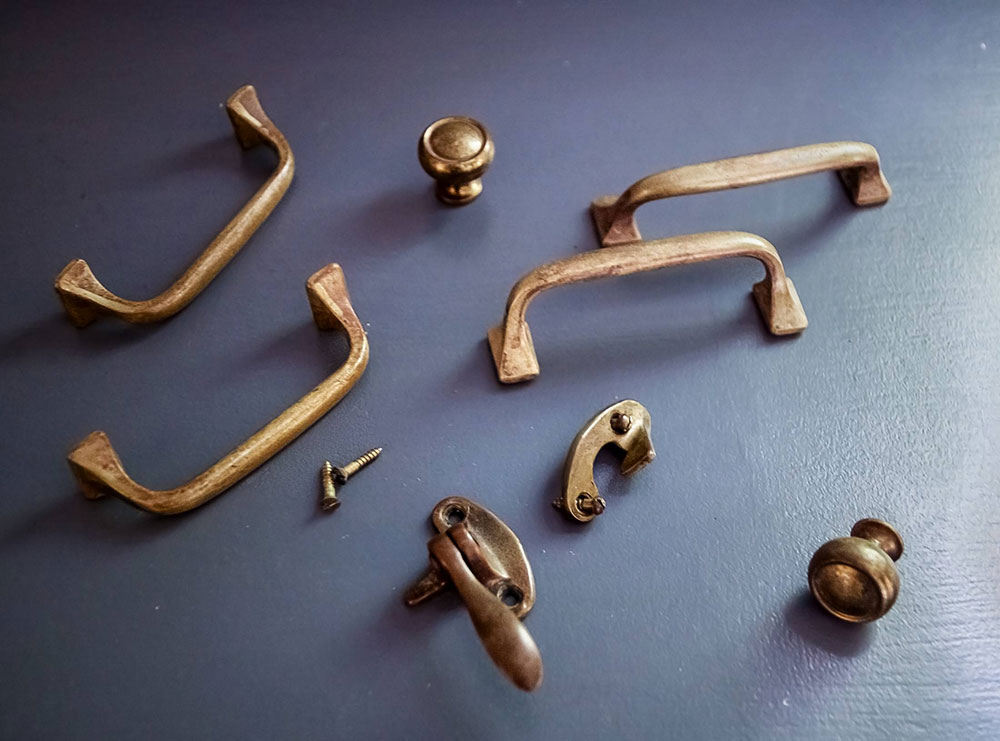
Finally, we should look at the hardware. These are all metal parts of the cabinet, such as. B. the handles or knobs and pullers. This is sometimes referred to as the “jewelry of the kitchen”. And it deserves the same attention as the cabinet itself.
In some cases, the original hardware is still in good condition, but this is not likely. You can use the original hardware if you want, but it will most likely not fit the new look of the case best. Consider investing in white ceramic fittings or black hammered metal handles for this old world look. Antique white glass buttons and handles give you a rustic look. You can even choose a colorful look that gives you that whimsical look. The use of contrasts could make sense here.

For some, investing in new hardware may not be an option as it can be costly. In this case, you can overhaul the hardware with a few simple steps. That’s how it’s done:
- Prepare a bucket of hot water and a little washing-up liquid. Dip the hardware in the bucket and clean each piece individually with a toothbrush. Let it dry.
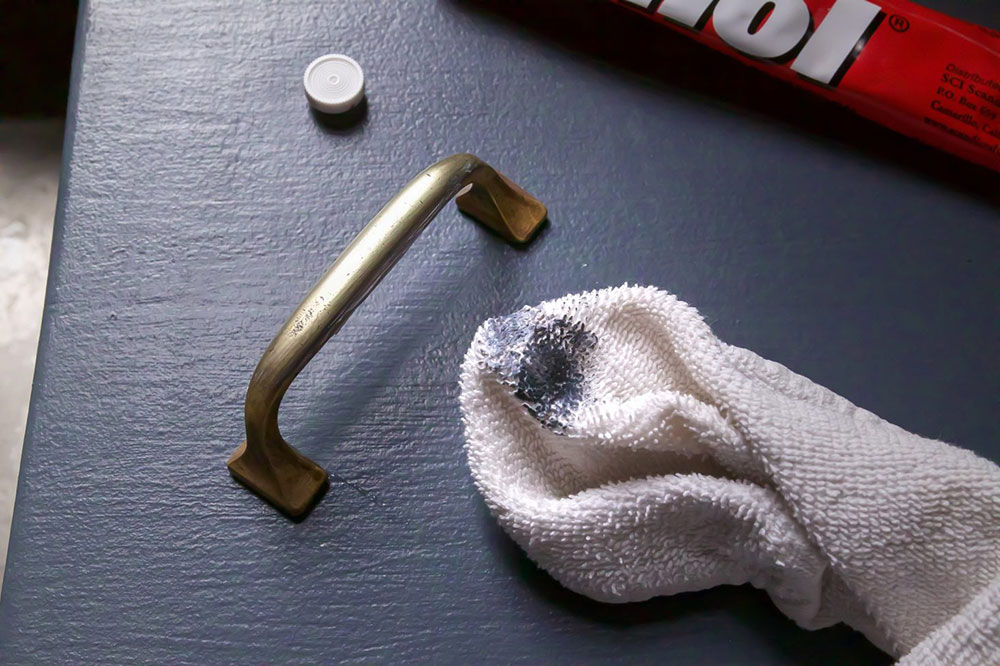
- Then use steel wool to grind the hardware. This removes dirt residues and dirt and makes the hardware more acceptable for new colors.
- Use primer or paint to complete the look. It may not be easy, but you don’t have to touch it. Therefore use a spray paint or primer. Try to paint it as evenly as possible.
So you can rework kitchen cabinets with a few very simple steps. Hopefully you can get the look you want and your kitchen will come back to life.
If you liked reading this article on reworking kitchen cabinets, you should also read this:
 TopsDecor.com Home Decor Ideas
