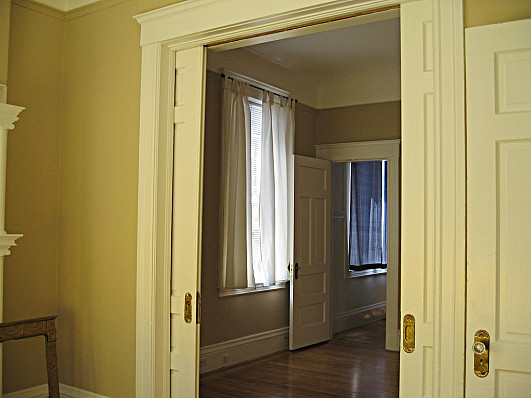
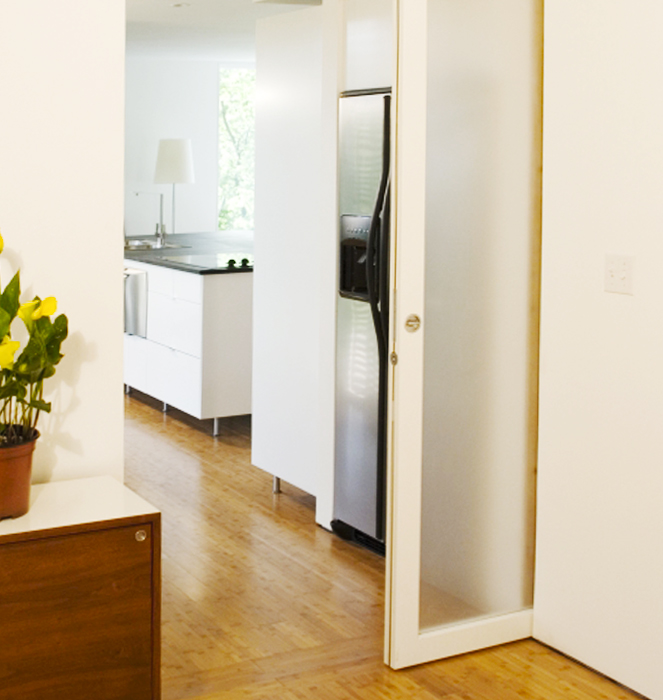
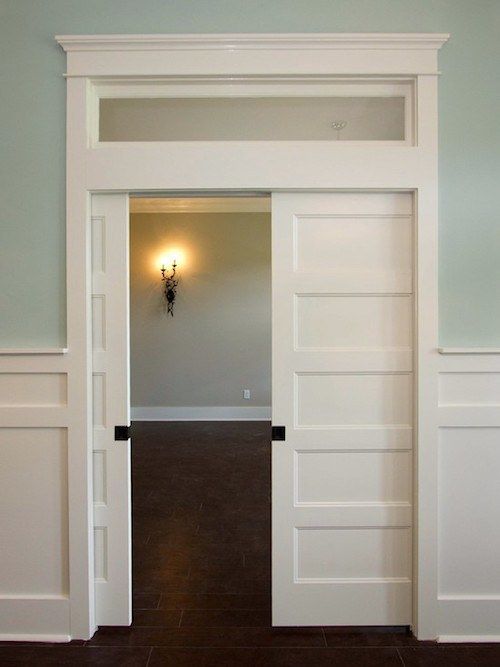
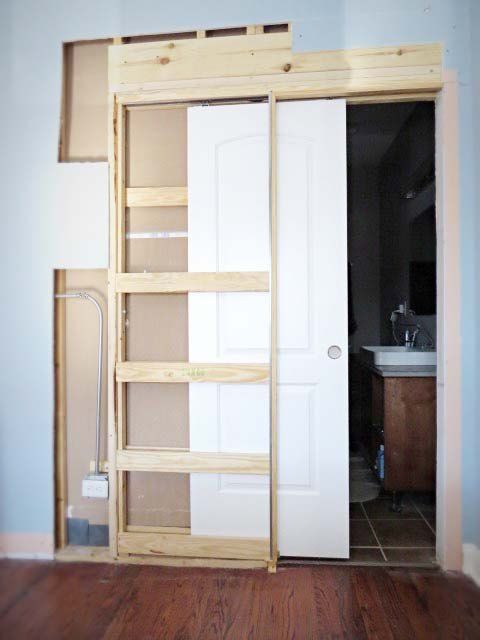
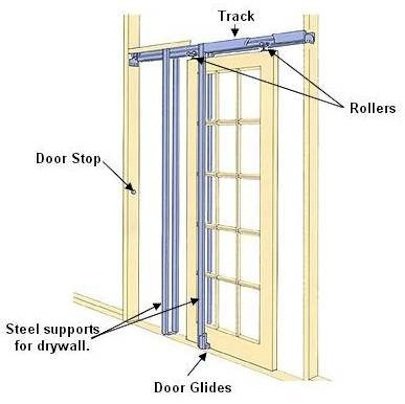
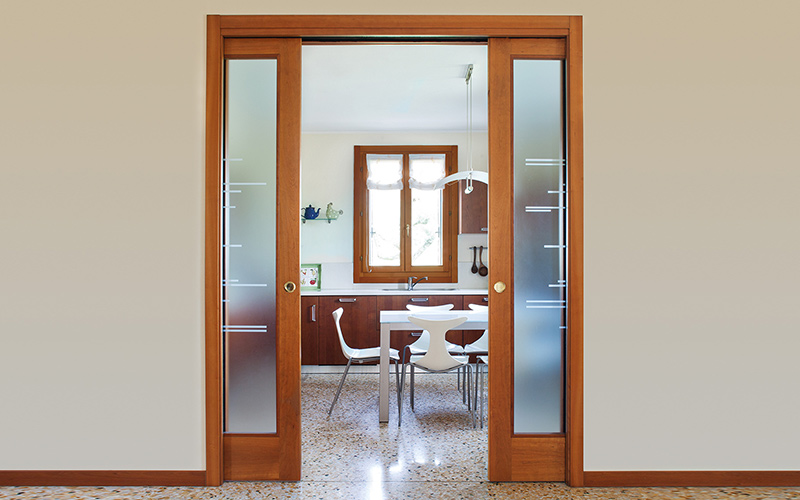
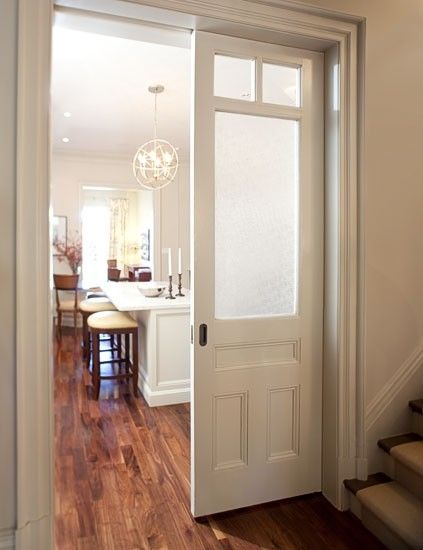
Did you know that framing pocket door is an important stage for installing a door that is concealed? Moreover, it is one of the easiest ways you can use to maximize the living space and also make your room look versatile. In addition, framing your pocket door is a home improvement technique that you can personally accomplish.
Before framing your pocket door you have to ensure that the wall doesn’t have pipes or electric wires running through them. In case there are these appliances, you can either reroute them or look for alternative ways to frame your pocket doors.
Replacing the existing header
First, you have to remove the door jamb by cutting through its nails using a reciprocating saw, carefully remove the wall board using a wood cutting blade and make sure that you make a shallow cut to avoid ruining the wall board.
The next step is to remove the door and you can comfortably do this by pulling its molding. Removing the existing door will also give you the opportunity of easily accessing the shims when setting up the new header.
Use your saw to remove the existing header and cut the studs to create more room for the framing of the pocket door. It is also important to determine the exact height of the existing header because it will give you a rough idea of the height of the new header. Create your new header and then cut the top part of the new studs to help provide the required support.
Finish, by installing your new pocket doors by following all the instructions provided by the instructor.
 TopsDecor.com Home Decor Ideas
